Loading ...
Loading ...
Loading ...
16
Overview
Set Up Your Smart Garage
Control
Need Help?
Troubleshooting videos
Garage door opener compatibility
Router compatibility and settings
How to improve your Wi-Fi signal
Test the door sensor battery
Change the door sensor battery
Pair a replacement door sensor
You have reached the maximum
number of doors
How to manually add a door sensor
Erase Wi-Fi settings from the hub
Reset the hub to factory default
Update my network settings in the
myQ app
LED indicators
The app says Monitor Mode
App error messages
Locate a garage door opener
program or learn button
Accessories and Parts
Need Help?
Pair a replacement door sensor
To replace an existing door sensor follow the steps below:
1. If the current door sensor is still operating and connected to a garage
door opener, press the test button on the existing door sensor. The hub
beeps one time if the current door sensor is door 1 or beeps twice if
door 2.
2. If the current door sensor does not work and you have two door sensors
connected to the hub, press the test button on the other door sensor.
The hub will beep once if the other door sensor is door 1 or beep twice if
door 2. You will need to select the other button on the hub for your new
door sensor.
3. Remove the pull tab from the new door sensor to activate the battery.
4. On the hub, press the button for door 1 or 2, depending on the
information from steps 1 and 2 above. A solid amber LED light will
appear.
5. Press and release the test button on the new door sensor. The hub will
ash and beep indicating successful programming.
6.
Mount the door sensor.
7. In the myQ app, check that you can open and close your garage door to
conrm successful programming.
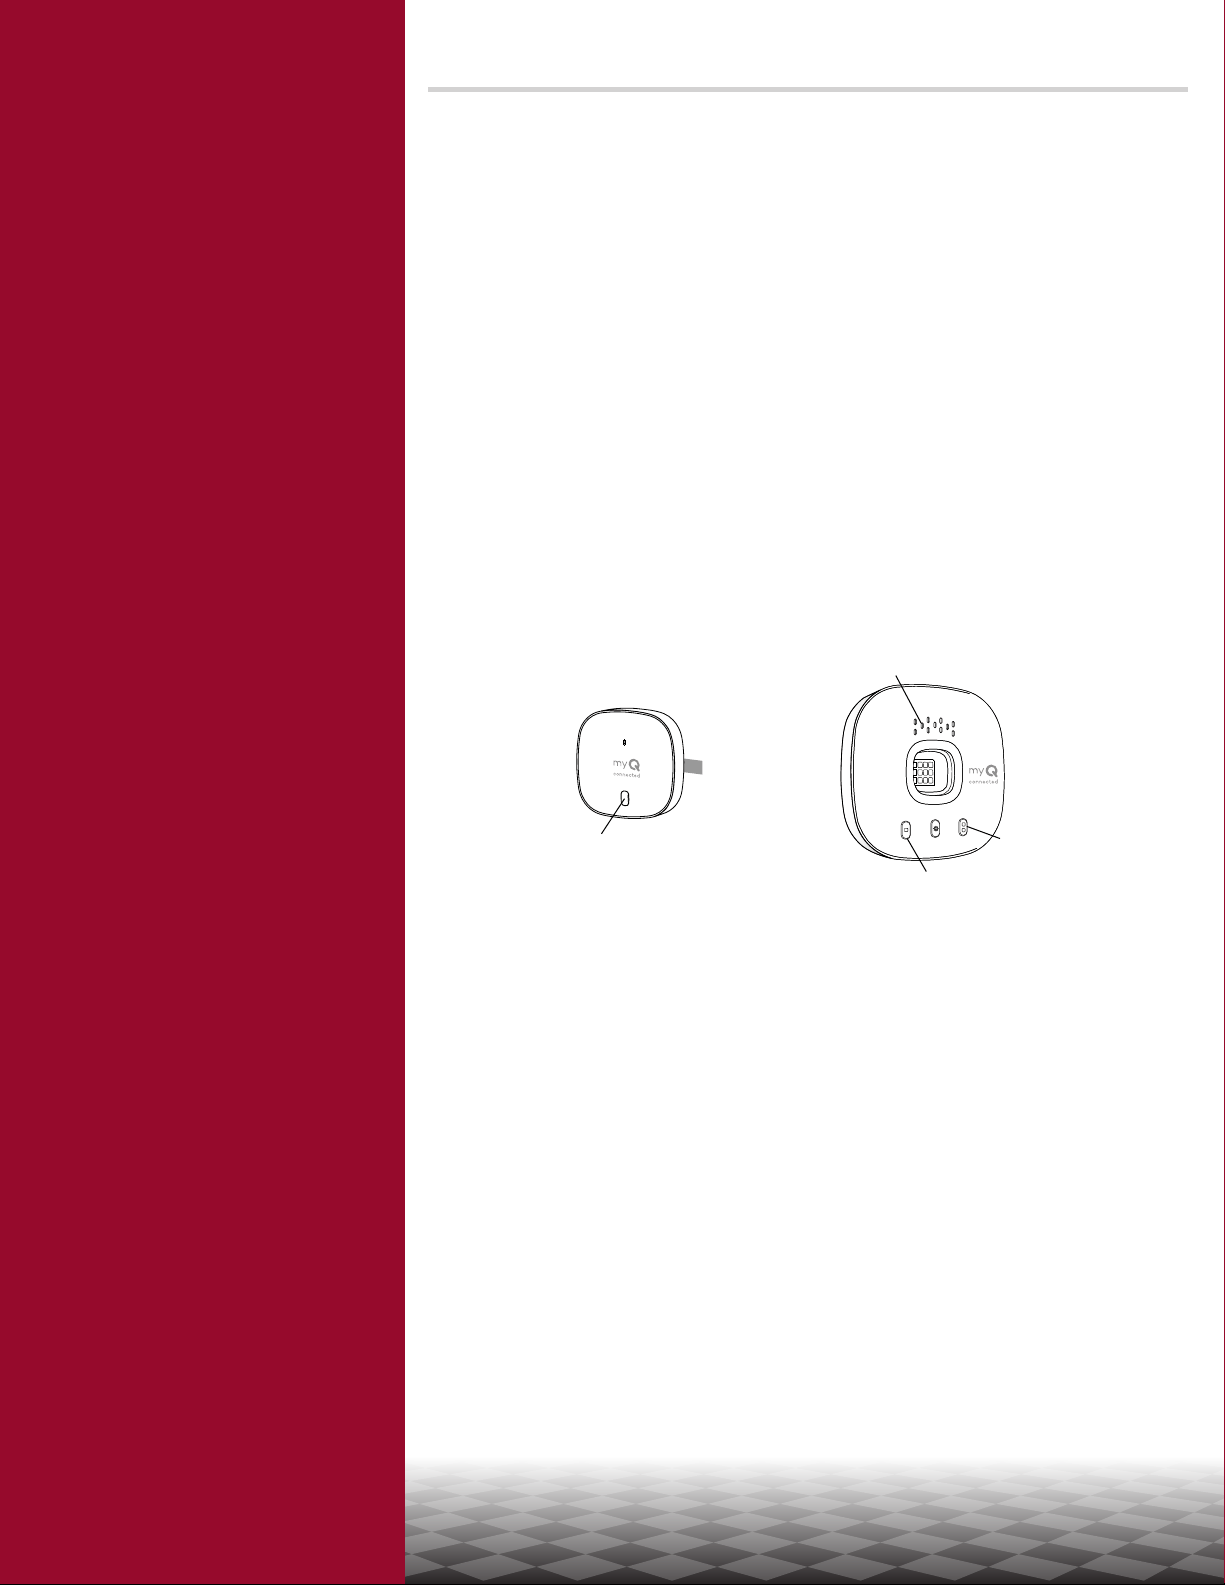
Hub
Door
Sensor
Test Button
Pull Tab
Amber LED
Door 1 Button
Door 2 Button
Loading ...
Loading ...
Loading ...