Loading ...
Loading ...
Loading ...
Surface Cooking
Setting Surface Controls
1, PUacethe pan on the surface eUement,
2, Push in and turn the surface eUement controUknob to desired setting,
3, The surface signaUUightwiUUgUowwhen one or more eUements are turned on, AUways
turn the element off before removing the pan,
Note:The size and type of utensiJ used, and the amount and type of food being
cooked wilt influence the setting needed for best cooking results.
Setting
Hi (MAX)
5(MED)
2-4 (M ED=LOW)
LO (MIN)
Type of Cooking
Start most foods, bring water to a boil, pan broiling,
Maintain a slow boil, thicken sauces and gravies, steam vegetables,
Keep food cooking, poach, stew,
Keep warm, melt, simmer,
*The suggested settings found in the chart above are based on cooking in medium thickness aluminum pans with lids.
Settings may vary when using other types of pans.
Do not place items such as salt and pepper shakers, spoon holders or pJastic wrappings on top of
the cooktop when it is in use. These items could melt or ignite, Potholders, towels or wood could catch fire if placed too
close to the element,
Oven Vent(s) and Racks
Some models are equipped with a blower which runs in baking and seff-cJeaning mode to keep aH
internal components at a cool temperature, it is possibte that the blower keeps running even if the range has been
turned off, untit the components have cooled down.
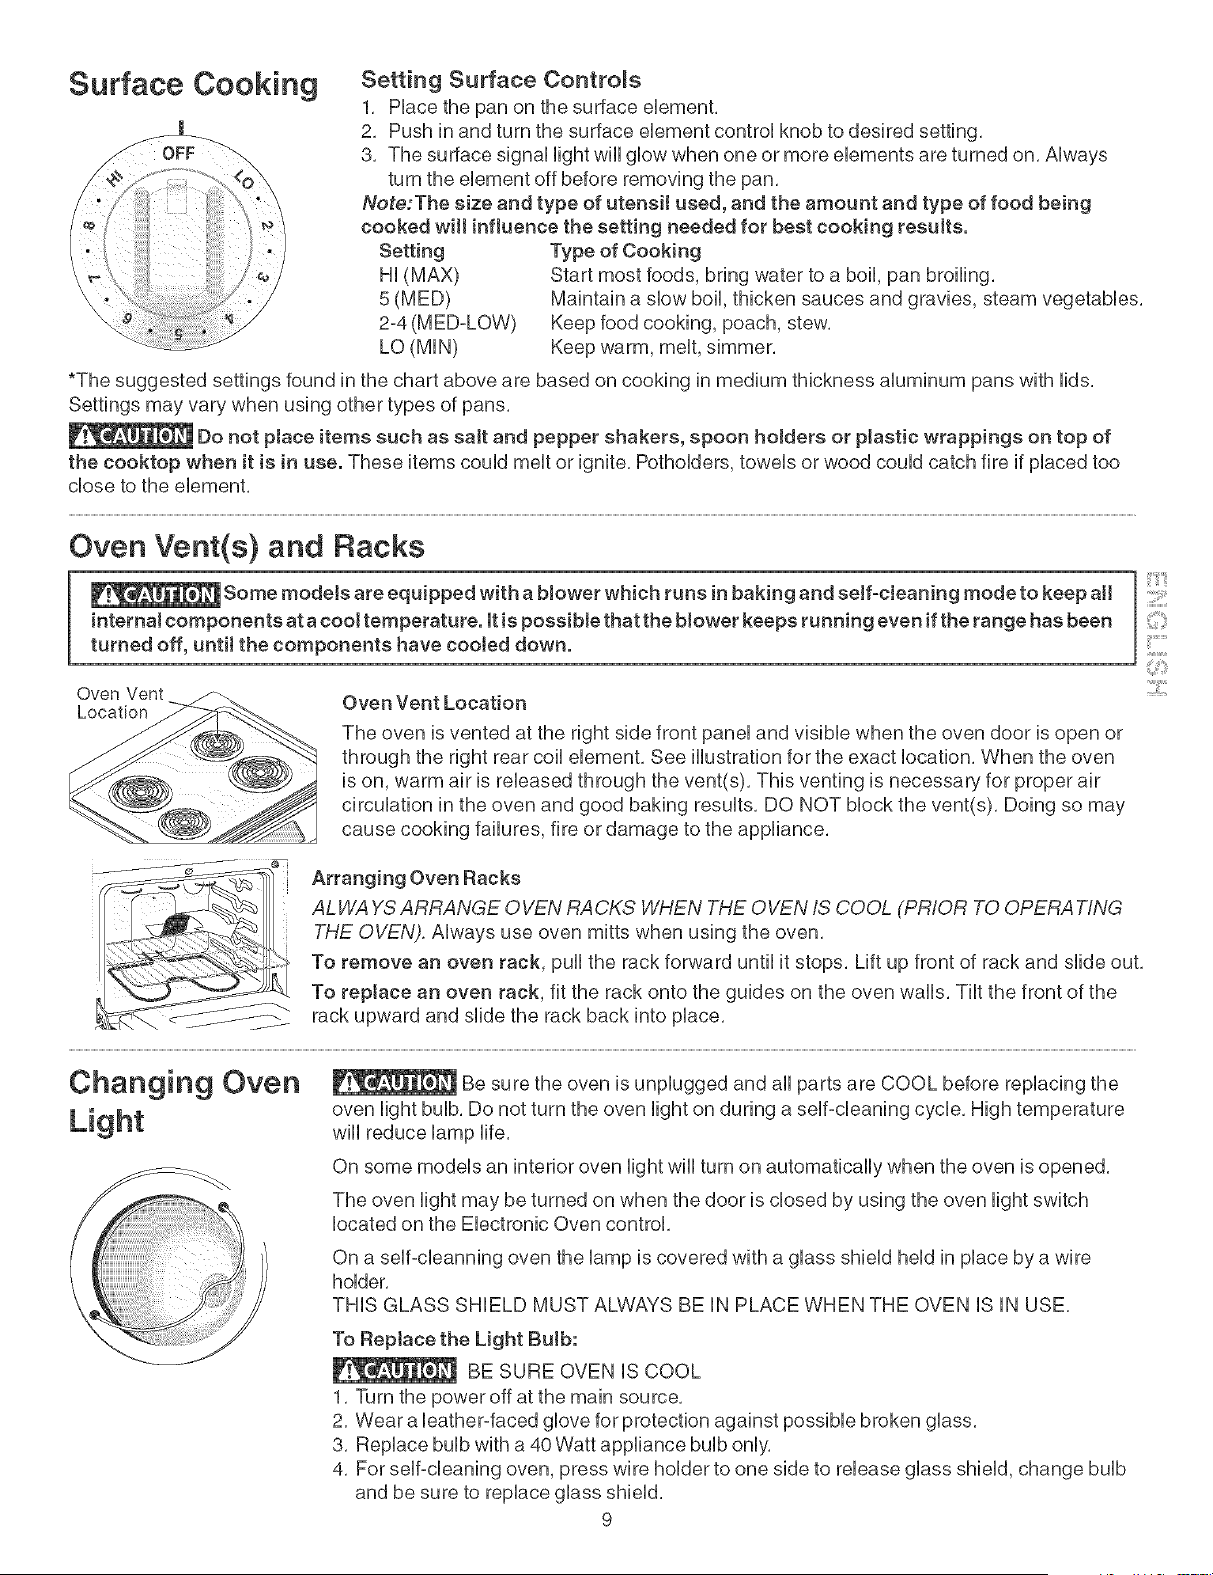
Oven Vent
Location
Oven Vent Location
The oven is vented at the right side front panel and visible when the oven door is open or
through the right rear coil element, See illustration for the exact location, When the oven
is on, warm air is released through the vent(s), This venting is necessary for proper air
circulation in the oven and good baking results, DO NOT block the vent(s), Doing so may
cause cooking failures, fire or damage to the appliance,
::::[1!!!!!1
;i
Arranging Oven Racks
ALH/A YSARRANGE OVEN RACKS H/HEN THE OVEN IS COOL (PRIOR TO OPERATING
THE OVEN). Always use oven mitts when using the oven,
To remove an oven rack, pull the rack forward until it stops, Lift up front of rack and slide out,
To reptace an oven rack, fit the rack onto the guides on the oven walls, Tilt the front of the
rack upward and slide the rack back into place,
Changing Oven
Light
Be sure the oven is unplugged and all parts are COOL before replacing the
oven light bulb, Do not turn the oven light on during a self-cleaning cycle, High temperature
will reduce lamp life,
On some models an interior oven light will turn on automatically when the oven is opened,
The oven light may be turned on when the door is closed by using the oven light switch
located on the Electronic Oven control,
On a self=cleanning oven the lamp is covered with a glass shield held in place by a wire
holder,
THIS GLASS SHIELD MUST ALWAYS BE IN PLACE WHEN THE OVEN IS IN USE,
To Reptace the Light Bulb:
BE SURE OVEN iS COOL
1, Turn the power off at the main source,
2, Wear a leather-faced glove for protection against possible broken glass,
3, Replace bulb with a 40 Watt appliance bulb only,
4, For self-cleaning oven, press wire holder to one side to release glass shield, change bulb
and be sure to replace glass shield,
9
Loading ...
Loading ...
Loading ...