Loading ...
Loading ...
Loading ...
7,
When preheating is finished, follow the instructions on the
Preheat Finished screen, then touch "Continue."
If more or less cook time is desired, adjust doneness before
touching "Continue."
PREHEAT FINISHED
Place poultry breast in browning pan.
Cooking time 9 min
_ Doneness/_
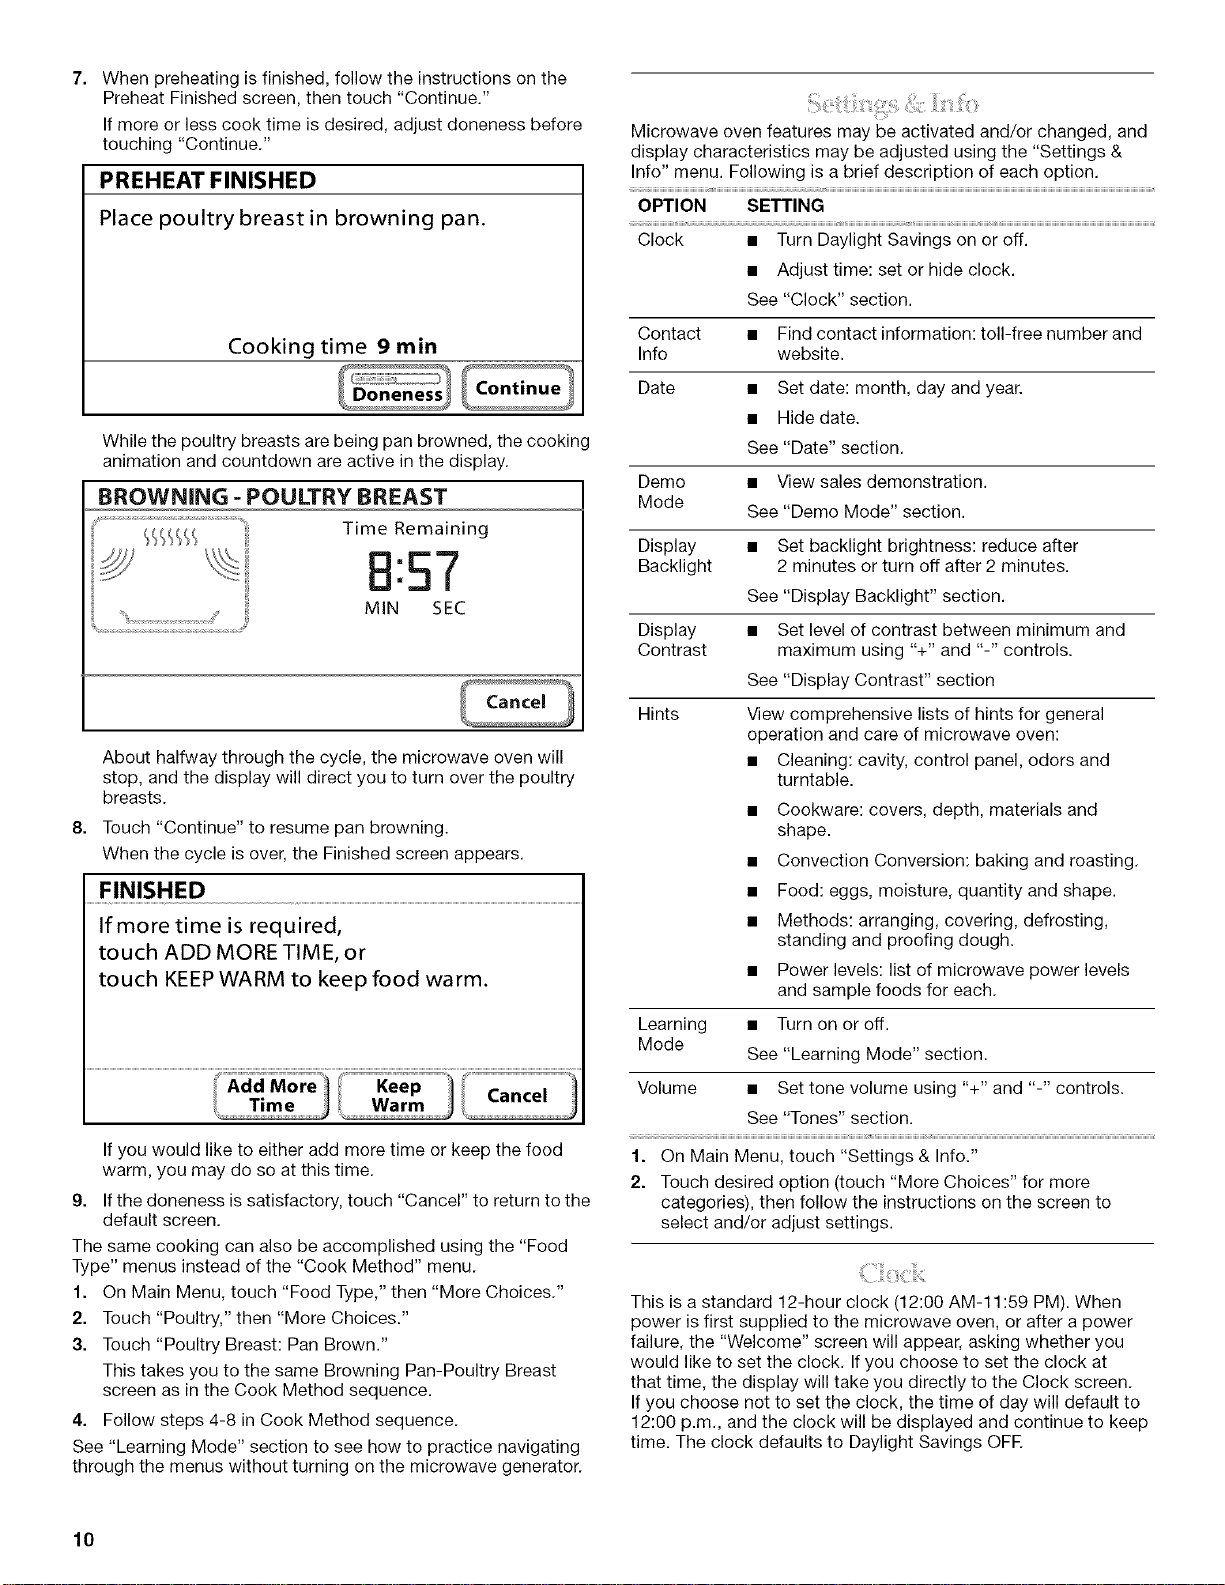
While the poultry breasts are being pan browned, the cooking
animation and countdown are active in the display.
BROWNING - POULTRY BREAST
Time Remaining
:57
MIN SEC
8.
About halfway through the cycle, the microwave oven will
stop, and the display will direct you to turn over the poultry
breasts.
Touch "Continue" to resume pan browning.
When the cycle is over, the Finished screen appears.
FINISHED
If more time is required,
touch ADD MORE TIME, or
touch KEEP WARM to keep food warm.
AddMore_t Keep '_'ti! : : J
If you would like to either add more time or keep the food
warm, you may do so at this time.
9. If the doneness is satisfactory, touch "Cancel" to return to the
default screen.
The same cooking can also be accomplished using the "Food
Type" menus instead of the "Cook Method" menu.
1. On Main Menu, touch "Food Type," then "More Choices."
2. Touch "Poultry," then "More Choices."
3. Touch "Poultry Breast: Pan Brown."
This takes you to the same Browning Pan-Poultry Breast
screen as in the Cook Method sequence.
4. Follow steps 4-8 in Cook Method sequence.
See "Learning Mode" section to see how to practice navigating
through the menus without turning on the microwave generator.
Microwave oven features may be activated and/or changed, and
display characteristics may be adjusted using the "Settings &
Info" menu. Following is a brief description of each option.
OPTION SETTING
Clock • Turn Daylight Savings on or off.
• Adjust time: set or hide clock.
See "Clock" section.
Contact • Find contact information: toll-free number and
Info website.
Date • Set date: month, day and year.
• Hide date.
See "Date" section.
Demo • View sales demonstration.
Mode
See "Demo Mode" section.
Display • Set backlight brightness: reduce after
Backlight 2 minutes or turn off after 2 minutes.
See "Display Backlight" section.
Display • Set level of contrast between minimum and
Contrast maximum using "+" and "-" controls.
See "Display Contrast" section
Hints View comprehensive lists of hints for general
operation and care of microwave oven:
• Cleaning: cavity, control panel, odors and
turntable.
• Cookware: covers, depth, materials and
shape.
• Convection Conversion: baking and roasting.
• Food: eggs, moisture, quantity and shape.
• Methods: arranging, covering, defrosting,
standing and proofing dough.
• Power levels: list of microwave power levels
and sample foods for each.
Learning • Turn on or off.
Mode
See "Learning Mode" section.
Volume • Set tone volume using "+" and "-" controls.
See "Tones" section.
1. On Main Menu, touch "Settings & Info."
2. Touch desired option (touch "More Choices" for more
categories), then follow the instructions on the screen to
select and/or adjust settings.
This is a standard 12-hour clock (12:00 AM-11:59 PM). When
power is first supplied to the microwave oven, or after a power
failure, the "Welcome" screen will appear, asking whether you
would like to set the clock. Ifyou choose to set the clock at
that time, the display will take you directly to the Clock screen.
If you choose not to set the clock, the time of day will default to
12:00 p.m., and the clock will be displayed and continue to keep
time. The clock defaults to Daylight Savings OFR
10
Loading ...
Loading ...
Loading ...