Loading ...
Loading ...
Loading ...
4-9
REMOVING THE COMPRESSOR AND FILTER/DRIER
NOTE: Sharp edges may be present.
1. Unplug the refrigerator or disconnect the
power.
2. Remove the main and louvered decora-
tive panels (see page 4-2).
3. Remove the unit compartment cover (see
pages 4-2 & 4-3 for the procedures).
NOTE: The compressor location is shown on
page 4-8.
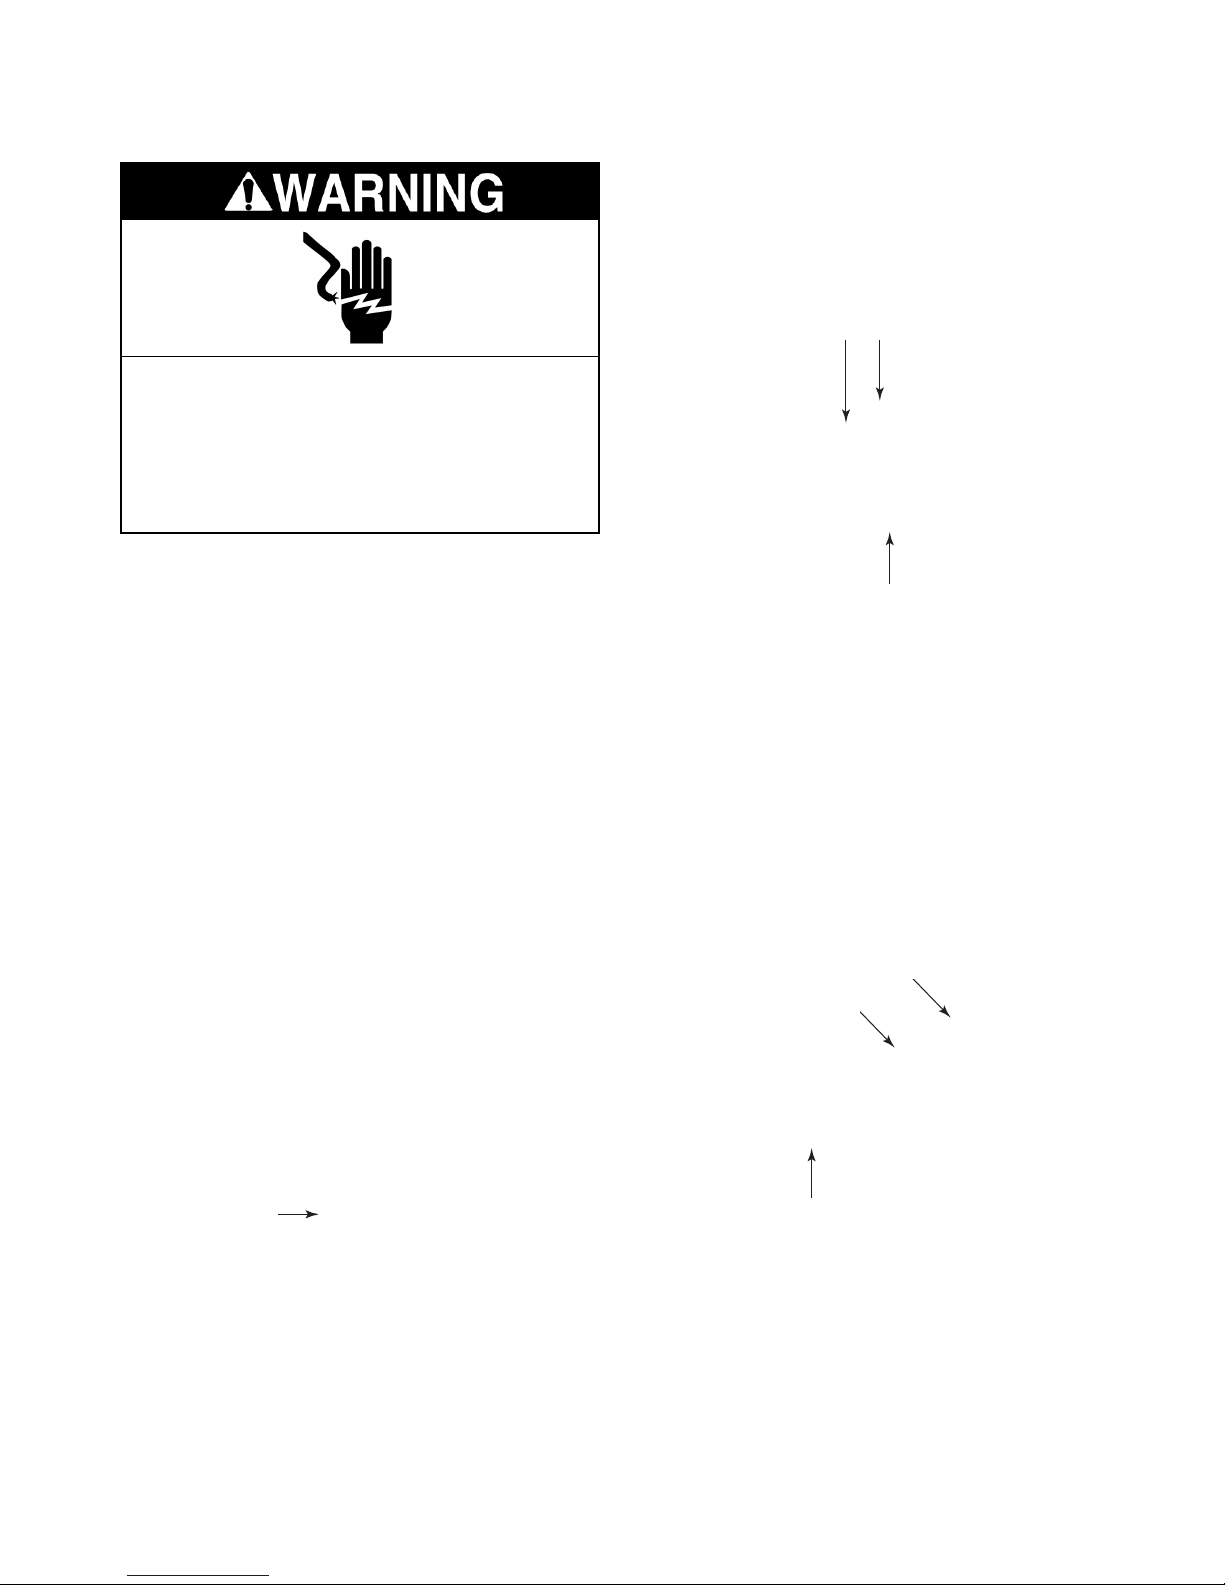
4. Remove the compressor terminal cover.
To remove the cover, insert a flat-bladed
screwdriver into the top slot, push down on
the screwdriver to release the catch, and
then rotate the cover forward at the top
and lift it off the bottom catch.
Electrical Shock Hazard
Disconnect power before servicing.
Replace all panels before operating.
Failure to do so can result in death or
electrical shock.
Compressor
Terminal Cover
7. Access the sealed system and discharge
the refrigerant into an approved recovery
system.
8. Unbraze the suction and discharge lines
from the compressor.
9. Cut the filter/drier from the system (do not
use a torch to remove the filter/drier).
6. Loosen the strain relief screw from the
compressor terminal cover and remove
the wire.
Ground Wire
& 3-Pin Lead
Cover Strain Relief
10. Remove the four mounting bolts and rub-
ber grommets from the compressor.
11. Lift the old compressor from the refrigera-
tor and replace it.
5. Disconnect the green ground wire and the
3-pin inverter output lead from the com-
pressor (see the photo at the top right).
Filter/Drier
Suction
Discharge
Downloaded from www.ManualsFile.com manuals search engine
Loading ...
Loading ...
Loading ...