Loading ...
Loading ...
Loading ...
Zone 3: Dripping melody. This also is a nice melody for a
low security area, such as the driveway.
Zone 4: Alarm melody. This sound is tailored for high security
areas. We suggest the sensor for Zone 4 be placed in
areas where trespassing is a possibility.
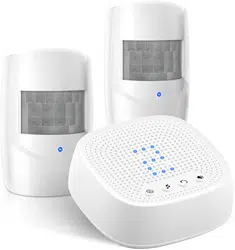
3.5 Installing the PIR sensor
It is recommended to mount the PIR sensor at least 3-4
(1m) above the ground on a sturdy, non-metal surface
(i.e. a wall, wooden post, or tree near your door/driveway)
with the PIR sensor detect area pointed straight out over
the area you wish to cover (such as up your driveway
looking towards your house). Mounng at this height and
direcon will decrease or eliminate false alarms from small
animals, enable sensing of a larger area, and avoid
unwanted alarms caused by nearby lawns / roads.
The PIR sensor can be placed with e to fix it on a the
wanted place and also can installed with the supplied
screws.
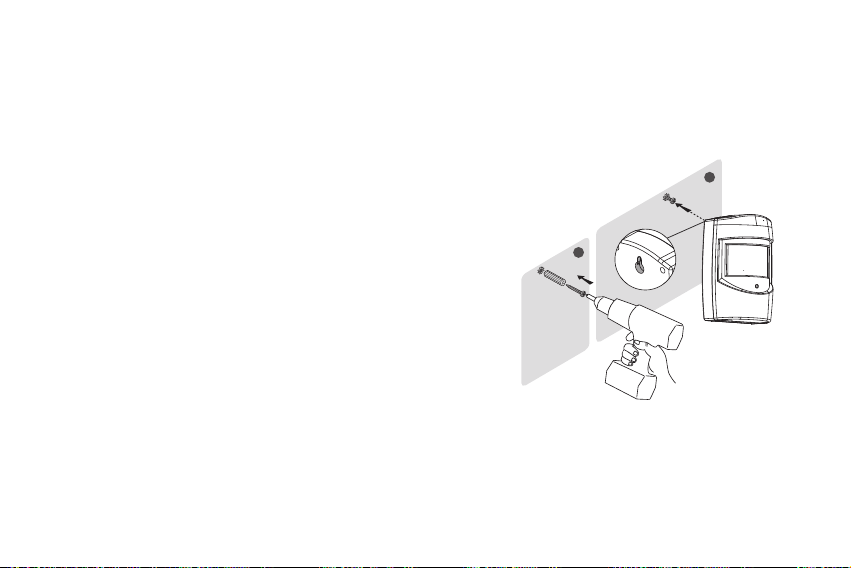
Install the PIR sensor using the supplied screws:
●
Use a pencil to mark the locaon of the two mounng
holes on the surface where the PIR sensor base will be
installed.
●
If installing on a wooden surface, only the included screws
need to be used. Drill out pilot holes to help prevent
stripping of the screws and hold the sensor more securely.
- 08 - - 09 -
1
2
●
If installing on any other surface, such as brick or stone,
use the included wall plugs with the screws. To do this,
drill out pilot holes, then gently tap the wall plugs into the
pilot holes using a hammer unl the wall plug are flush
with the mounng surface.
●
Push the screws into the wall plugs, then hang PIR sensors
on the screws.
Loading ...
Loading ...
Loading ...