
Loading ...
Loading ...
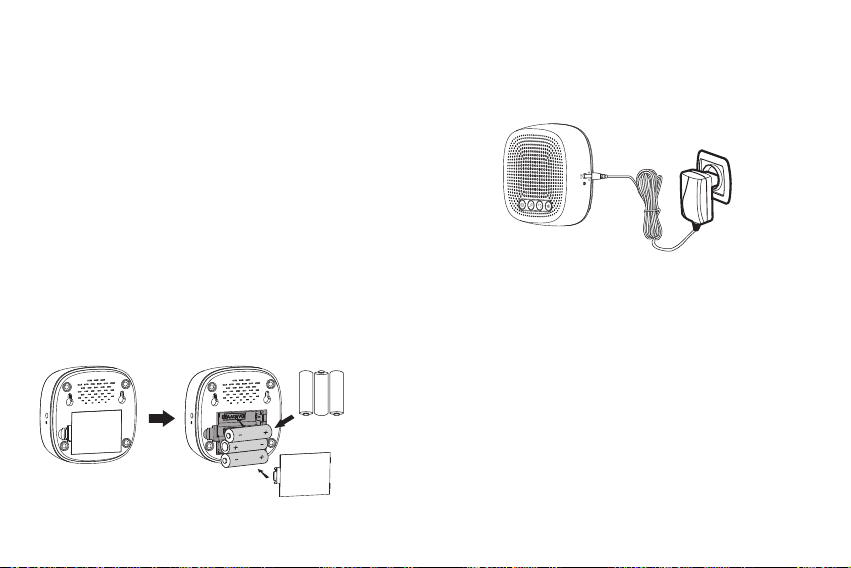
If powering by a power adapter, insert the adapter’s connector
into the DC power jack on the side of the receiver, then plug
the adapter into a power outlet. Please note that an adapter
is not included and needs to be purchased separately.
- 02 - - 03 -
Note:
The specificaons for the power adapter should be -
Input: 110-120V for US, 220-240V for EU. Output: DC 5V/6V
(Refer to the rang label on the adapter). Please note that
our receiver does not use rechargeable lithium baeries, all
baeries MUST BE removed from the receiver when being
powered by a power adapter.
3.2 Power for PIR sensor
The PIR sensor runs on 3 x AAA baeries and works wirelessly
at a maximum distance from the receiver of 1000 (300m).
To insert baeries into the PIR sensor:
●
Remove the screw on the baery compartment cover at the
black of the sensor. This screw is very small, so be careful not
to lose it.
1. Pairing buon 2. Melody / Next buon
3. Alert Mode Buon
4. Volume buon
5. Zone LED indicator
6. DC power jack
7. Receiver power indicator
8. PIR Sensor
9. PIR sensor working indicator
3. Geng Started:
3.1 Power for Receiver
The receiver can be powered by 3 x AA baeries or by a
power adapter (output: DC 5.0V).
(BATTERIES AND ADAPTER NOT INCLUDED)
If powering by baeries, please insert the baeries using
the following procedure:
●
Remove the baery compartment cover at the back of
the receiver.
●
Insert 3 x AA type baeries into the baery compartment,
using the correct polarity to eliminate the danger of fire.
●
Snap the baery compartment back into place.
3xAA 1.5V
Alkaline Baery
Loading ...
Loading ...
Loading ...