Loading ...
Loading ...
Loading ...
42
CARE AND CLEANING
Before Starting SELF CLEAN
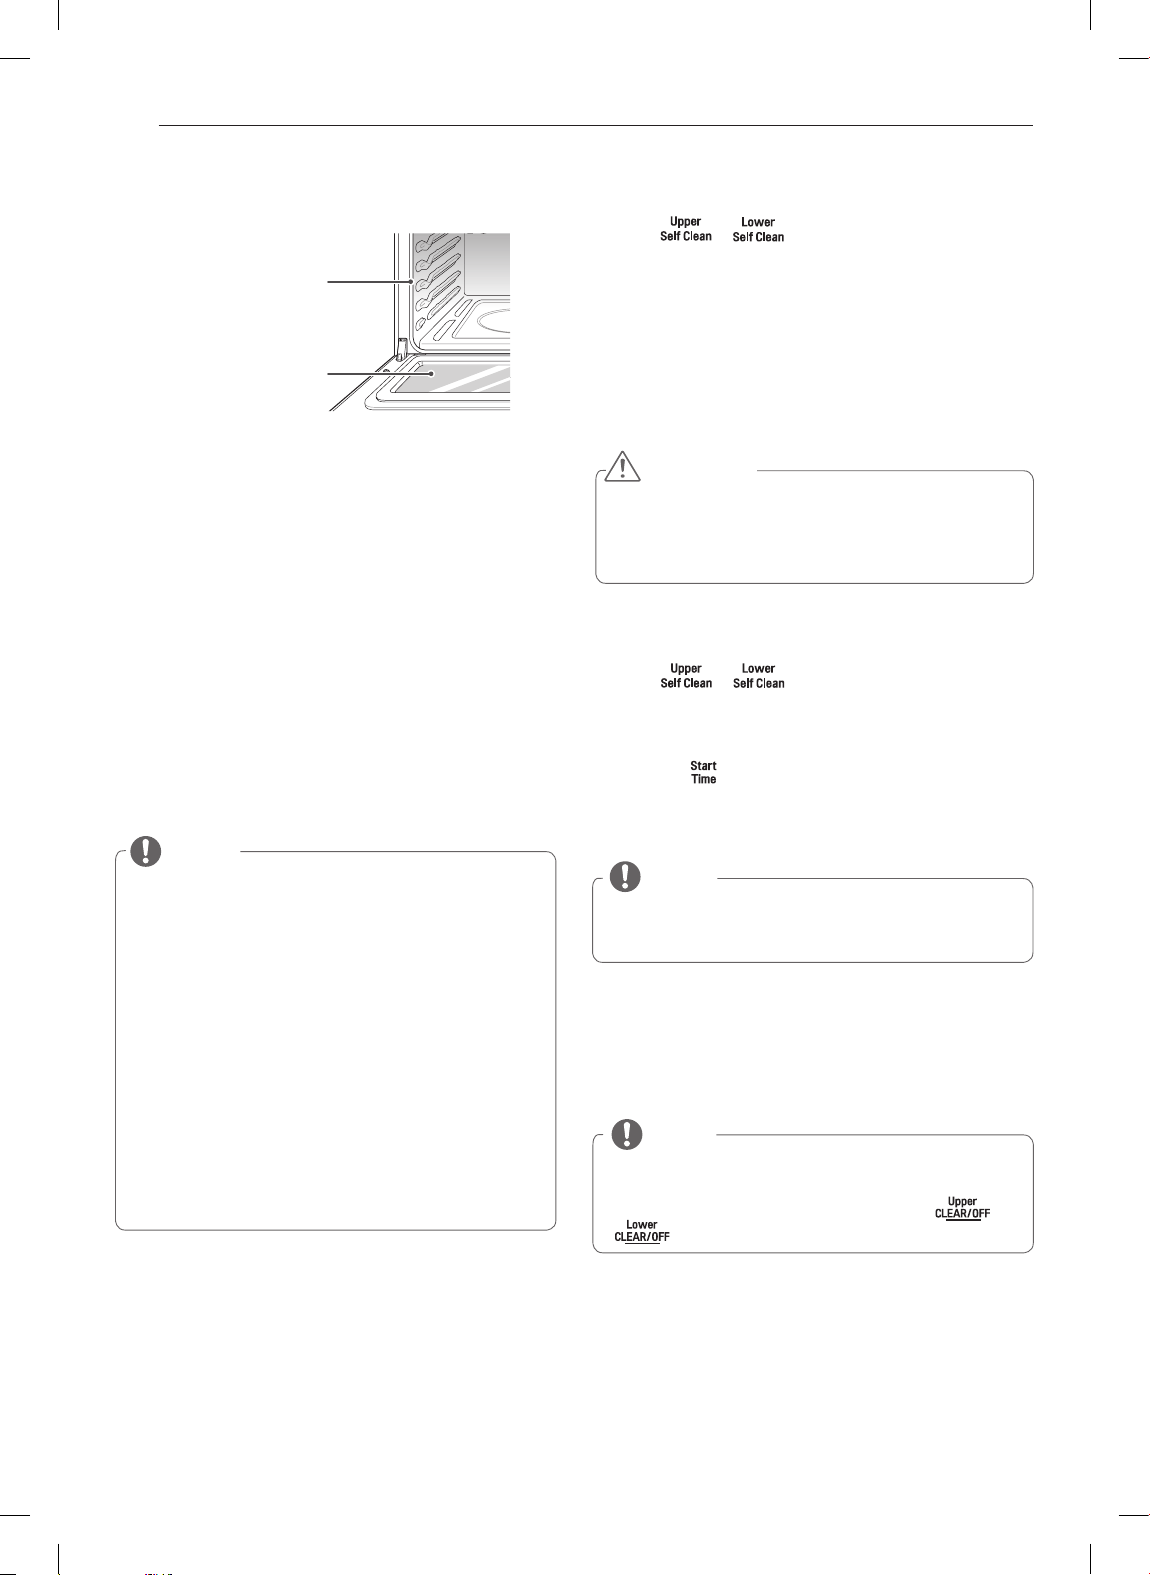
Do not hand clean the
oven door gasket
Hand clean the door
y
Remove the oven racks, broiler pan, broiler grid, all
cookware, aluminum foil or any other material from the
oven.
y
The kitchen should be well ventilated to minimize the
odors from cleaning.
y
If running a self clean in one of the ovens, the other
oven can not be used.
y
Wipe any heavy spillovers on the bottom of the oven.
y
Make sure that the oven light bulb cover is in place and
the oven light is off.
y
The oven light cannot be turned on during a self clean
cycle. The oven light cannot be turned on until the oven
temperature has cooled below 500˚F (260˚C) after a self
clean cycle is complete.
y
Fine lines may appear in the porcelain because it went
through heating and cooling. This is normal and will not
affect performance.
(example: set for 3:00 AM/PM)
CAUTION
DO NOT
force the oven door open when
m
is displayed.
The oven door will remained locked until the oven tem-
perature has cooled. Forcing the door open will damage
the door.
NOTE
y
Clean the frame of the oven and door with hot soapy
water. Rinse well.
y
Do not clean the oven door gasket. The oven door
gasket is made of a woven material that is essential
for a good seal. Care should be taken not to rub, dam-
age, or remove this gasket.
y
Do not open the oven door until the self clean cycle is
complete.
y
The oven door can become extremely hot. Do not
touch the oven door until it has cooled down.
y
You may see some smoke and smell an odor the first
few times the oven is cleaned. This is normal.
y
As the oven heats, you may hear sounds of metal
parts expanding and contracting. This is normal.
y
A self clean cycle cannot be started if the Oven Lock-
out feature is active.
After Self Clean
y
You may notice some white ash in the oven. Wipe it off
with a damp cloth after the oven cools.
y
If the oven is not clean after one clean cycle, repeat the
clean cycle.
y
If the oven racks were left in the oven and do not slide
smoothly after a clean cycle, wipe racks and rack sup-
ports with a small amount of vegetable oil to make them
glide easier.
1
Press or key.
The oven defaults to the recommended three hour self clean
for a moderately soiled oven. Press twice for a two hour self
clean and three times for a four hour self clean.
2
Press the
q
key.
Once the self clean is set, the oven door will lock automatically
and
m
will display. You will not be able to open the oven door
until the oven is cooled. The lock will release automatically when
the oven has cooled.
1
Press or key.
The oven defaults to the recommended three hour self
clean for a moderately soiled oven. Press twice for a four
hour self clean and three times for a two hour self clean.
2
Press the key.
3
Use the keypad to enter in the time of day that you would
like the oven to start the Self Clean cycle (ex.
3, 0, 0
).
NOTE
The Delayed Self Clean start time can only be set 11 hours
and 59 minutes ahead. To set for 12- 24 hours in advance,
see “How to change hour mode on clock.”
4
Press the
q
key
Once the self clean is set, the oven door will lock automati-
cally and
m
will display. You will not be able to open the oven
door until the oven is cooled. The lock will release automati-
cally when the oven has cooled.
NOTE
To Set Self Clean
To Set Self Clean with a Delayed Start
It may become necessary to cancel or interrupt a self
clean cycle due to excessive smoke or fire in the oven.
To Cancel the Self Clean function, press the
or
key.
Loading ...
Loading ...
Loading ...