Loading ...
Loading ...
Loading ...
29
HOW TO USE
ENGLISH
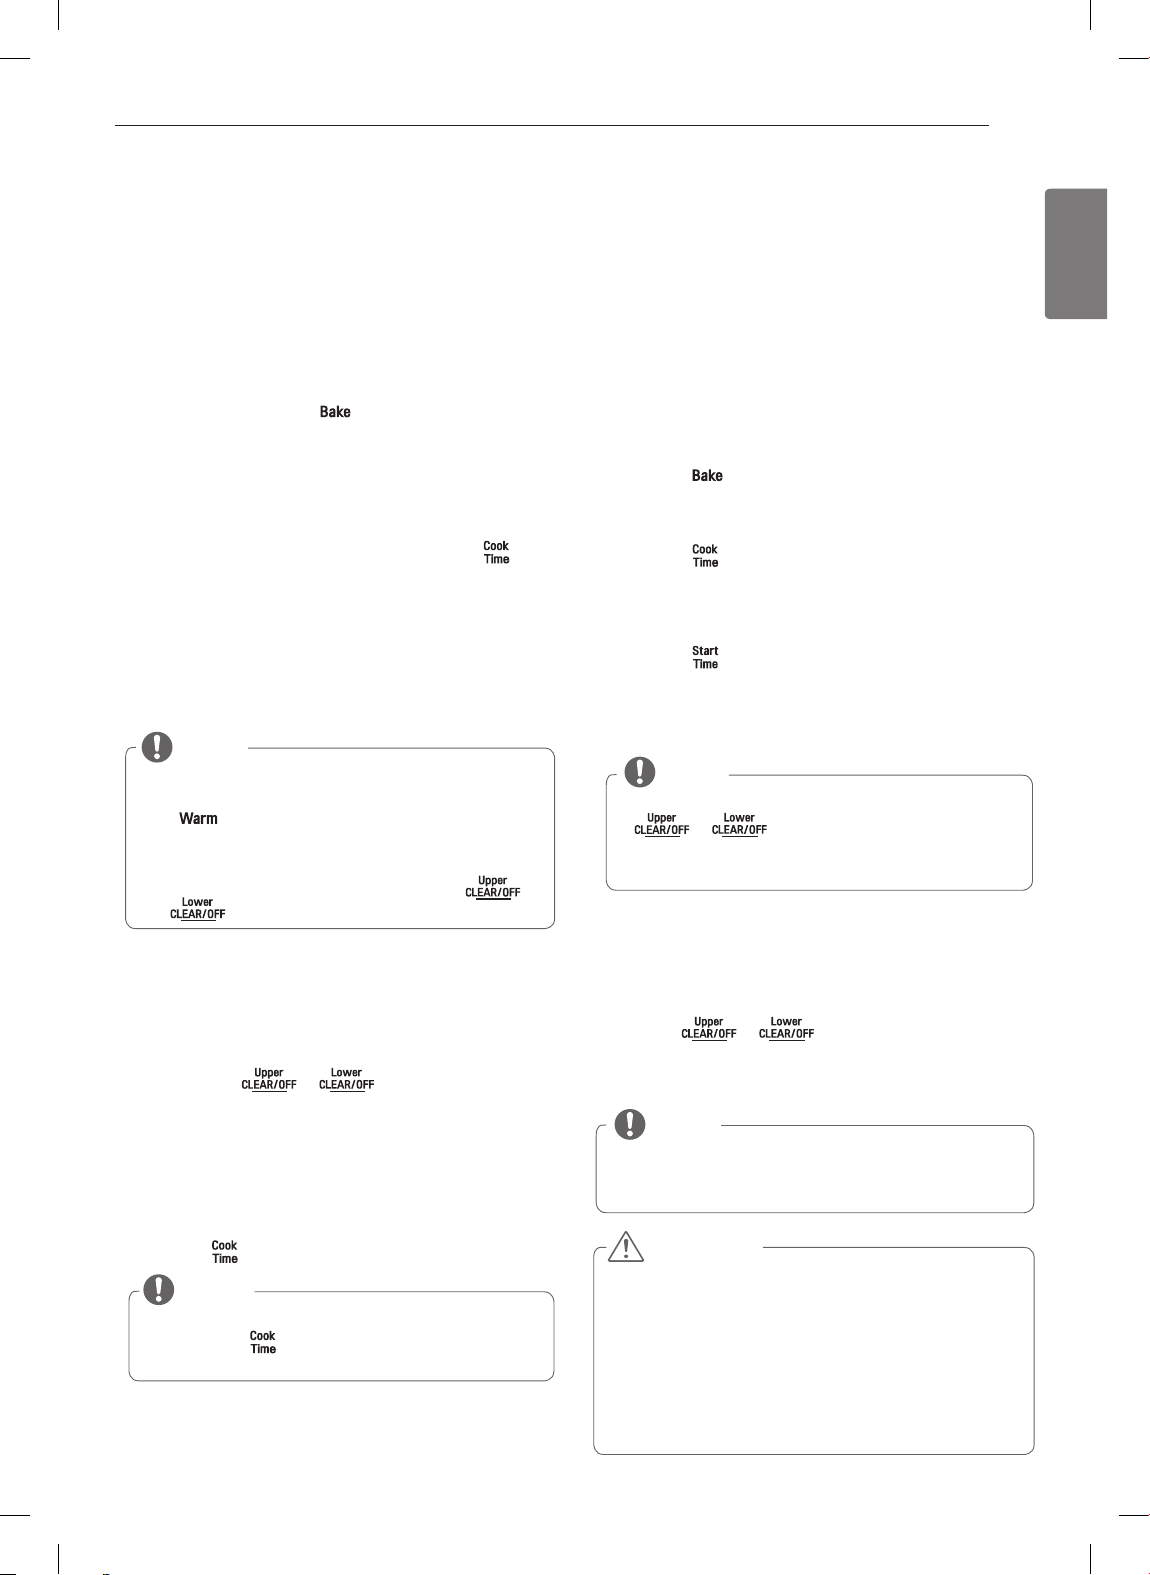
TIMED COOK
(Upper & Lower Oven)
The TIMED COOK feature allows you to set the oven to cook
for a specific length of time. This feature can only be used
while baking.
To set TIMED COOK
(example: to BAKE at 300°F for 30 minutes):
1
Press the upper or lower key.
q
o
will appear in the
display.
2
Use the number keys to set the temperature
(ex. press
3
,
0
,
0
).
3
Press
q
to begin preheating.
4
Once the oven has preheated to 300°, press the key.
o
o
will appear in the display.
5
Set the desired baking time (ex. press
3
,
0
).
The baking time can be set for any amount of time be-
tween 1 minute and 11 hours and 59 minutes.
6
Press the
q
key and the display will show the cooking
time countdown.
The oven will continue to cook for the set amount of time
and then turn off automatically. When the cooking time has
elapsed:
To change the cook time while operating the oven:
(example: to change the cook time from 30 minutes to 1 hour
30 minutes):
1
Press the key.
2
Use the number keys to change the baking time
(ex. press
1
,
3
,
0
).
3
Press
q
to accept the change.
DELAYED TIMED COOK
(Upper & Lower Oven)
The automatic timer of the DELAYED TIMED COOK will turn
the oven ON and OFF at the time you select. This feature can
only be used for baking.
To set the oven for Delayed Start (example: to BAKE at 300°F
for 30 minutes and start operating the bake mode at 4:30pm):
1
Be sure that the clock is set for the correct time of day.
2
Arrange the interior oven rack(s) and place the food in the
oven.
3
Press the key.
q
o
will appear on the display.
4
Use the number keys to set the oven temperature
(ex. press
3
,
0
,
0
).
5
Press the key.
6
Set the desired baking time (ex. press
3
,
0
).
The baking time can be set for any amount of time from 1
minute to 11 hours and 59 minutes.
7
Press the key.
8
Set the desired start time (ex. press
4
,
3
,
0
).
9
Press the
q
key. At the set time, a short beep will
sound and the oven will begin baking.
y
k
and the time of day will show in the display.
y
The cook end indicator tone will sound every 60 sec-
onds until the or key is pressed.
y
When WARM function is set, warm function is acti-
vated after cooking for the set time.
NOTE
If operating both the upper & lower oven at the same
time, press the key once to set the cook time for
the lower oven and twice for the upper oven.
y
k
and the time of day will show in the display.
y
The cook end indicator tone will sound every 60 seconds
until the or key is pressed.
y
When WARM function is set, warm function is activated
after cooking for the set time.
CAUTION
y
Use the automatic timer when cooking cured or frozen
meats and most fruits and vegetables. Foods that can
easily spoil, such as milk, eggs, fish, meat or poultry,
should be chilled in the refrigerator. Even when chilled,
they should not stand in the oven for more than 1 hour
before cooking begins, and should be removed promptly
when cooking is completed.
y
Eating spoiled food can result in sickness from food
poisoning.
NOTE
y
To cancel the DELAYED TIMED COOK function, press
or key at any time.
y
If you would like to change the cooking time, repeat
steps 5-6 and press
q
.
The oven will continue to cook for the set amount of time
and then turn off automatically. When the cooking time has
elapsed:
NOTE
y
To set the WARM function to engage at the end of
the timed cook cycle, repeat steps 1-5 and then press
the key. WARM will appear in the display. (Refer
to "WARM" in the How to Use section for more infor-
mation on warming.)
y
To cancel the TIMED COOK function, press
or key at any time.
NOTE
If your oven clock is set as a 12 hour clock, you can delay
the cook time for 12 hours. If your oven clock is set as a
24 hour clock, you can delay the cook time for 24 hours.
Loading ...
Loading ...
Loading ...