Loading ...
Loading ...
Loading ...
34
HOW TO USE
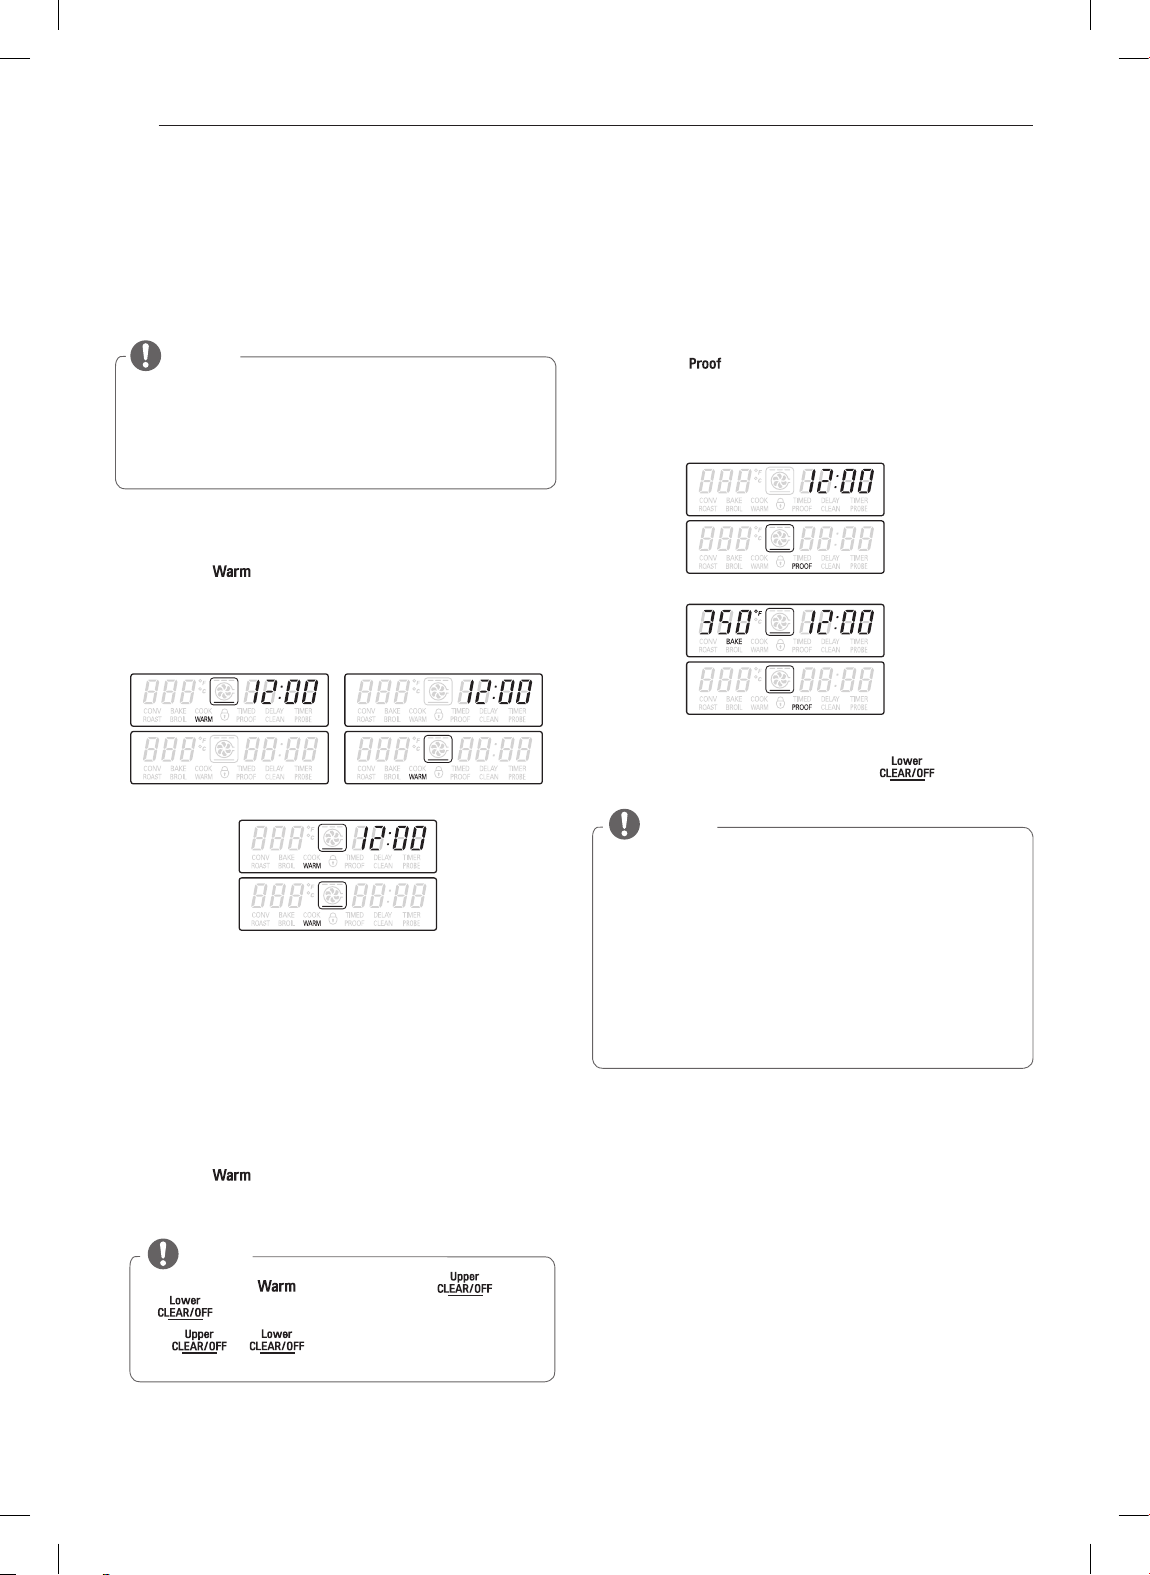
WARM (Upper & Lower Oven)
This function will maintain an oven temperature of 170°F. The
WARM
function will keep cooked food warm for serving up
to 3 hours after cooking has finished. The Warm function may
be used without any other cooking operations or can be used
after cooking has finished using TIMED BAKE or DELAYED
TIMED BAKE.
NOTE
y
The
WARM
function is intended to keep food warm. Do
not use it to cool food down.
y
When the lower oven is above 475°F, the
WARM
func-
tion of the upper oven cannot be used.
w
will appear
on the display.
To set the WARM function:
1
Press the key of the upper and/or lower oven.
2
Press the
q
key.
Display Screen (example):
To set the warm function after Timed Cooking:
1
Set either TIMED COOK or DELAYED TIMED COOK (refer
to "TIMED COOK" or "DELAYED TIMED COOK" in the
How to Use section).
2
Press the
q
key.
3
Press the key.
The Warm mode is set to turn on automatically after com-
pleting the timed cooking or delayed cooking time.
Upper oven only
Upper & Lower oven at the same time
Lower oven only
NOTE
y
To cancel the function, press the or
key at any time.
y
If or is pressed prior to the delay
functions, all cooking settings will be canceled.
PROOF (Lower Oven)
This feature maintains a warm oven for rising yeast leavened
products before baking.
To set the PROOF function:
1
Use rack B or C for proofing.
2
Press the key.
3
Press the
q
key
.
4
When proofing is finished, press the key.
Lower oven only
Upper & Lower oven at the same time
Display Screen (example):
NOTE
y
To avoid lowering the oven temperature and length-
ening proofing time, do not open the oven door un-
necessarily. Check bread products early to avoid over-
proofing.
y
Do not use the proofing mode for warming food or
keeping food hot. The proofing oven temperature is not
hot enough to hold foods at safe temperatures. Use the
WARM feature to keep food warm.
Proofing will not operate when the oven is above 125°F.
w
will show in the display.
Loading ...
Loading ...
Loading ...