Loading ...
Loading ...
Loading ...
-68
You can adjust the computer image, match the computer display mode, and confirm the
input signal using the “Fine Sync” menu.
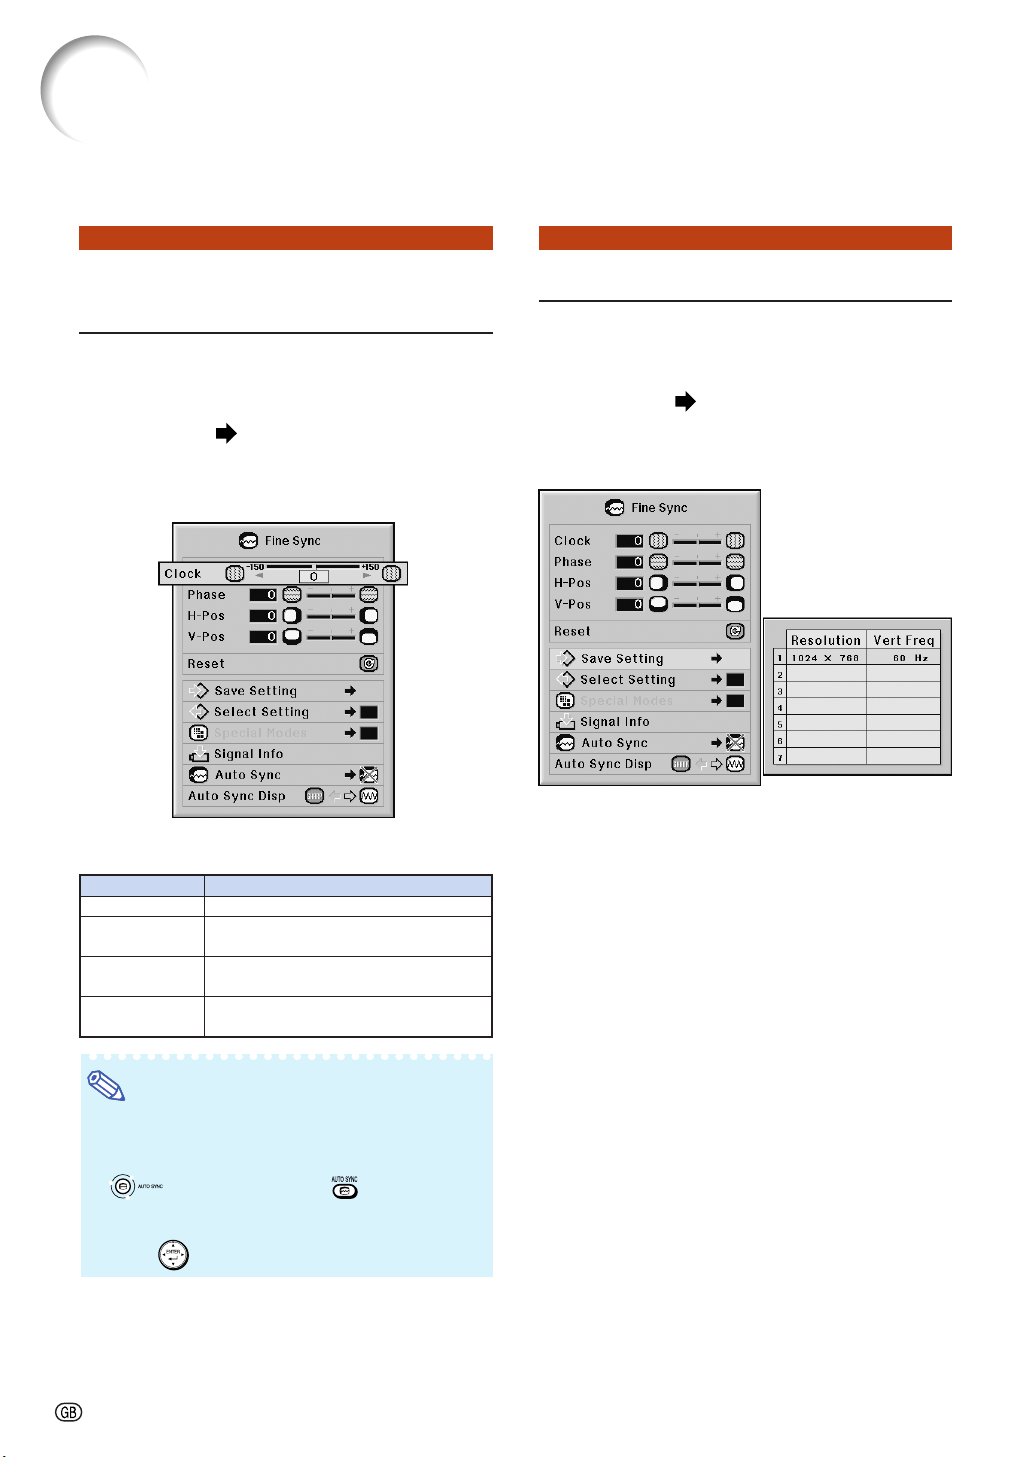
Computer Image Adjustment (“Fine Sync” menu)
Adjusting the Computer
Image
Use the Fine Sync function in case of irregulari-
ties such as vertical stripes or flickering in por-
tions of the screen.
Menu operation
Page 56
Example: “Fine Sync” screen menu for
INPUT 1 (RGB) mode
Description of Adjustment Items
Note
• You can automatically adjust the computer im-
age by setting “Auto Sync” on the “Fine Sync”
menu to “Normal” or “High Speed”, or pressing
on the projector or on the remote
control. See page 70 for details.
• To reset all adjustment items, select “Reset” and
press
.
Selectable items
Clock
Phase
H-Pos
V-Pos
Description
Adjusts vertical noise.
Adjusts horizontal noise (similar to
tracking on your VCR).
Centers the on-screen image by
moving it to the left or right.
Centers the on-screen image by
moving it up or down.
Saving Adjustment Settings
This projector allows you to store up to seven
adjustment settings for use with various com-
puters.
Menu operation
Page 58
Example: “Fine Sync” screen menu for
INPUT 1 (RGB) mode
Loading ...
Loading ...
Loading ...