Loading ...
Loading ...
Loading ...
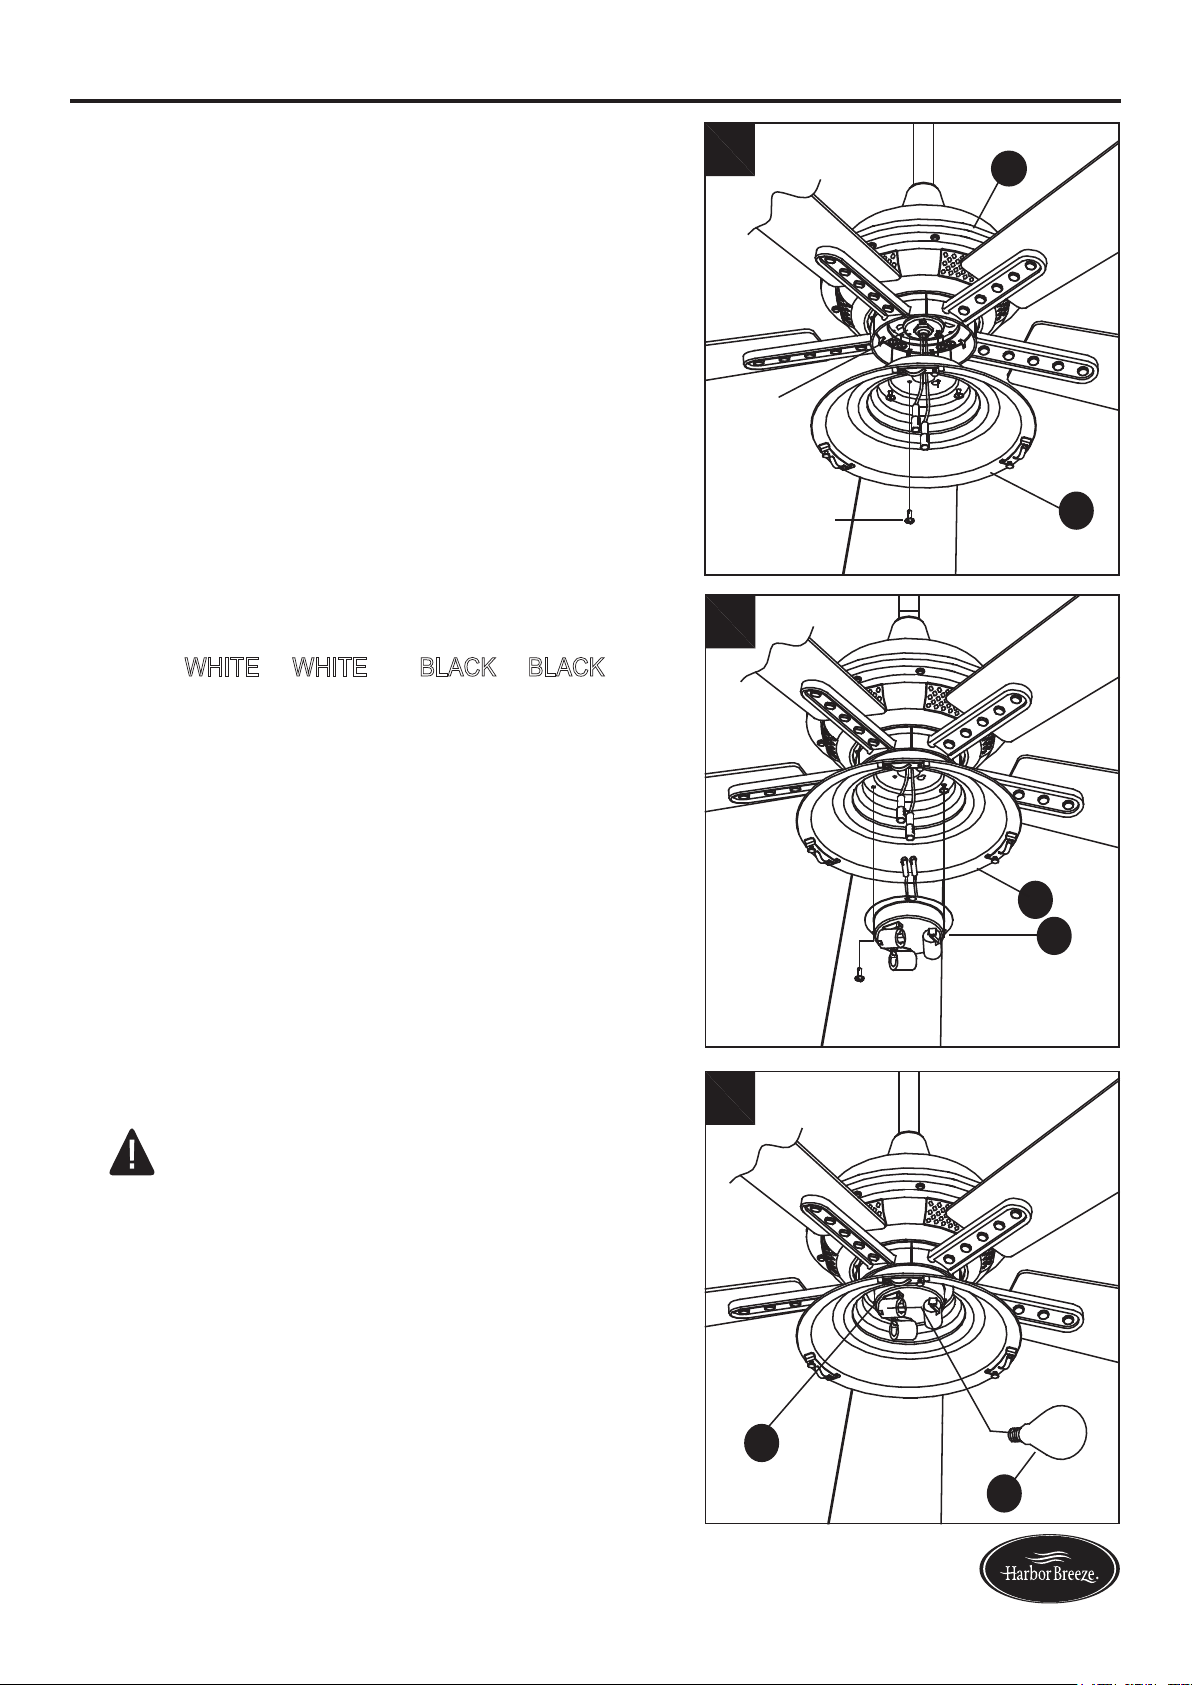
FINAL INSTALLATION INSTRUCTIONS
4. Remove one of the screws preassembled on
mounting plate of motor housing (F) and loosen but
do not remove the
other two. Insert the wires from the
motor housing
(F) through the middle hole in the switch
housing
(I). Attach the switch housing (I) to the mounting
plate by placing the keyslot holes of the switch
housing (I) onto the two protruding screw heads on
the mounting plate. Twist the switch housing (I)
until the screws engage the keyslots, then install the
previously removed screw into the closed hole in
the switch housing (I). Tighten all screws to secure
switch housing (I) to mounting plate.
5.
Connect the 2 single-pin connectors from the motor
housing (F) to the 2 single-pin connectors from the
light
kit (J)
- W
HITE to WHITE and BLACK to BLACK.
Remove one of the screws from the switch
housing (I)
and loosen but do not remove the other
two.
Attach the
light kit (J) to the switch housing (I)
by placing
the keyslot
holes from the light kit (J) onto the two protruding screws
on the switch housing (I)
. Twist the light kit (J) until the
screws engage the keyslots, then
install the previously
removed screw into the closed hole in the light kit (J).
Tighten all screws to secure light kit (J) to switch housing
(I).
13
6. Install bulbs (L) into each socket on the light kit (J) .
CAUTION: An energy-saving wattage limiter is
included in the receiver from the power kit (M). When
replacing bulbs, ensure bulb wattage is less than 190
watts, otherwise the item will either dim the lights to
190 watts or will automatically turn off.
Mounting
Plate
Screw
4
I
J
5
Lowes.com/harborbreeze
L
6
J
F
I
Loading ...
Loading ...
Loading ...