Loading ...
Loading ...
Loading ...
With Other Equipment
SQT0801
73
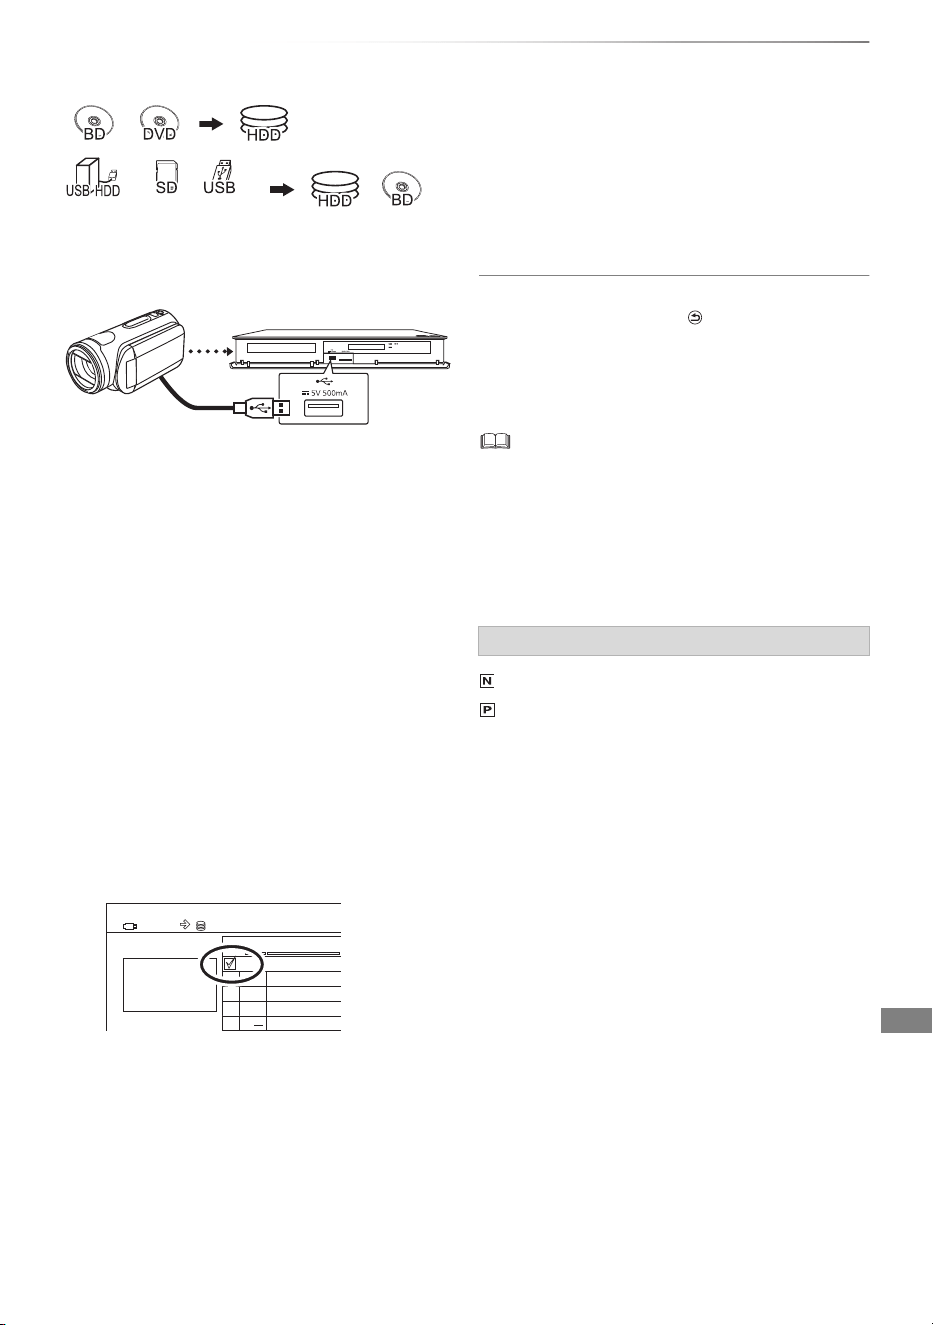
Copying the HD Video (AVCHD)
§
“For data files (> 10)” only
e.g., Connecting to the Panasonic video camera
1 Connect the video camera or insert the
media.
• Make the video camera ready for data
transfer.
The menu screen appears. (> 42)
2 Select “Copy Video ( AVCHD )”, then press
[OK].
3 When copying from an SD card or video
equipment:
Select “Copy to HDD” or “Copy to Blu-ray
Disc”, then press [OK].
4 Select the title, then press the yellow button.
A check mark is displayed. Repeat this step.
• Press the yellow button again to cancel.
(All the recordings on the same date
become a title.)
5 Press [OK].
6 Select “Start”, then press [OK].
• It may take time for the copying to start.
To stop copying
Press and hold [RETURN ] for 3 seconds.
• The original file must be in the AVCHD standard.
• If you connect a Panasonic product with a USB connection
cable, setup screen may be displayed on the connected
equipment. For details, refer to the instructions for the
connected equipment.
• An AVCHD title with 100 or more scenes will be divided into
titles every 99th scene and copied.
USB connection cable
(optional)
§
video camera, etc.
Time
Rec time
Size 200 MB
0:30
9:00 AM
HDD
Copy Video ( AVCHD ) Destination Capacit
y
Siz
e
002
003
004 AVCHD
AVCHD
AVCHD
AVCHD
001
No. Channel
USB
e.g., [USB]
It will automatically format the unformatted
disc, such as a new disc.
To copy to the DVD-R in High Definition
Refer to “Copying HD Video (AVCHD) to the
DVD-R in High Definition”. (> 58)
Screen icons
(NTSC)
(PAL)
Title recorded using a different
encoding system from that of the
unit.
• Titles displaying these marks
cannot be selected.
DMRBWT955GL_eng.book 73 ページ 2015年2月3日 火曜日 午前10時3分
Loading ...
Loading ...
Loading ...