Loading ...
Loading ...
Loading ...
21
”
f
”
arrow corresponding to
“NEXT>”;
39
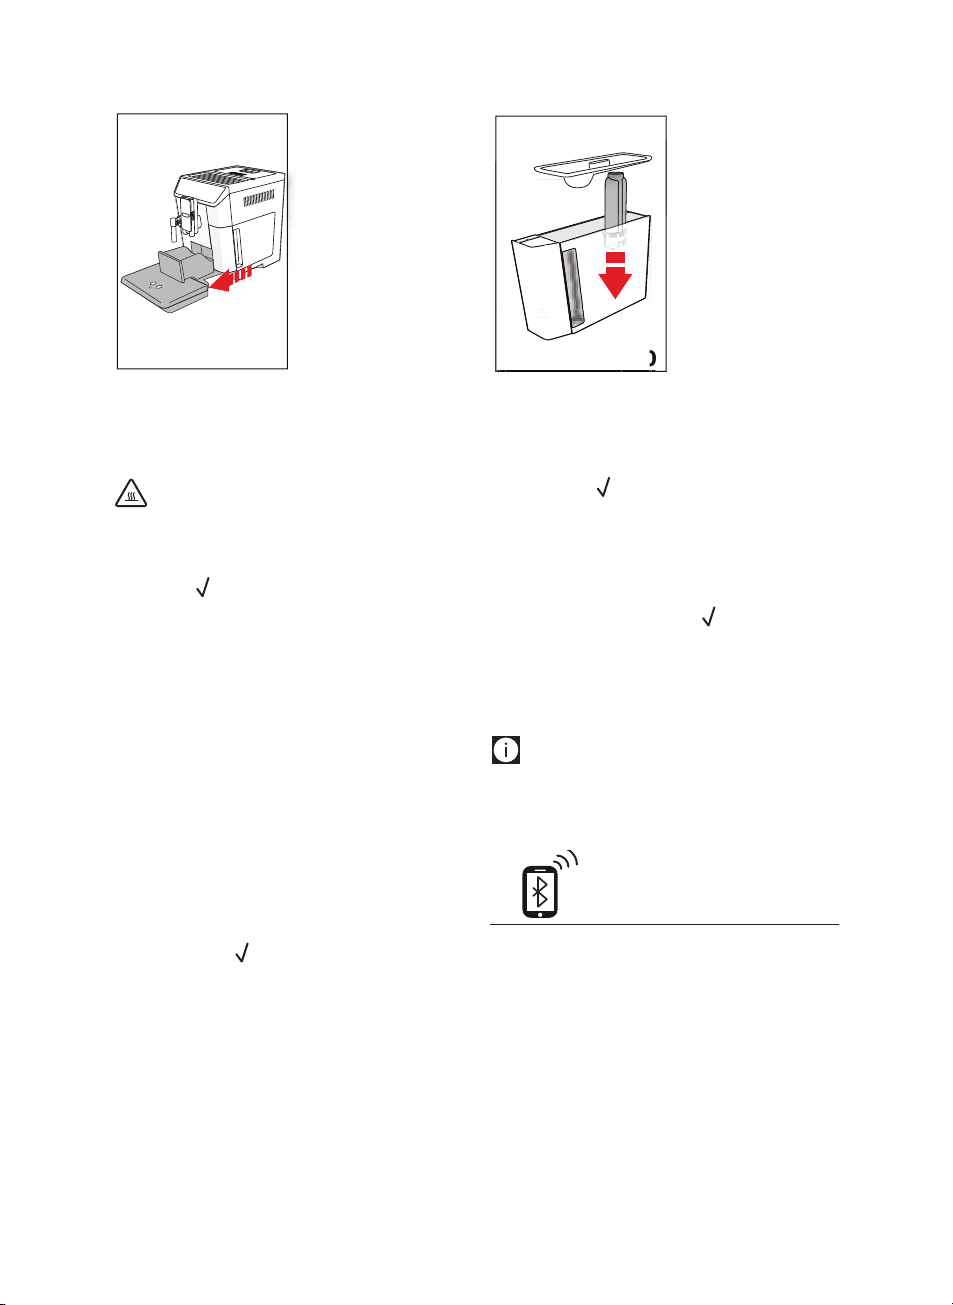
5. “EMPTY DRIP TRAY” (g.
47): Remove, empty
and replace the drip
tray (A14) and grounds
container (A10). Press
the selection arrow cor-
responding to “NEXT>”;
6. “POSITION 2l CONTAINER
OK TO START”. Place an
empty container with
a minimum capacity of
2 litres under the hot
water/steam spout (C6)
and coee spouts (A8)
(g. 8);
Important! Danger of burns
Hot water containing acid ows from the hot water/steam and
coee spouts. Take care to avoid contact with splashes of this
solution.
7. Press “OK ” to conrm that you have added the descal-
ing solution. “DESCALING UNDERWAY” appears on the dis-
play (B1). The descale programme starts and the descaler
liquid comes out of the hot water/steam and coee spouts.
A series of rinses and pauses is performed automatically to
remove all the scale residues inside the coee machine;
After about 25 minutes, descaling stops;
8. “RINSE AND FILL WATER TANK UP TO MAX LEVEL” (g. 5):
the appliance is now ready to rinse with fresh water. Empty
the container used to collect the descaler solution. Extract
the water tank, empty, rinse under running water, ll
with fresh water up to the MAX level and put back in the
appliance;
9. “PLACE 2l CONTAINER UNDER SPOUTS PRESS OK TO START
RINSING”: Place the container used to collect the descaler
solution empty under the coee spouts and hot water/
steam spout (g. 8) and press the selection arrow corre-
sponding to “OK “;
10 Hot water is delivered rst from the coee spouts, then
from the hot water/steam spout and “RINSING UNDERWAY”
is displayed;
11. When the water in the tank has run out, empty the con-
tainer used to collect the rinsing water;
40
0
0
0
0
0
40
40
12. “INSERT FILTER INTO ITS
HOUSING” (g. 48). Press
“NEXT>” and extract the
water tank. Replace the
water softener lter if
removed previously;
13. “RINSE AND FILL WATER
TANK UP TO MAX LEVEL”
(g. 5): Fill the tank up to
the MAX level with fresh
water;
14. “INSERT WATER TANK” (g.
6): Put the water tank
back in the appliance;
15.
“PLACE 2l CONTAINER UNDER SPOUTS PRESS OK TO START
RINSING”: Place the container used to collect the descaler
solution empty under the hot water/steam spout (g. 8)
and press “OK ” ;
16. Hot water is delivered from the hot water/steam spout and
“RINSING UNDERWAY” is displayed;
17. “EMPTY DRIP TRAY” (g. 39): At the end of the second rinse,
remove, empty and replace the drip tray (A14) and grounds
container (A10). Press “NEXT>”;
18. “DESCALE COMPLETE”: press “OK “;
19. “FILL TANK WITH FRESH WATER”: empty the container used
to collect the rinse water, remove the water tank and ll
with fresh water up to the MAX level, then put back in the
appliance.
Descaling is complete.
Please note!
• If the descaling cycle is not completed correctly (e.g. no
electricity) we recommend repeating the cycle;
• After descaling, it is normal for the grounds container
(A10) to contain water.
17. SETTING WATER HARDNESS
The “DESCALE” message is displayed after a period of time es-
tablished according to water hardness.
The machine is set by default for a hardness of “LEVEL 4”. The
machine can also be programmed according to the hardness
of the mains water in the various regions so that the machine
needs to be descaled less often.
17.1 Measuring water hardness
1. Remove the “TOTAL HARDNESS TEST” indicator paper (C1)
from its pack (attached to the English instructions).
2. Immerse the paper completely in a glass of water for one
second.
Loading ...
Loading ...
Loading ...