Loading ...
Loading ...
Loading ...
11
”
”
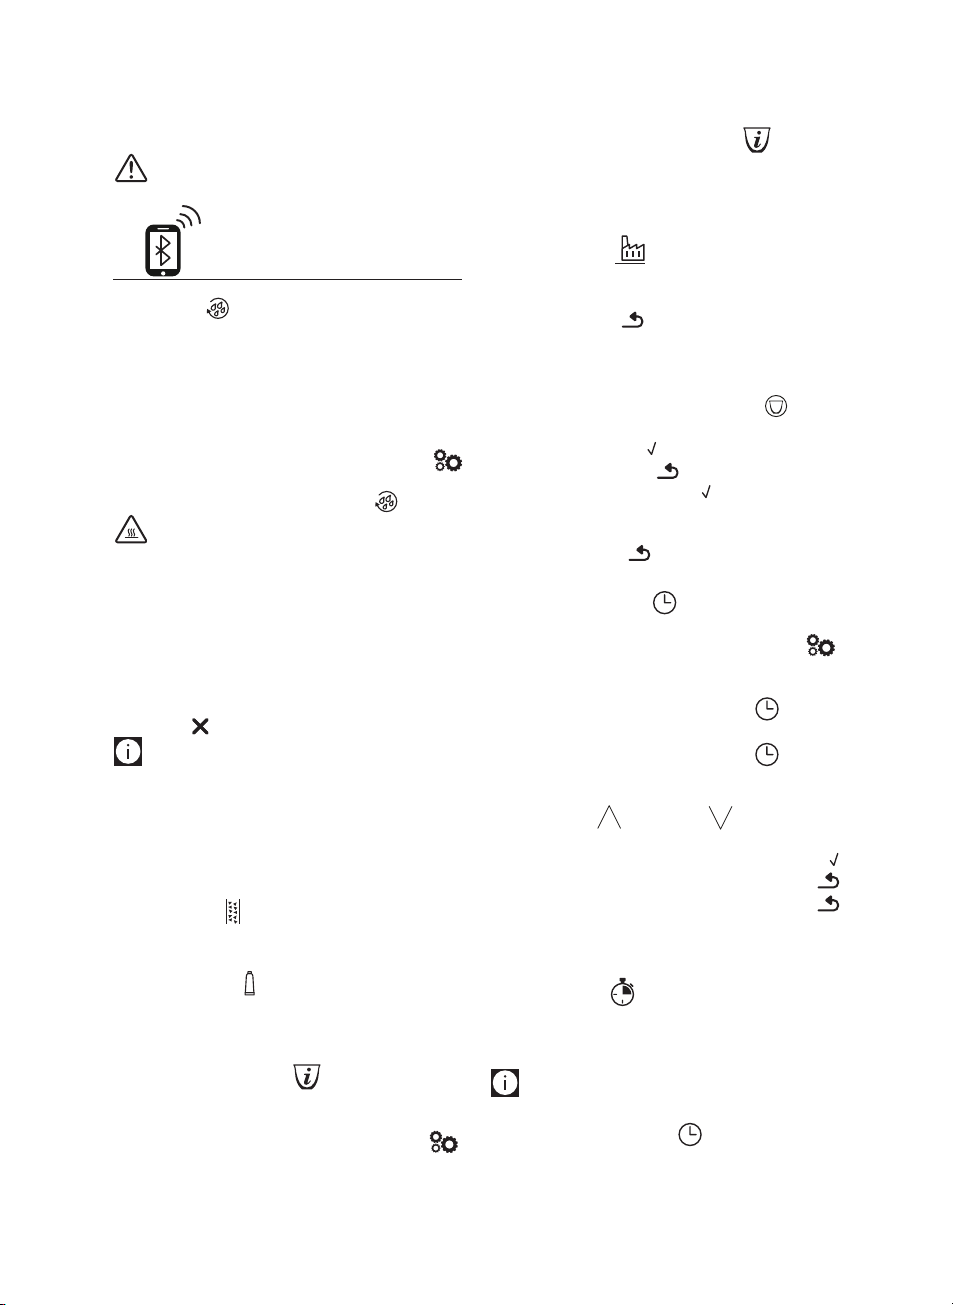
• release the main switch (A21) at the back of the appliance
(g. 2).
Important!
Never press the main switch while the appliance is on.
8. MENU SETTINGS
8.1 Rinsing
Use this function to deliver hot water from the coee spouts
(A8) and hot water/steam spout (C6), if inserted, to clean and
heat the appliance’s internal circuit.
Place a container with a minimum capacity of 100ml under the
coee and hot water spouts (g. 8).
To enable the function, proceed as follows:
1. Press the selection arrow (B2) corresponding to the “
” symbol (B8) to enter the menu;
2. Press the selection arrow corresponding to “
RINSING”;
Important! Danger of burns.
Do not leave the appliance unattended while hot water is being
delivered.
3. After a few seconds, hot water is delivered rst from the
coee spouts, then from the hot water/steam spout (if
inserted) to clean and heat the appliance’s internal circuit.
“RINSING UNDERWAY” appears on the display, together with
a progress bar which lls gradually as preparation proceeds;
4. To interrupt rinsing, press the selection arrow corresponding
to “STOP
” or wait for rinsing to stop automatically.
Please note!
• If the appliance is not used for more than 3-4 days, when
you turn it on again, we strongly recommend performing
2/3 rinses before use;
• After cleaning, it is normal for the grounds container (A10)
to contain water.
8.2 Descaling
For instructions on descaling, see section “16. Descaling”.
8.3 Water lter
For instructions on how to install the lter (C4), see section “18.
Water softener lter”.
8.4 Beverages settings
In this section, you can consult your customised settings and, if
you wish, reset the default values for each beverage.
1. Press the selection arrow (B2) corresponding to the “
”
symbol (B8) to enter the menu;
2. Scroll through the menu items by pressing the selection
arrow corresponding to “NEXT>” until “
BEVERAGES
SETTINGS” appears on the display;
3. The values for the rst beverage appear on the display;
4. The reference user prole is highlighted on the display. The
values are displayed on vertical bars. The default value is
indicated by the
symbol, while the current value is
highlighted by the solid part of the vertical bar;
5. To go back to the settings menu, press the selection arrow
corresponding to “ ESC”. To scroll through and display
the beverages, press the selection arrow corresponding to
“NEXT>”;
6. To reset the default values for the beverage displayed,
press the selection arrow corresponding to “
RESET”;
7. “CONFIRM RESET?”: to conrm press the selection arrow
corresponding to “
OK
” to cancel, press the selection
arrow corresponding to “ ESC”);
8. “DEFAULT VALUES SET”: press “
OK
” .
The beverage has been reset to the default values. Proceed with
the other beverages or go back to the homepage by pressing the
arrow corresponding to “ ESC” twice.
8.5 Setting the time
To adjust the time on the display (B1), proceed as follows:
1. Press the selection arrow (B2) corresponding to the “
”
symbol (B8) to enter the menu;
2. Scroll through the menu items by pressing the selection
arrow corresponding to “NEXT>” until “
SET TIME”
appears on the display;
3. Press the selection arrow corresponding to “
SET TIME”;
The time setting panel appears on the display;
4. Adjust the time by pressing the selection arrows corre-
sponding to
(increase) or (decrease) for the
hours (H) and minutes (MIN);
5.
To conrm, press the selection arrow corresponding to “OK
” (to cancel, press the selection arrow corresponding to
“
ESC”)and press the selection arrow corresponding to “
ESC” to go back to the homepage.
The time is now set.
8.6 Auto-start
You can set the auto-start time in order to have the appliance
ready at a certain time (for example in the morning) so you can
make coee immediately.
Please note!
To enable this function, the time must already be set correctly
(see section “8.5 Setting the time ”).
To enable auto-start, proceed as follows:
Loading ...
Loading ...
Loading ...