Loading ...
Loading ...
Loading ...
12
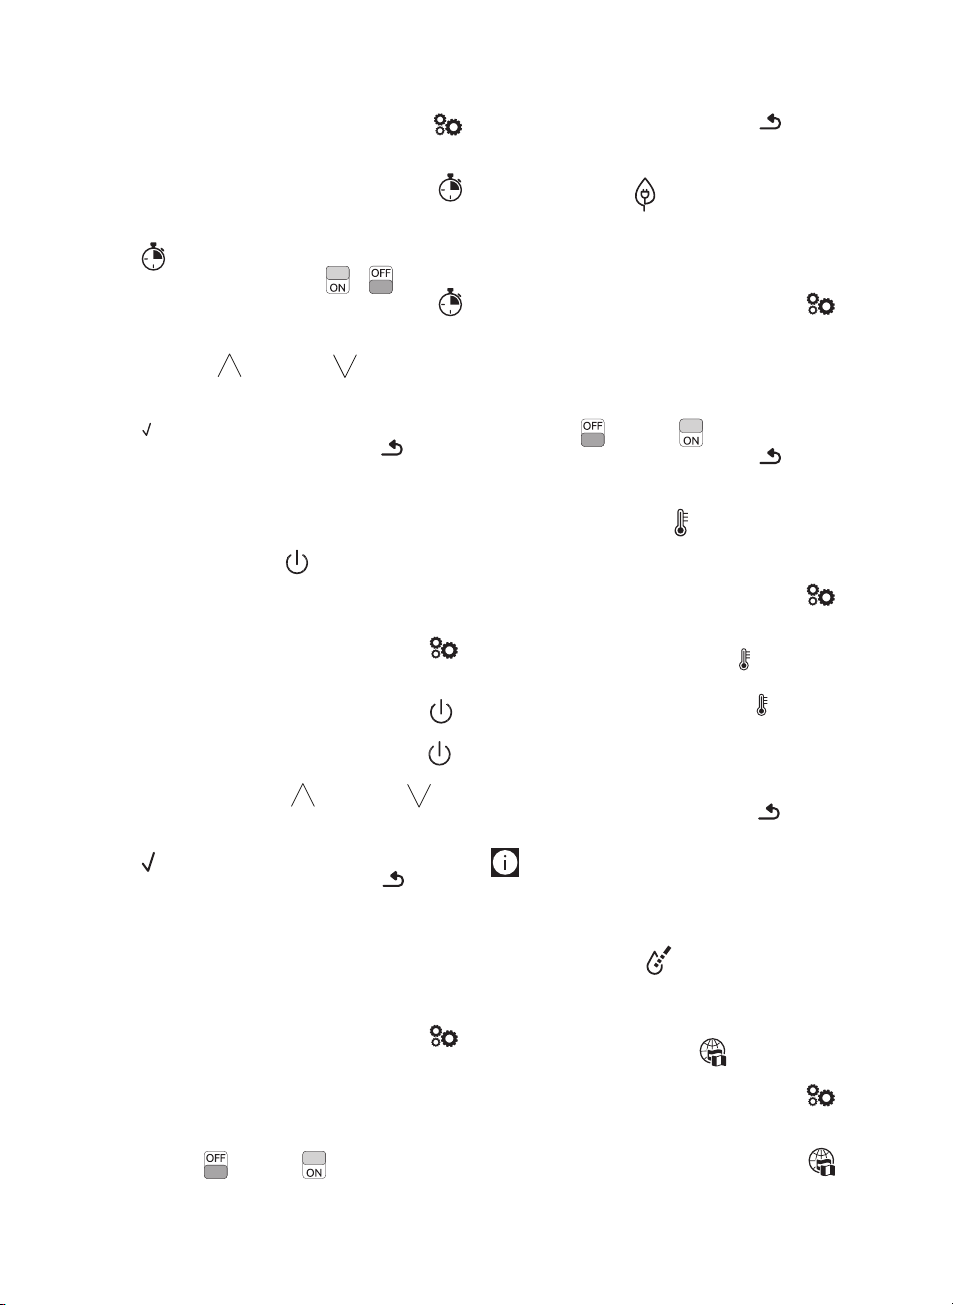
1. Press the selection arrow (B2) corresponding to the “
” symbol (B8) to enter the menu;
2. Scroll through the menu items by pressing the selection
arrow corresponding to “NEXT>” until “AUTO-START
” appears on the display;
3. Press the selection arrow corresponding to “AUTO-START
”. Disable (or enable) the function by pressing the
selection arrow corresponding to (or );
4. Press the selection arrow corresponding to “SET TIME
”. The time setting panel appears on the display (B1);
5. Adjust the time by pressing the selection arrows corre-
sponding to
(increase) or decrease) for the
hours (H) and minutes (MIN);
6.
To conrm, press the selection arrow corresponding to “OK
”;
7. Press the selection arrow corresponding to “ ESC” twice
to go back to the homepage.
The auto-start time is now set and the corresponding symbol is
displayed to indicate that the function has been enabled.
8.7 Auto-o (standby)
Auto-o can be set so that the appliance goes o after 15 or 30
minutes, or 1, 2 or 3 hours.
To programme Auto-o, proceed as follows:
1. Press the selection arrow (B2) corresponding to the “
”
symbol (B8) to enter the menu;
2. Scroll through the menu items by pressing the selection
arrow corresponding to “NEXT>” until “AUTO-OFF
”
appears on the display;
3. Press the selection arrow corresponding to “AUTO-OFF
”;
4. Select the required time interval by pressing the selection
arrows corresponding to
(increase) or (de-
crease) the values;
5. To conrm, press the selection arrow corresponding to “OK
”;
6. Press the selection arrow corresponding to “
ESC” to go
back to the homepage.
Auto-o is now programmed.
8.8 Cup warmer
To warm the cups before making coee, you can enable the cup
warmer (A6) and rest the cups on the shelf.
1. Press the selection arrow (B2) corresponding to the “
”
symbol (B8) to enter the menu;
2. Scroll through the menu items by pressing the selection
arrow corresponding to “NEXT>” until “CUP WARMER” ap-
pears on the display;
3. Press the selection arrow corresponding to “CUP WARMER”
to disable (
) or enable ( ) the function.
4. Press the selection arrow corresponding to “
ESC” to go
back to the homepage.
8.9 Energy saving
Use this function to enable or disable energy saving. When en-
abled, the function reduces energy consumption in compliance
with European regulations.
To disable or enable “Energy Saving”, proceed as follows:
1. Press the selection arrow (B2) corresponding to the “
”
symbol (B8) to enter the menu;
2. Scroll through the menu items by pressing the selection
arrow corresponding to “NEXT>” until “ENERGY SAVING”
appears on the display;
3. Press the selection arrow corresponding to “ENERGY SAVING”
to disable (
) or enable ( ) the function.
4. Press the selection arrow corresponding to “
ESC” to go
back to the homepage.
8.10 Coee temperature
To modify the temperature of the water used to make the coee,
proceed as follows:
1. Press the selection arrow (B2) corresponding to the “
”
symbol (B8) to enter the menu;
2. Scroll through the menu items by pressing the selection
arrow corresponding to “NEXT>” until
“ COFFEE TEMPER-
ATURE” appears on the display;
3. Press the selection arrow corresponding to
“ COFFEE TEM-
PERATURE”. The selectable values appear on the display (B1)
(the current value is underlined);
4. Press the selection arrow corresponding to the value you want
to set (LOW, MEDIUM, HIGH, MAX);
5. Press the selection arrow corresponding to “ ESC” twice
to go back to the homepage.
Please note!
A dierent temperature can be set for each prole (see section
“14. Memorising your personal prole”).
8.11 Water hardness
For instructions on setting water hardness, see section “17. Set-
ting water hardness”.
8.12 Selecting the language
To modify the language of the display (B1), proceed as follows:
1. Press the selection arrow (B2) corresponding to the “
”
symbol (B8) to enter the menu;
2.
Scroll through the menu items by pressing the selection
arrow corresponding to “NEXT>” until “SET LANGUAGE
”
appears on the display;
Loading ...
Loading ...
Loading ...