Loading ...
Loading ...
Loading ...
15
Wireless Blu-ray Disc Player
www.insigniaproducts.com
If you do not have a surround sound receiver
connected to your player through one of the
digital audio jacks (optical or coaxial), select
48kHz. Otherwise, select the highest sampling
rate the receiver supports. See the
documentation that came with the receiver.
5 Press to go to the previous menu.
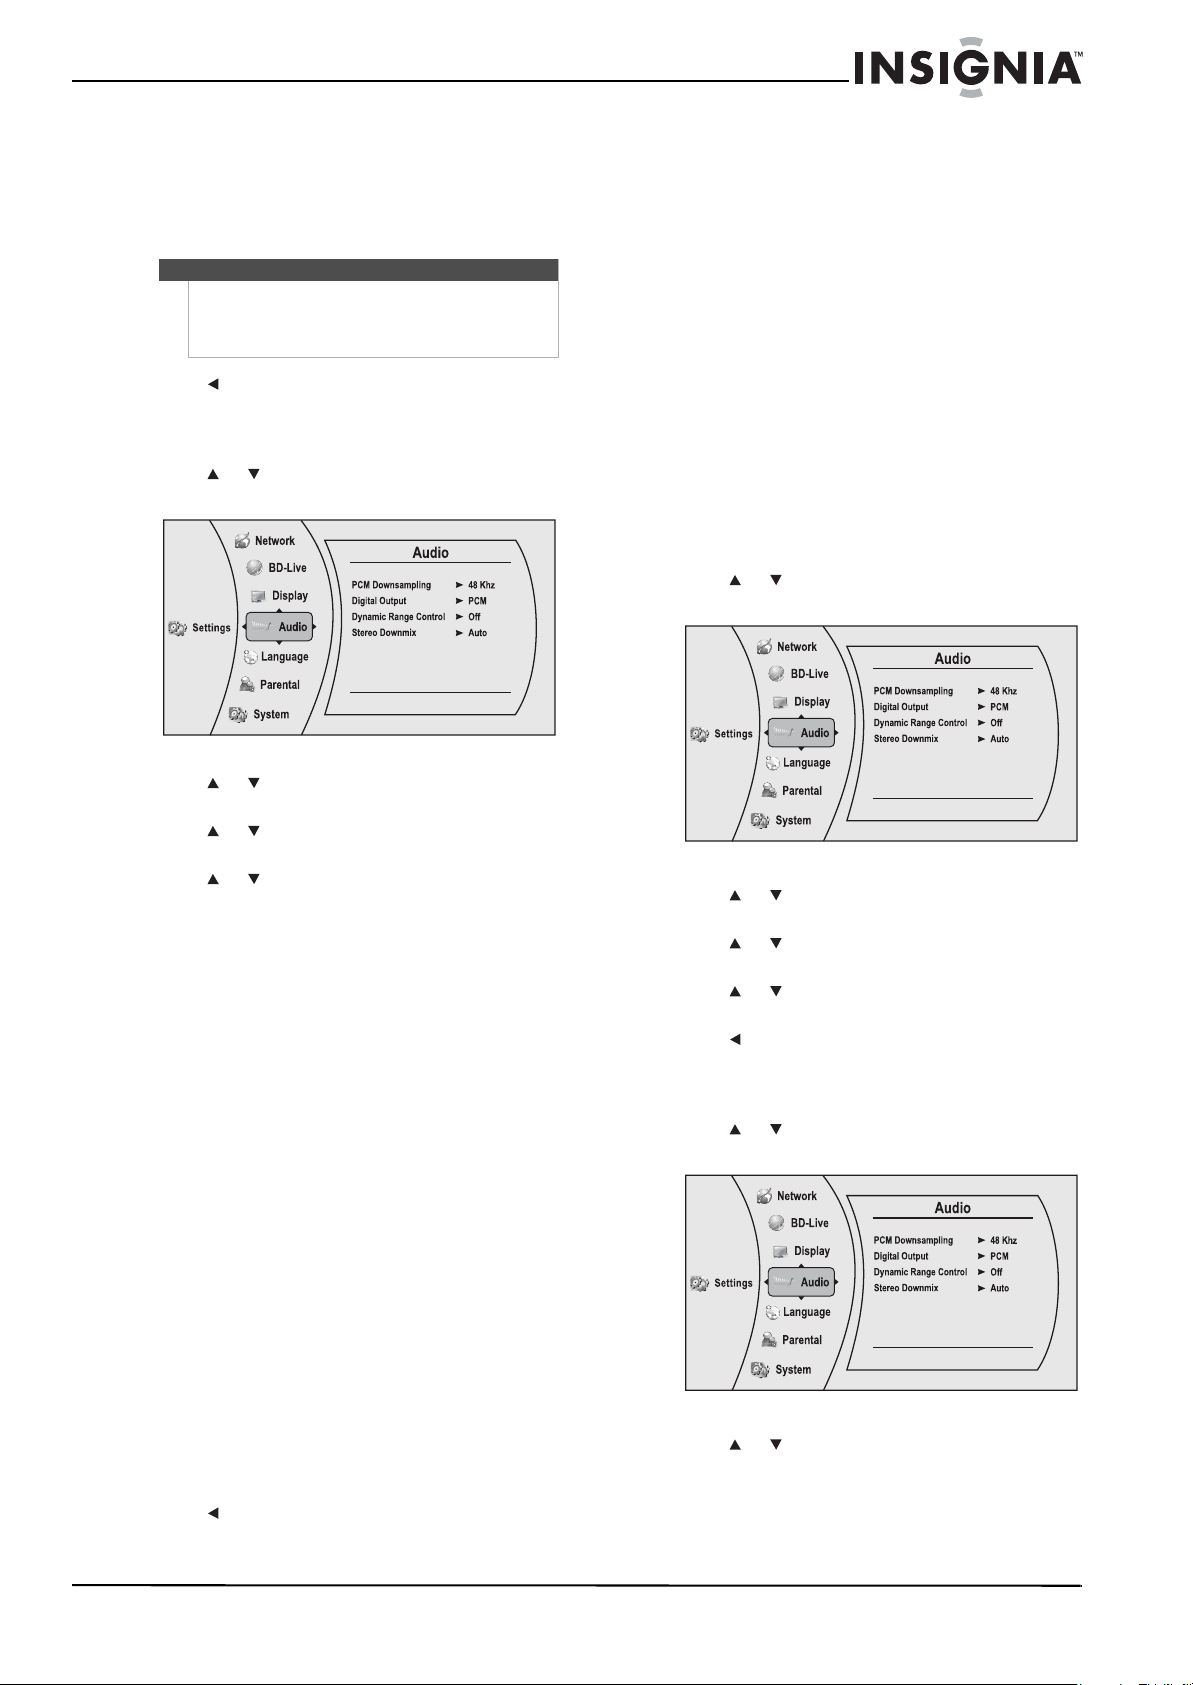
Selecting the digital audio output mode
To select the digital audio output mode:
1 Press or to select Settings, then press
ENTER. The Settings menu opens.
2 Press or to select Audio, then press ENTER.
The Audio menu opens.
3 Press or to select Digital Output, then
press ENTER.
4 Press or to select the digital output mode
you want, then press ENTER. You can select:
• PCM—Sends a PCM audio signal of up to 7.1
channels over the HDMI connection and up to
5.1 channels over the coaxial or optical
connection.
• Bitstream HD—Lets your player send Dolby
TrueHD or DTS-MA bitstreams over HDMI (if
your player is connected to a compatible
HDMI audio receiver). If your player is not
connected to a compatible HDMI receiver (for
example, your player is connected directly to
the TV or your player is connected to an audio
receiver using an optical or coaxial cable), a
compatible audio signal is automatically sent
over the HDMI and optical or coaxial
connections.
With this setting, Blu-ray audio is limited to the
soundtrack for the main movie (no PIP audio).
• Bitstream Legacy—Sends a DTS or Dolby
Digital bitstream from the disc over the HDMI
and optical or coaxial connections. Blu-ray
audio is limited to the soundtrack for the main
movie (no PIP audio).
• Bitstream mixed—Sends a mixed (PIP audio
and movie audio) DTS audio stream over the
HDMI and coaxial or optical connections. This
mode is primarily intended for use when you
want to hear both PIP audio and the movie
audio.
5 Press to go to the previous menu.
Turning dynamic range control on or off
Dynamic range control is only active when a Dolby
Digital signal is detected.
When Dynamic Range Control is set to Off, movie
soundtracks are played with the standard dynamic
range.
When movie soundtracks are played at low volume
or from smaller speakers, you can set Dynamic
Range Control to On. Your player applies
appropriate compression to make low-level content
more intelligible and prevent dramatic passages
from getting too loud.
When Dynamic Range Control is set to
Auto, the
system turns on the Dynamic range control for all
BD movie soundtracks except Dolby TruHD. If you
have selected a Dolby TruHD track on the BD disc,
Auto tells the BD player to only turn on dynamic
range control if information embedded in the
Dolby TruHD sound track tells it to do so.
To turn dynamic range control on or off:
1 Press or to select Settings, then press
ENTER. The Settings menu opens.
2 Press or to select Audio, then press ENTER.
The Audio menu opens.
3 Press or to select Dynamic Range Control,
then press ENTER.
4 Press or to select On, Off, or Auto, then
press ENTER.
5 Press to go to the previous menu.
Selecting the stereo downmix
To select the stereo downmix:
1 Press or to select Settings, then press
ENTER. The Settings menu opens.
2 Press or to select Audio, then press ENTER.
The Audio menu opens.
Note
Setting the optical or coaxial audio output’s PCM
downsampling sampling rate too high may result in
unpredictable audio playback. If you are not sure, set
the rate to 48kHz.
NS-WBRDVD2-WBRDVD2-CA_10-0865_MAN_V5.book Page 15 Monday, October 24, 2011 10:28 PM
Loading ...
Loading ...
Loading ...