Loading ...
Loading ...
Loading ...
2726
SMART FUNCTION
Application Installation
Search for the LG Smart ThinQ application from
the Google Play Store on a smart phone. Follow
instructions to download and install the application.
Product Registration
1
Run the LG Smart ThinQ application on a
smart phone.
2
Create an account and sign in.
3
Select Register.
4
Select Refrigerator.
5
Follow the instruction on the smart phone.
•
If the NFC function is not turned on, turn
on the NFC function in the smart phone.
6
Firmly attach the smart phone to the Tag On
logo on the appliance.
•
If you can not make a connection, then
move the smart phone up and down
slowly.
NOTE
•
Press ? in the LG Smart ThinQ application for a
more detailed guide on how to use the Tag On
function.
•
To operate the NFC function on this product
will require a smart phone which has at least a
certain level of NFC function recognition.Because
of the characteristics of NFC, if the transmission
distance is too far, or if there is a metal sticker
or a protective case on the phone, transmission
will not be good. In some cases, NFC-equipped
phones may be unable to transmit successfully.
•
The content found in this manual may differ
from the current version of the LG Smart ThinQ
application, and the software may be modied
without informing customers.
•
NFC function will vary depending on the smart
phone.
Using the Tag On Function
Conveniently use the Smart Diagnosis™ to
communicate with the appliance directly from a
smart phone.
The Tag On function can only be used with most
smart phones equipped with the NFC (Near
Field Communication) function and based on the
Android OS (operating system).
Using the Application
Select the appliance from the Dashboard to
use the desired functions by touching the LG
appliance's Tag On logo with an NFC-equipped
smart phone.
Smart Diagnosis™
If you use the Smart Diagnosis function, you will
be provided with the useful information such as
a correct way of using the appliance based on
the pattern of use.
Using Smart Diagnosis™
Use this function if you need an accurate diagnosis
by an LG Electronics customer information centre
when the appliance malfunctions or fails.
Smart Diagnosis™ can not be activated unless the
appliance is connected to power. If the appliance
is unable to turn on, then troubleshooting must be
done without using Smart Diagnosis™..
Smart Diagnosis™ Using a Smart
Phone
1
Open the LG Smart ThinQ application on the
smart phone.
2
Select the refrigerator in dashboard.
3
Press Start Smart Diagnosis button.
4
Follow the instructions on the smart phone.
NOTE
•
If the diagnosis is continually unsuccessful, then
use the following instructions.
5
Select the Audible Diagnosis.
6
Follow the instructions on the smart phone.
7
Keep the phone in place until the tone
transmission has nished. View the diagnosis
on the phone.
NOTE
•
The Smart Diagnosis™ function depends on the
local call quality.
•
The communication performance will improve
and you can transmit a better signal if you use a
land line home phone.
•
If the Smart Diagnosis™ data transfer is poor
due to poor call quality, you may not receive the
best Smart Diagnosis™ service.
Smart Diagnosis™ Through the
Customer Information Centre
Use this function if you need an accurate diagnosis
by an LG Electronics customer information center
when the appliance malfunctions or fails. Use this
function only to contact the service representative,
not during normal operation.
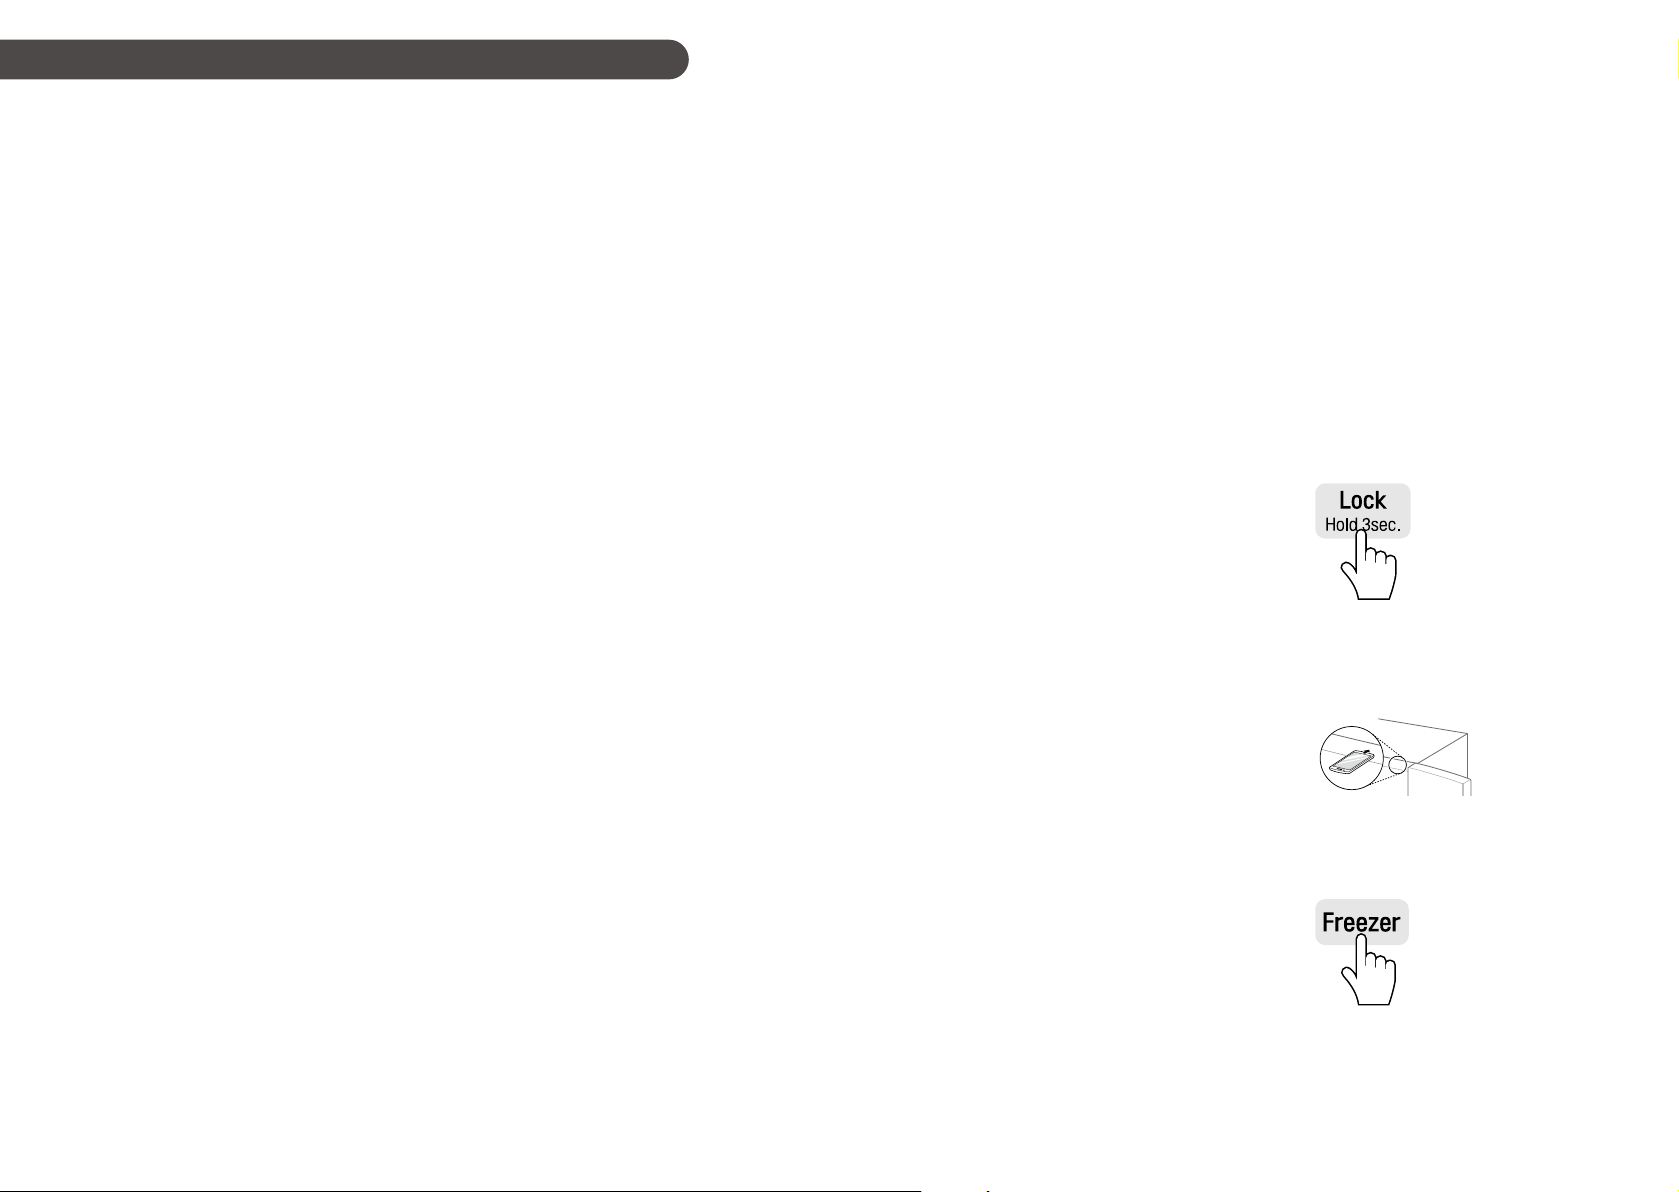
1
Press the Lock button to activate the Lock
function.
•
If the Lock function has been activated
already, press the Lock button to
deactivate the Lock function, and then
press the Lock button again to activate the
Lock function.
•
Please note that the Smart Diagnosis
function will not operate until ve minutes
has passed since the Lock function was
activated.
2
Open the fridge door and then hold the
phone on the upper right speaker hole.
•
Position the phone so that its microphone
is aligned with the speaker hole.
3
Press and hold the Freezer button for three
seconds or longer while continuing to hold
your phone to the speaker.
Loading ...
Loading ...
Loading ...