Loading ...
Loading ...
Loading ...
English
25
Step 3: Installation and Setup
Before you start...
When you complete the
connections and turn on the
recorder for the rst time, it is
advisable that you make several
basic settings.
Please see the following pages on using
the setup menu features to program TV
channels, menu language and system
clock settings. This will optimise the
performance of this recorder.
Finding the correct viewing
channel
A
Press STANDBY-ON on the recorder
to switch it on.
B
Turn on the TV and set it to the correct
video-in channel. You should see the blue
DVD background screen.
You may go to Channel 1 on your TV,
then press the Channel Down button on
your TV’s remote control until you see
the Video In channel.
You may press ° button repeatedly
on your TV’s remote control.
Usually this channel is between the
lowest and highest channels and may be
called FRONT, A/V IN, VIDEO. See your
TV manual for more details.
Or, set the TV to Channel 3 or 4 if
you are using a RF modulator.
Setting the OSD language
Select the menu language for this
recorder’s on-screen display. The
language options are different depending
on your country or region. It may not
correspond to the illustrations shown on
the user manual.
Language settings can only be changed
when there is no disc in the disc tray.
SOURCE
SOURCE
SELECT
SELECT
REPEAT
REPEAT
DISC MENU
DISC MENU
USB
USB
TOOLS
TOOLS
CLEAR
CLEAR
ZOOM
ZOOM
OPEN/CLOSE
OPEN/CLOSE
ç
PLAY
PLAY
REC MODE
TIMER
EDIT
VCR Plus+
SETUP
OK
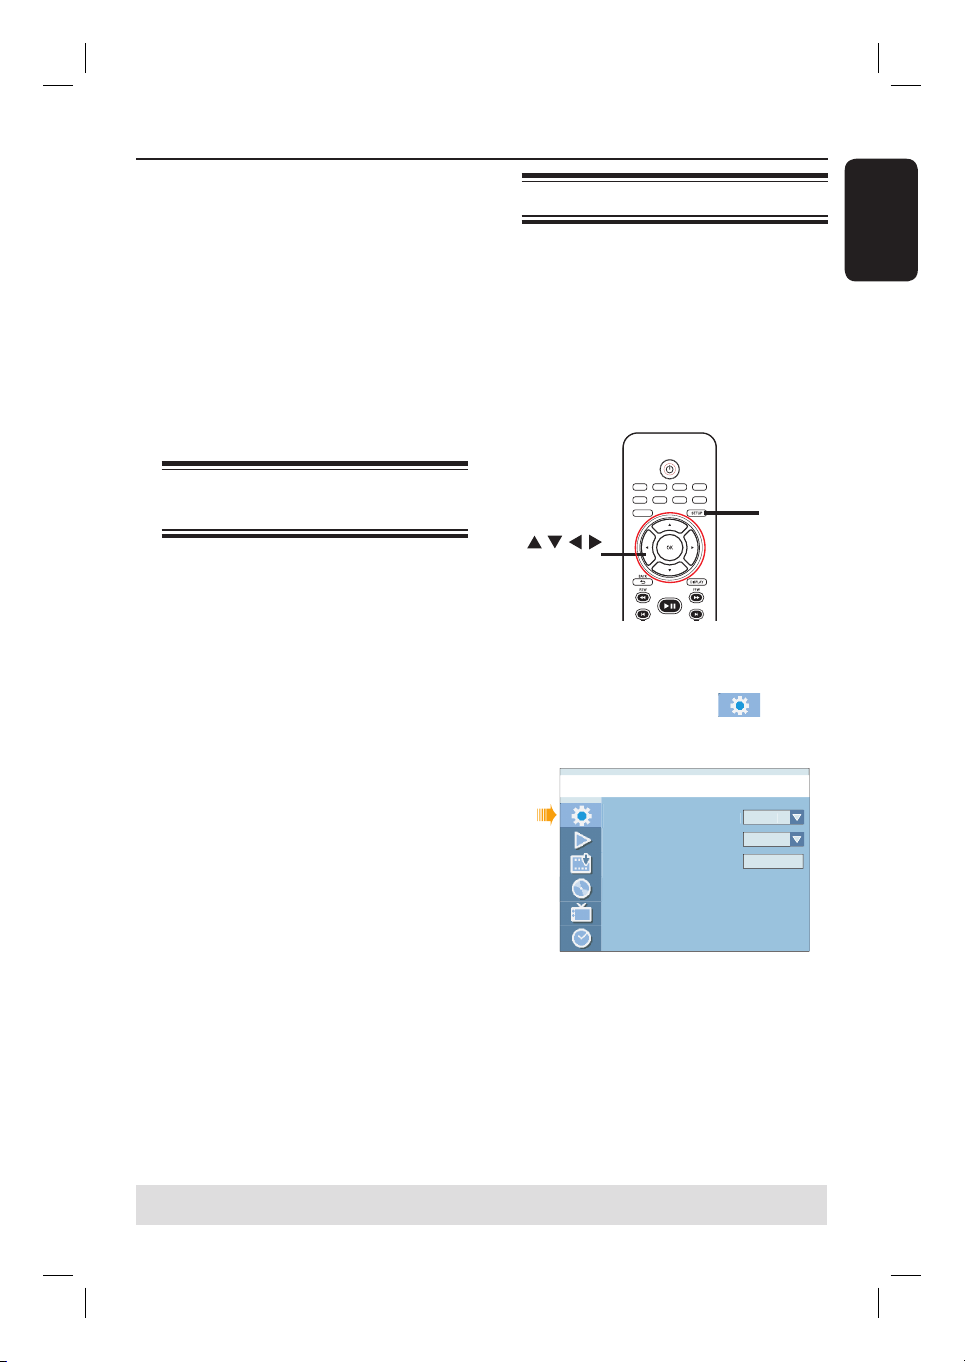
A
Press SETUP.
The setup menu appears.
B
Use ST keys to highlight
{ Setup Menu - General } and press X
to access the menu.
On Screen Dis
p
la
y
Lan
g
ua
ge
Screen Save
r
Reset Menu Settin
g
s
Setu
p
Menu - Genera
l
En
g
lis
h
On
OK
C
Use ST keys to highlight { On Screen
Display Language } and press OK to
access its options.
D
Use ST keys to highlight the desired
language and press OK to con rm.
TIPS: Press X to go access the options of an item in the menu.
Press SETUP to exit the menu.
Loading ...
Loading ...
Loading ...