Loading ...
Loading ...
Loading ...
User Guide
29
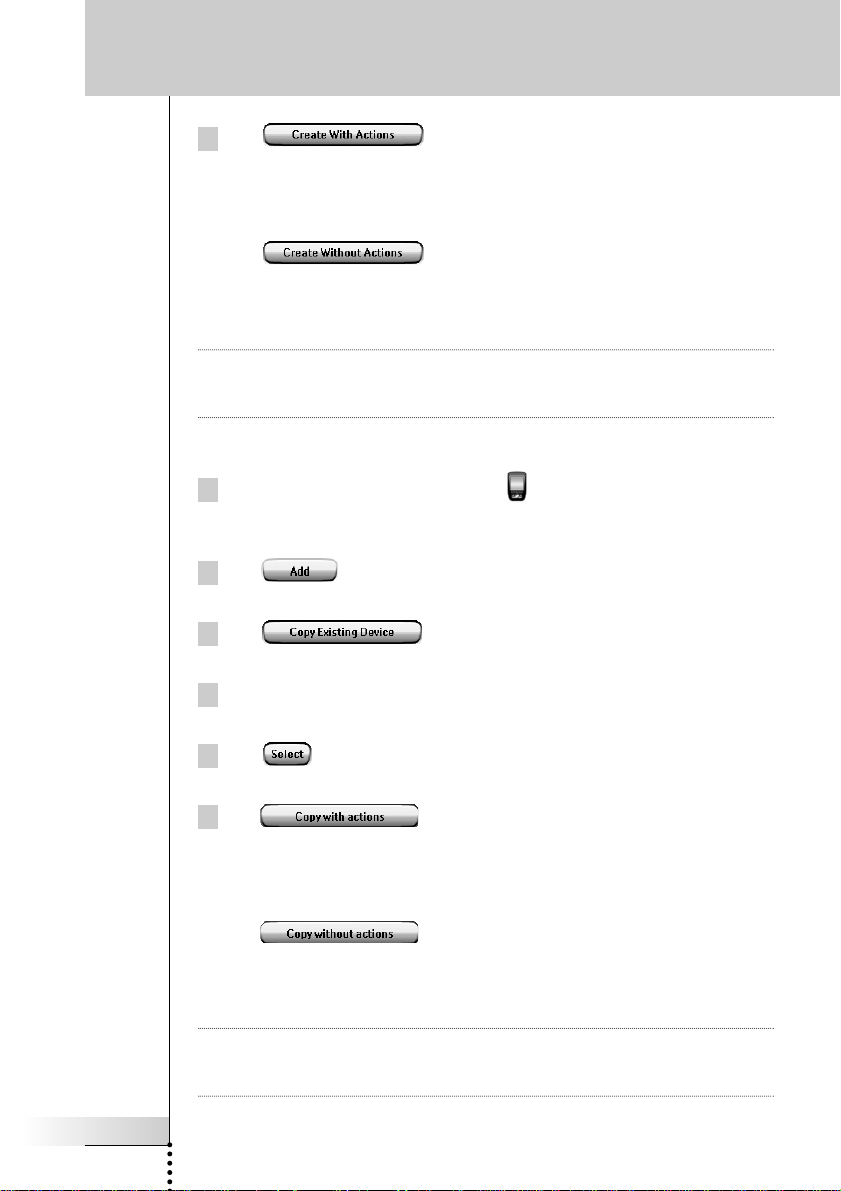
6Tap in the ’Actions’ screen.
The Device is added to ProntoPro NG with its actions like IR codes, beeps and
delays.
-or-
Tap in the ‘Actions’ screen.
The Device is added to ProntoPro NG without its actions like IR codes, beeps
and delays. To operate this device, you have to learn every button of the
device with the Learn Tool.
Note Added devices are automatically positioned at the end of the Device Overview.
You can move devices with the Move Tool. See ‘Moving Devices’ on page 31 for
more information.
Copying an Existing Device
1Tap and hold the ProntoPro NG icon in the upper left corner of the
touch screen for 3 seconds.
The Tools Menu appears.
2Tap in the Tools Menu.
The ‘Add Tool’ screen appears.
3Tap in the ‘Add Tool’ screen.
The ‘Adding’ screen appears.
4Tap the Device you want to copy in the Devices list.
The ‘IR Code’ screen appears.
5Tap
.
The ‘Actions’ screen appears.
6Tap in the ‘Actions’ screen.
The Device is copied to ProntoPro NG with its actions like IR codes, beeps and
delays.
-or-
Tap in the ‘Actions’ screen.
The Device is copied to ProntoPro NG without its actions like IR codes, beeps
and delays. To operate this device, you have to learn every button of the
device with the Learn Tool.
Note Added devices are automatically positioned at the end of the Device Overview.
You can move devices with the Move Tool. See ‘Moving Devices’ on page 31 for
more information.
Customizing ProntoPro NG
TSU7000_US1004.qxd 19-10-2004 16:09 Pagina 29
Loading ...
Loading ...
Loading ...