Loading ...
Loading ...
Loading ...
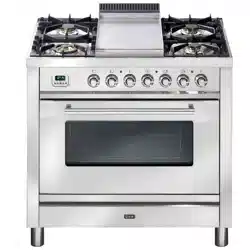
FREESTANDING COOKERS
BEFORE CONNECTING THE PLUG INTO THE POWER SOCKET, FOLLOW THESE INSTRUCTIONS
The electrical supply for the upright cooker must be a 230 - 240 volt 50 Hz. The fuse and electrical wiring
of the home / premises must support the load of the appliance. The wiring used to connect the electricity
must be of a suitable size to carry the current load as specified on the product compliance plate. The
range must be connected to a suitable earthed power supply of sufficient capacity to meet the power
requirements as specified on the compliance plate. The power supply to the appliance must not be
subject to direct heat and must be positioned to prevent it coming in contact with the rear cover of the
range so that its temperature does not exceed 75°C
HOSE RESTRAINT (for installation with flexible hose connection)
A restraint device (typically chain) must be fitted by the installer. The device must restrict the appliance
movement to no more than 80% of the flexible hose connection length to prevent strain on the gas
connections when the cooker is pulled forward.
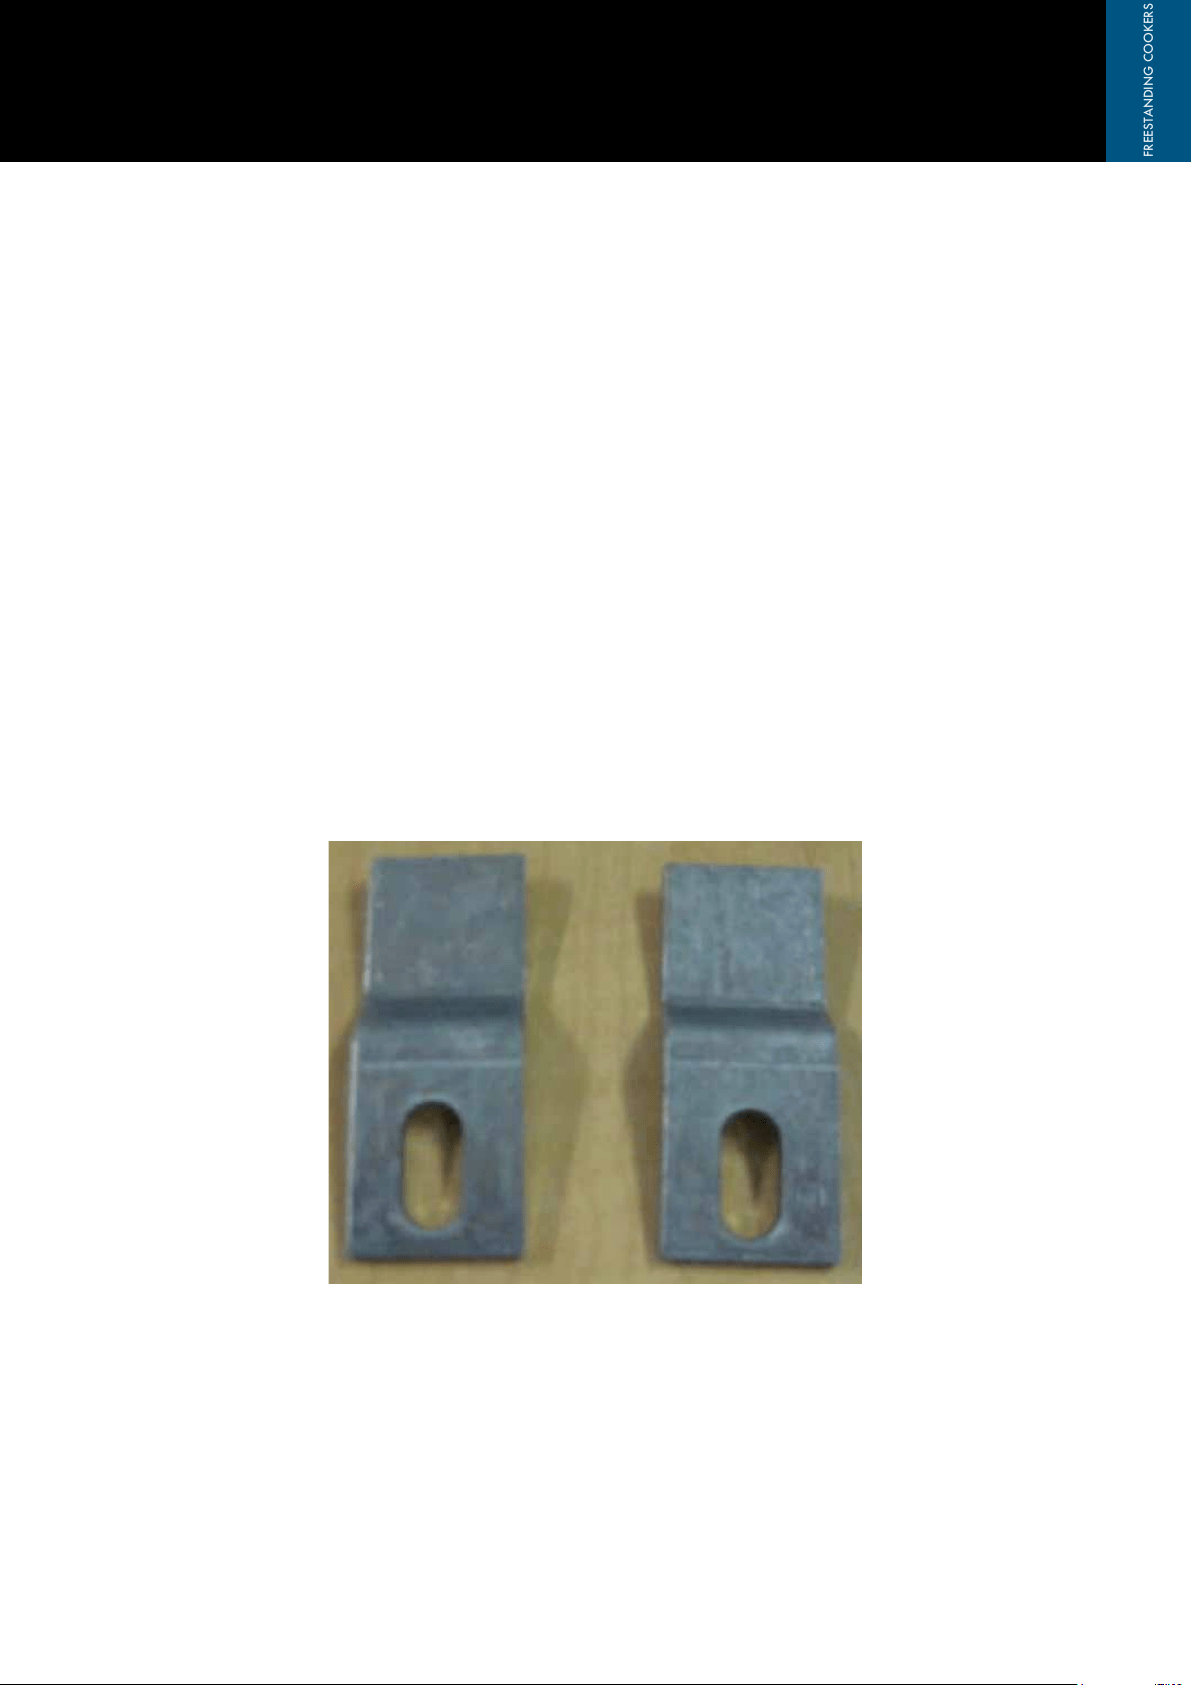
ANTI TILT BRACKET
Two Anti tilt Brackets are supplied with the product (see pictured below). These brackets are to be secured
to the rear wall 5 mm below the final height of the hob, when the product has been located and leveled,
mark the rear wall with a pencil to confirm the height of the hob. Locate the studs in the rear wall and
screw the anti tilt bracket so the top of the bracket is 5 mm below the hob line that has been marked on
the rear wall. For brick or concrete walls use the wall plugs that are supplied. Once the brackets have
been fixed in place, push the cooker back against the brackets then lift up the rear of the cooker so that
the bracket will lock under the rear lip of the hob.
ANTI-TIP DEVICE
Alternatively the cooker can be fitted with two chains at the top rear of the appliance (one on the left side
and one on the right side) to prevent the appliance from tilting forward. The installer must connect the
chains to the wall, directly behind the chains as low as possible using a method that suits the wall material
and restrains the weight of the cooker. If the appliance is installed between two cupboards, the installer
should drill a hole on each side of the cupboards, pass the chains through the holes and anchor the
chains within each cupboard. Important: After fixing the chains ensure they are taut and test that the
cooker does not tilt forward or sideways.
ELECTRICAL CONNECTION
ILVE FREESTANDING COOKERS OPERATING MANUAL
Loading ...
Loading ...
Loading ...