Loading ...
Loading ...
Loading ...
14
Broiling
Close the oven door while broiling. No preheating is necessary.
Position food on grid in a broiler pan, and then place it in the
center of the oven rack.
NOTE: Odors and smoke are normal the first few times the
oven is used or if the oven is heavily soiled.
Changing the temperature when broiling allows more precise
control when cooking. The lower the broil setting, the slower
the cooking. Thicker cuts and unevenly shaped pieces of meat,
fish, and poultry may cook better at lower broil settings. Refer
to the “Positioning Racks and Bakeware” section for more
information.
On lower settings, the broil element will cycle on and off to
maintain the proper temperature.
■ For best results, use a broiler pan and grid. It is designed
to drain juices and help avoid spatter and smoke.
If you would like to purchase a broiler pan, one may be
ordered. Please refer to the “Accessories” section for more
information.
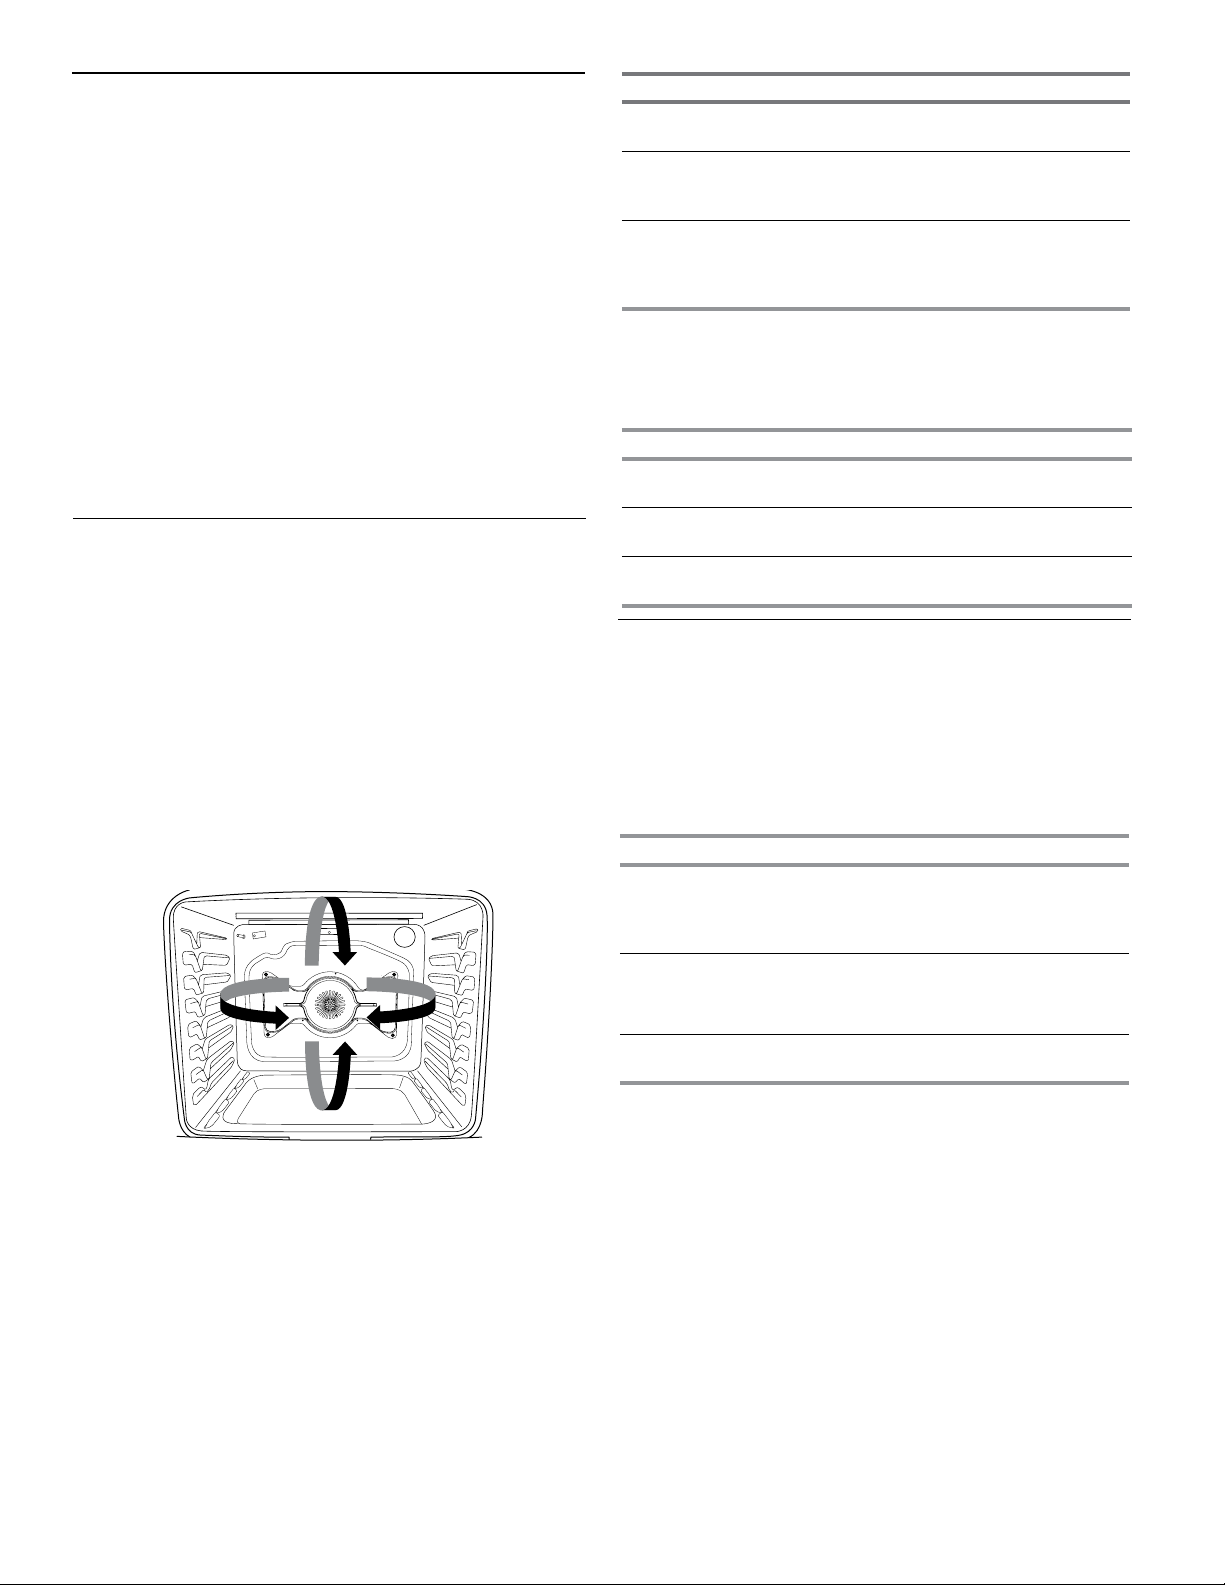
Lower Oven Convection Cooking
In a convection oven, the fan-circulated hot air continually
distributes heat more evenly than the natural movement
of air in a standard thermal oven. This movement of hot air
helps maintain a consistent temperature throughout the oven,
cooking foods more evenly, crisping surfaces while sealing in
moisture and yielding crustier breads.
During the convection cooking, the bake, broil, and convection
(true convection only) elements cycle on and off in intervals
to maintain the oven temperature, while the fan circulates
the hot air.
If the oven door is opened during convection cooking, the fan
will turn off immediately. It will come back on when the oven
door is closed.
NOTE: The oven door must be closed for convection broiling.
Position the racks according to the “Positioning Racks and
Bakeware” section before starting convection cooking.
With convection cooking, most foods can be cooked at a lower
temperature or for a shorter length of time. These adjustments
can be made using the following chart or by using the
EasyConvect™ Conversion feature on your range.
Setting Guidelines
CONVECT
BAKE
Reduce the standard baking temperature
25°F (12°C).
CONVECT
BROIL
Use standard recipe temperature. Cooking
time may be reduced so the food should be
checked for doneness early.
CONVECT
ROAST
Use standard recipe temperature. Cooking
time may be reduced by 15 to 30% with
Convect Roast so the food should be
checked for doneness early.
Bow Tie True Convection with T.H.E.™ Element
True convection adds an electric element around the
convection fan to enhance the cooking performance. Use the
following Convect Options chart as a guide.
Setting Foods
CONVECT
BAKE
Single or multiple-rack baking for cookies,
biscuits, breads, casseroles, tarts, tortes.
CONVECT
BROIL
Thicker cuts or unevenly shaped pieces
of meat, fish, or poultry.
CONVECT
ROAST
Whole chicken or turkey, vegetables, pork
roasts, beef roasts.
Setting Foods
MEATS Chicken: whole and pieces
Meat loaf, Roasts: pork, beef, and ham
(Turkey and large poultry are not included
because their cook time varies.)
BAKED
GOODS
Biscuits, Breads: quick and yeast
Cakes and Cookies
Casseroles
OTHER Frozen convenience foods: french fries,
nuggets, fish sticks, lasagna
EasyConvect™ Conversion
Convection cooking temperatures and times can differ from
those of standard cooking. Depending upon the selected
category, EasyConvect™ Conversion automatically reduces
the standard recipe temperature and/or time you input for
convection cooking.
Foods are grouped into 3 general categories. Choose
the category most appropriate for the food to be cooked.
Use the following chart as a guide.
To Use:
NOTE: For best results, preheat your oven to the desired
temperature prior to using EasyConvect™ Conversion. After
preheating is complete, press OFF LOWER before using
EasyConvect™ Conversion.
1. Press EASY CONVECT until the desired option (MEATS,
BAKED GOODS or OTHER) is displayed.
2. Press START.
3. Press number pads to enter standard cook temperature,
and then press START.
4. Press number pads to enter standard cook time, and then
press START.
5. Place the food in the oven.
Check food for doneness before the stop time is reached.
If food will not be done when the stop time is reached,
add more cooking time before time elapses. See “Cook
Time” section. At the end of the stop time, the oven will
automatically turn off.
6. Press OFF LOWER when finished.
7. Remove food from the oven.
Loading ...
Loading ...
Loading ...