Loading ...
Loading ...
Loading ...
English
123
QR34962
3
DESIGNATING SCENES TO BE PRINTED (DPOF)
You can use DPOF to set print information, including selection of the scenes to be printed, so that you
will be able to use it on a system conforming to DPOF.
Note:
DPOF stands for digital print order format. DPOF is used to ask a print lab to print recorded stills.
1Set the power switch to “P PHOTO”.
2Press the DISC NAVIGATION button.
3Select the scene to which DPOF is to be set.
4Press the MENU button.
5Choose “DPOF” on the
“Scene” menu screen,
and then press the A
button.
6The “DPOF Set” screen
will appear: If you are
sure you want to set DPOF to the scene, press
the A button.
If you want to change the scene to which DPOF
is set, you can change it on this screen.
7Use joystick to specify
the number of prints,
and then press the A
button:
Tilt it up or to right: To
increase the number one
by one.
Tilt it down or to left: To decrease the number
one by one.
Pressing the A button will display the DPOF
icon on the selected scene(s).
After setting, the “DPOF Set” screen will be
restored.
Repeat steps 6 and 7 to set DPOF to another still.
8Press the C button to quit.
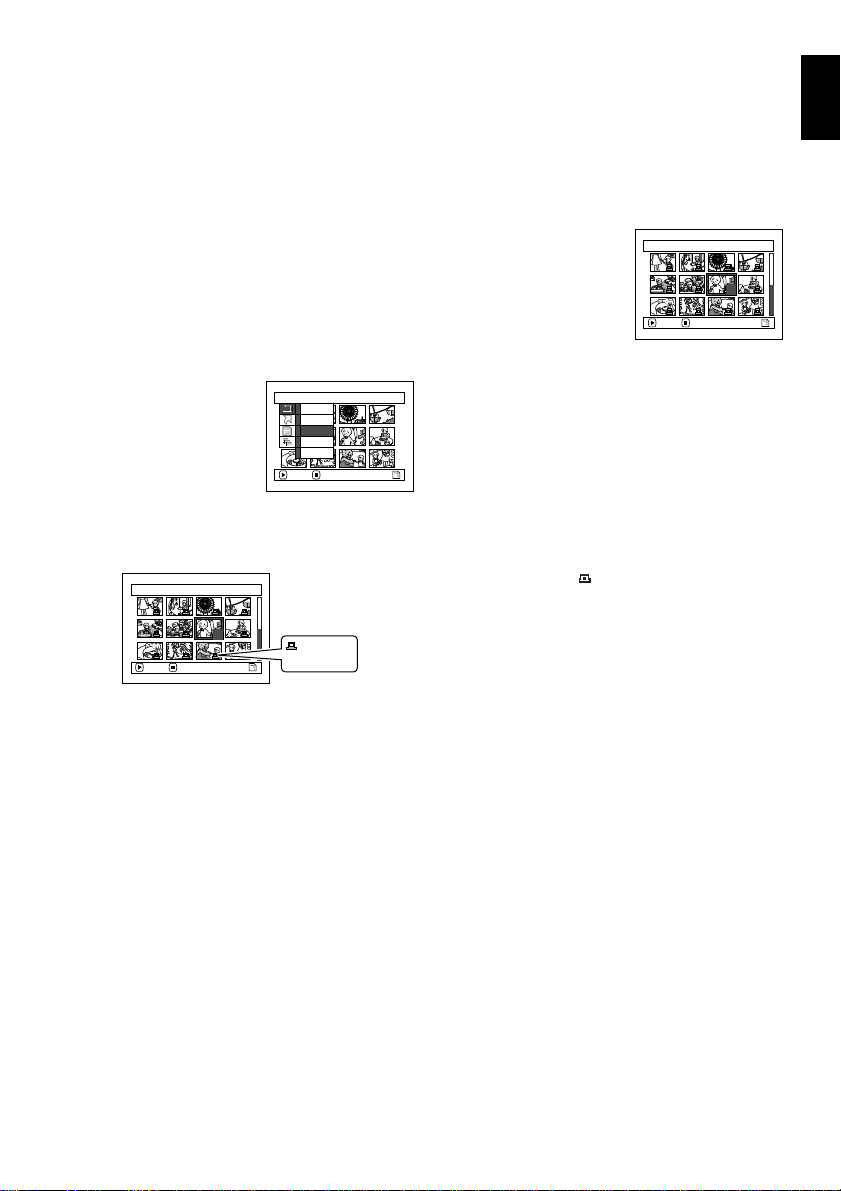
The DPOF icon “ ” will appear on any scene
for which DPOF has been set.
Note:
• If you press the MENU button before pressing the A
button in step 6, the submenu screen will appear. (P.115)
• You can also select multiple photos (P.111).
• If you specify the number after selecting multiple stills,
the same specified number will be set to all those stills.
• Up to 99 prints can be set for one scene. The maximum
number of settable prints on one card is 999.
• This DVD video camera/recorder may not recognise
DPOF that has been set on another device: Always set
the DPOF on this DVD video camera/recorder.
Scene
ENTER RETURN
Select
Deta i l
Lock
Delete
DPOF
7/19DPOF Se t
ENTER EXIT
6
DPOF icon
7/19DPOF Se t
ENTER EX I T
3
Loading ...
Loading ...
Loading ...