Loading ...
Loading ...
Loading ...
7
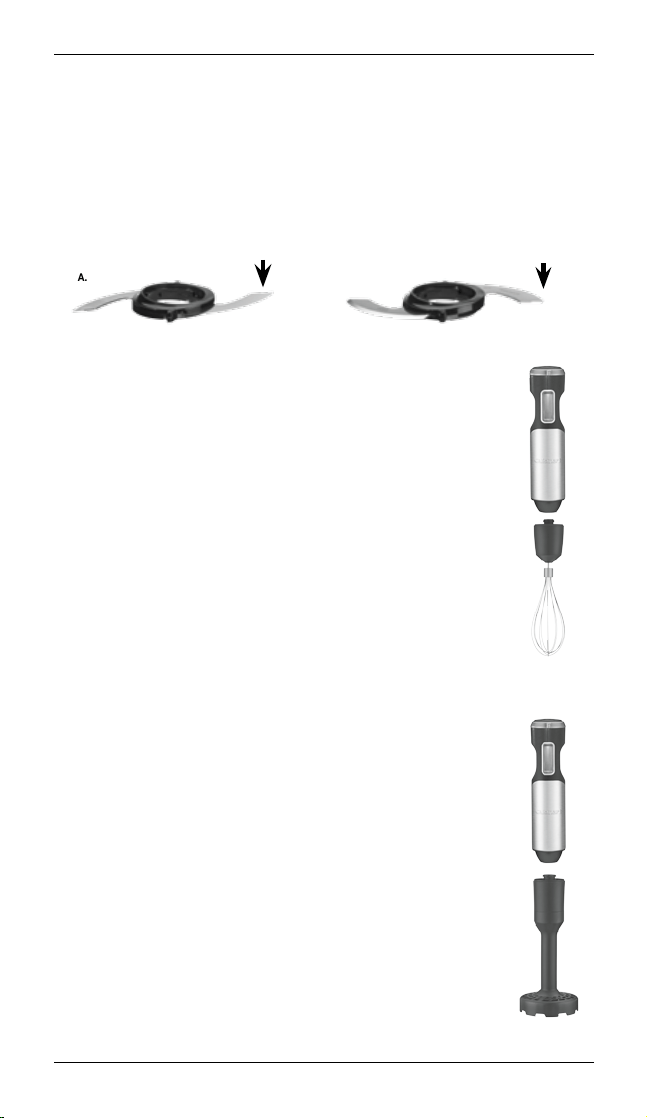
clockwise. This locks it in place on the plastic blade sheath and
prevents it from sliding up during processing. Note these
important features of the blade ring. The blade ring can be
placed over the plastic blade sheath in two different ways: If you
hold it this way (A), you will see the word “Sharp” on the blade.
Assemble the blade this side up to use the sharp edge. If you
hold it this way (B), you will see no writing on the blade.
Assemble the blade this side up to use the blunt edge.
B.
BLUNT SIDE UP
SHARP SIDE
A.
WHISK ATTACHMENT
1.
Align the motor body housing with the assembled whisk
attachment and push the gearbox and motor housing
together until you hear and feel them click. It may be
helpful to press the release button when assembling.
Note: Whisk and whisk gearbox are detachable from one
another.
POTATO MASHER ATTACHMENT
Your potato masher attachment comes fully assembled.
1. Align the gear box at the end of the potato masher
with the motor body housing and push gearbox and
housing together until you hear and feel them click.
2. Plug the motor housing into an electrical outlet.
NOTE: Gearbox detaches from potato masher shaft
for cleaning and storage
To reassemble potato masher after cleaning
(see Cleaning Potato Masher Attachment, pg.10)
1. Align the triangle mark on the gear box with the
unlock symbol on the potato masher shaft.
2. Rotate the gear box clockwise until you hear it click
and lock into place on the shaft.
3. Place blade onto hub at the wide end of shaft,
push down, and twist counterclockwise to secure.
NOTE: blade cannot be put on or taken off unless
gear box is firmly attached to the shaft.
Loading ...
Loading ...
Loading ...