Loading ...
Loading ...
Loading ...
11
Verifying Proper Function
Before using the range, read the User Manual completely. It
contains important safety, service, and warranty information.
Before starting, turn off all range controls, and verify that all
cooktop components are properly in place..
1. Open the gas-supply valve.
2. Plug in the range.
The oven indicator light blinks for 10 seconds. (When the
blinking stops, go to Step 3.
3. Test a burner: Pushing-turn a knob to HIGH.
The burner may take 4 seconds to ignite, at which time the
ignitor stops sparking.
If ignition does not occur within 4 seconds, turn the burner off,
wait 5 minutes for the gas to dissipate, then repeat Step 3.
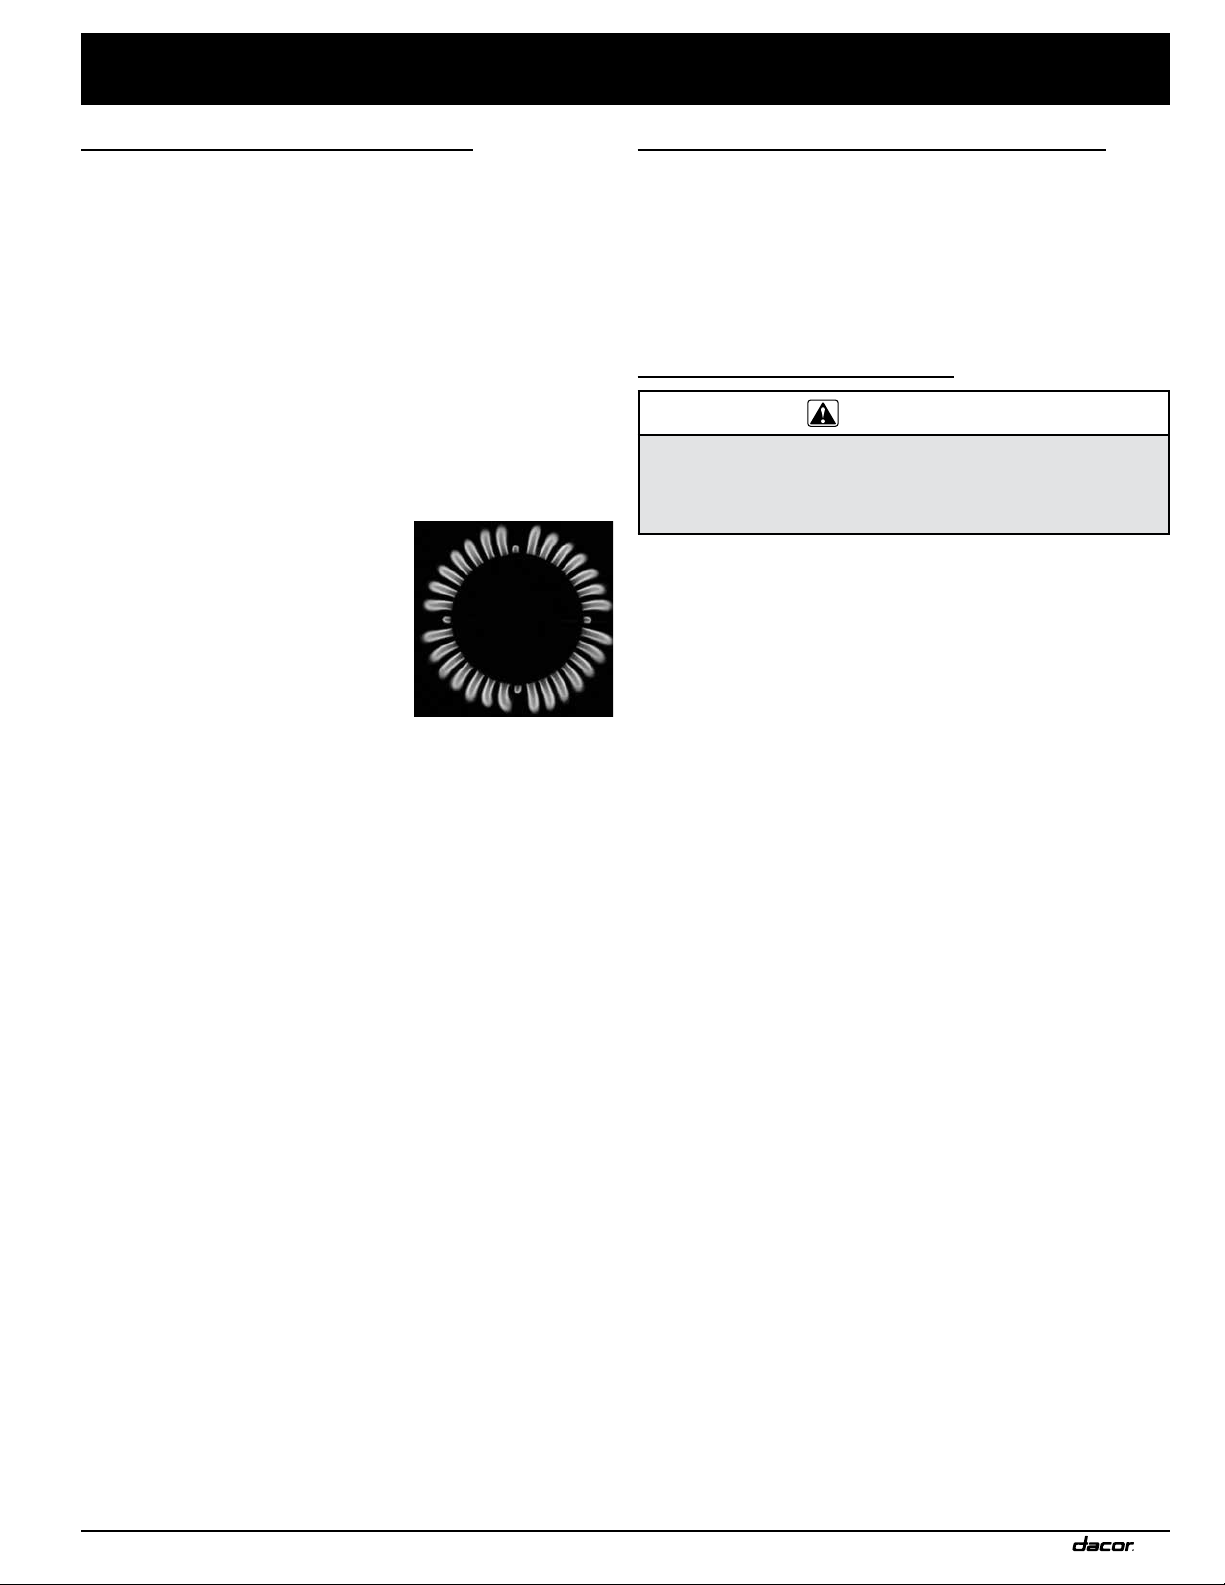
4. After ignition, turn the knob to LOW.
A proper flame is steady and quiet,
with a sharp, blue inner cone that
varies in length with the burner
size. Dacor’s Smart Flame™
feature reduces the flame under
the grate fingers to lengthen the
life of the grate. If the range is
equipped for LP gas, the flame tips
may be yellow, which is normal.
5. Turn the burner off, and repeat the
ignition test for the other burners, being sure to turn each off
after testing.
6. Open the oven door. On the control panel, turn the light
switch on and off.
The oven lights go on and off.
7. Turn on/off the convection fan.
Behind the filter in the oven’s rear wall, the fan whirs and stops.
8. With the door open, turn the oven to 400 °F.
The knob and oven’s ON indicator light up. Within 60
seconds, the bake burner (in the oven floor) comes on and
starts giving off heat.
9. Turn the oven to BROIL.
The bake burner turns off. The oven knob and oven’s ON
indicator are lit; within 60 seconds the IR burner (on the oven
ceiling) ignites and starts giving off heat.
10. Turn off the oven.
If the range does not operate properly:
1. Check the electrical connections and gas supply to ensure
that the installation has been completed correctly, and that the
range receives power and gas..
2. Retest cooktop and oven function.
3. If the rangee still does not work, contact Dacor Customer
Assurance (833) 353-5483. Do not try to repair the range
yourself.
Product damage/failure due to improper installation and
service is not warrantied.
Moving the Range for Service
1. Close the gas-supply valve, and unplug the range.
2. Pull the range out from the wall.
3. Perform the needed service/maintenance.
4. Push the range back into place, being sure to engage the
anti-tip bracket (see Pg. 8).
5. Plug in the range, and open the gas-supply valve.
Installation Checklist
WARNING
• To the installer: Complete this checklist to verify thorough
installation.
• To the owner: Proper installation is your responsibility. Make
sure all installation work is performed by qualified personnel.
F Was the plastic coating removed from the outside of the range?
F Were all packaging materials removed from the oven?
F Were all leveling legs lowered to the floor?
F Is the unit level? (Pg. 8.)
F Is the range secured with the provided anti-tip bracket and foot
as instructed in this manual? (Pgs. 5, 8.)
F Was the gas-supply inlet pressure measured to ensure it does
not exceed the maximums specified in this manual. (Pg. 2.)
F Is the range connected to the gas supply as instructed and
according to applicable codes?
F Was the gas supply checked for leaks?
F Is the oven door properly installed? (Pg. 9.)
F Were the burner knobs properly installed? (Pg. 9.)
F Are the burners properly assembled and grates properly
installed? (Pg. 10.)
F Was proper function verified?
F Was the warranty activated online or the warranty card filled
out and mailed?
Installation Instructions
Proper
Flame
Loading ...
Loading ...
Loading ...