Loading ...
Loading ...
Loading ...
68
White Balance (continued)
ADVANCED PHOTOGRAPHY—WHITE BALANCE
OK
SHOOTING MENU
Preset-1
Preset-2
Preset-3
Repeat release
Cancel
4
Under the lighting that will be used in the actual photograph, frame a white or
neutral gray object so that it fills the viewfinder and then press the shutter-release
button all the way down. The shutter will be released and the measured value for
white balance stored in camera memory, but no image will be recorded to the
memory card.
Note that when performing this operation, it will be necessary to focus the cam-
era using the lens focus ring in manual focusing mode. At a setting of single-servo
autofocus, lack of contrast will prevent the camera from focusing on the target
object and the shutter release will be disabled. Similarly, auto-exposure (expo-
sure mode P, S, or A) should be used to prevent extreme over- or under-expo-
sure that could interfere with an optimal white balance measurement. White
balance can also be set using manual exposure (exposure mode M); note, how-
ever, that exposure settings that would produce extreme over- or under-expo-
sure can prevent the camera from setting white balance.
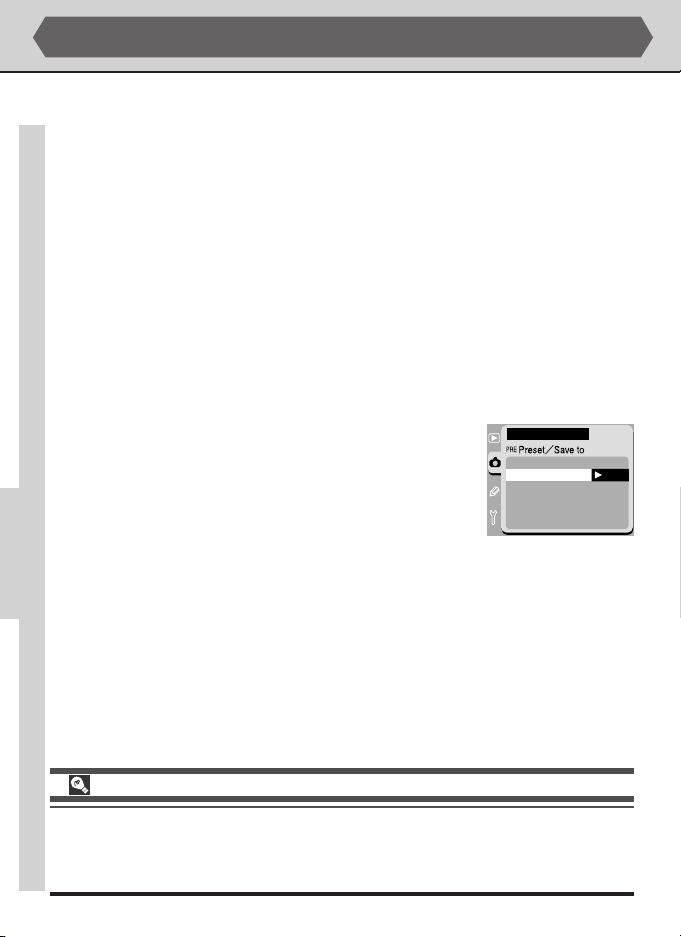
5
The menu shown at right will be displayed in the monitor.
The measured value for preset white balance can be saved
as your choice of Preset-1, Preset-2, or Preset-3; highlight
the desired option and press the multi selector to the
right to record the white balance setting and return to
the shooting menu. Select Repeat release to measure
white balance again, or Cancel to return to the shooting menu without saving
the new value for white balance.
Measuring White Balance
When measuring white balance under studio lighting, we recommend that a neutral gray object
be used as the target. When using a white object, select a setting for exposure that would
cause the object to appear gray when photographed to prevent mis-reading caused by overex-
posure.
Loading ...
Loading ...
Loading ...