Loading ...
Loading ...
Loading ...
88
Select [OK] with , then press
.
The indicator turns white. The
selected images are protected.
To exit the Protect function
Select [Cancel] in step or select [Exit]
in step , then press .
To cancel individual protection
Select the image to be unprotected with
/// in step , then press . The
indicator turns gray. Repeat this
operation for all images that are to be
unprotected. Press MENU, select [OK],
and then press .
To protect all images in the
folder
Select [All In This Folder] in step , and
press . Select [On], then press .
To cancel protection of all
images in the folder
Select [All In This Folder] in step , and
press . Select [Off], then press .
Changing image size
— Resize
You can change the image size of a
recorded image, and save it as a new fi le.
You can resize to the following sizes:
7M, 5M, 3M, 1M, VGA
The original image is retained even after
resizing.
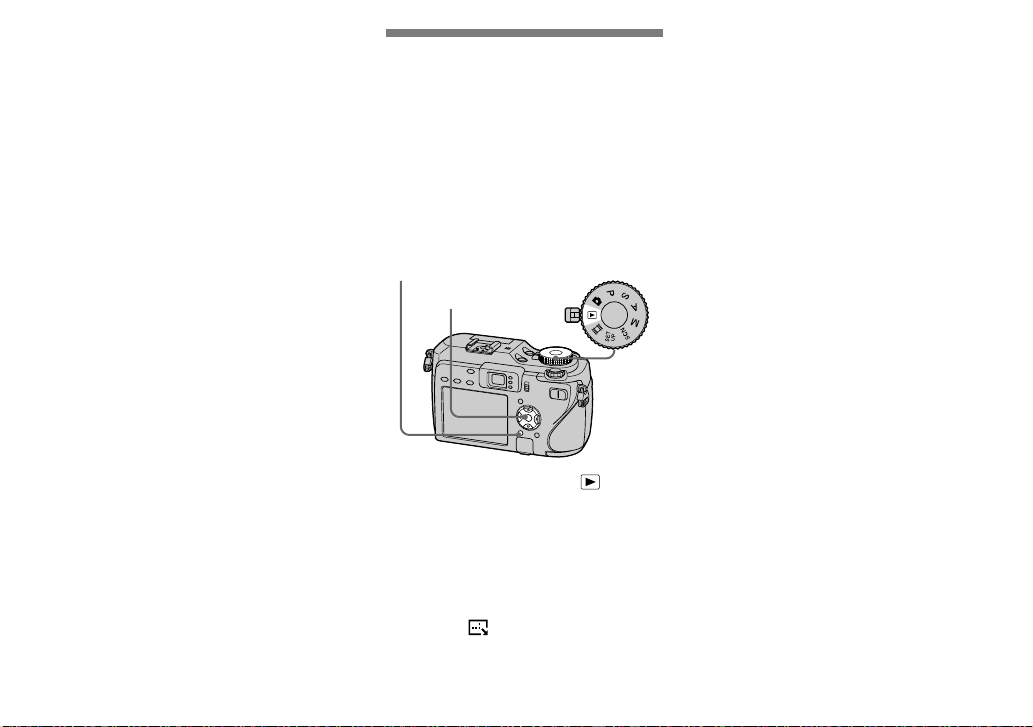
MENU Mode dial
Control button
Set the mode dial to .
Display the image you want to
resize with /.
Press MENU.
The menu appears.
Select (Resize) with /,
then press .
Select the desired size with
/, then press .
The resized image is recorded in the
recording folder as the newest fi le.
To cancel resizing
Select [Cancel] in step .
• You cannot change the size of movies/Multi
Burst images/RAW data fi les/uncompressed
(TIFF) images.
• When you change from a small size to a large
size, the image quality deteriorates.
• You cannot resize to an image size of 3:2.
• When you resize a 3:2 image, the upper and
lower black portions will be displayed on the
image.
Loading ...
Loading ...
Loading ...