Loading ...
Loading ...
Loading ...
17
Getting started
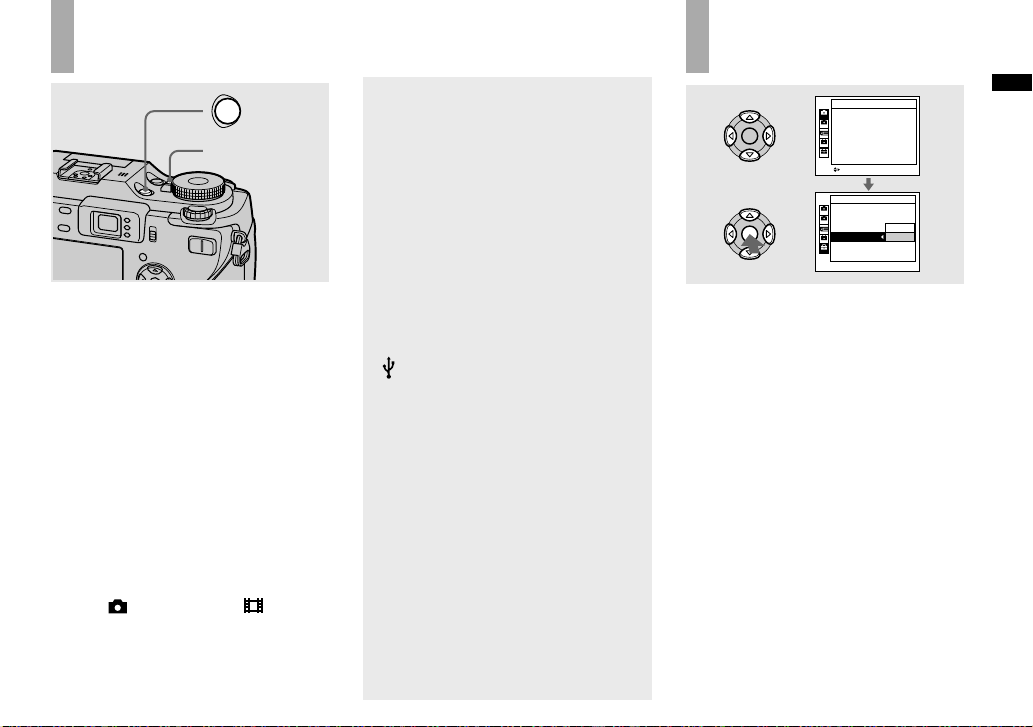
Turning on/off your camera
POWER
POWER lamp
Press POWER.
The POWER lamp (green) lights up and
the power is on. When you turn on your
camera for the fi rst time, the Clock Set
screen appears (page 18).
Turning off the power
Press POWER again. The POWER lamp
goes out, and the camera turns off.
• Do not leave the camera with the lens
portion extended for a long period of
time with the battery or the AC Adaptor
removed, etc., as this may cause
malfunction.
• If you turn on the power when the mode dial
is set to
, P, S, A, M, SCN or , the lens
portion moves. Do not touch the lens portion
while it is operating.
Auto power-off function
If you do not operate the camera for about
three minutes during shooting or viewing
or when performing SET UP, the camera
turns off automatically to prevent wearing
down the battery. The auto power-off
function only operates when the camera is
operating using a battery pack. The auto
power-off function also will not operate in
the following circumstances.
• When viewing movies
• When playing back a slide show
• When a plug is connected to the
(USB) jack or the A/V OUT (MONO)
jack
How to use the
control button
2
1
2
1
2
1
2
1
Camera 1
AF Mode:
Digital Zoom:
Date/Time:
Red Eye Reduction:
Hologram AF:
Auto Review:
Single
Smart
Off
Off
Auto
Off
SELECT
Cancel
OK
Setup 2
File Number:
USB Connect:
Video Out:
Clock Set:
To change the current settings of the
camera, bring up the menu or the SET
UP screen (page 51), and use the control
button to make the changes.
To set a menu item, press /// on the
control button to select the desired item
and setting and make the setting. To set
a SET UP item, press /// on the
control button to select the desired item
and setting, then press to make the
setting.
Loading ...
Loading ...
Loading ...