Loading ...
Loading ...
Loading ...
84
Recording an enlarged
image – Trimming
Press MENU after playback
zoom.
The menu appears.
Select [Trimming] with , then
press .
Select the image size with /,
then press .
The image is recorded, and the image
on the LCD screen returns to the
normal size after recording.
• The trimmed image is recorded in the
recording folder as the newest fi le, and the
original image is retained.
• The trimmed image may suffer some
deterioration in image quality.
• You cannot trim to 3:2-sized image.
• You cannot trim RAW data fi les/uncompressed
(TIFF) images.
• You cannot trim images displayed with Quick
Review.
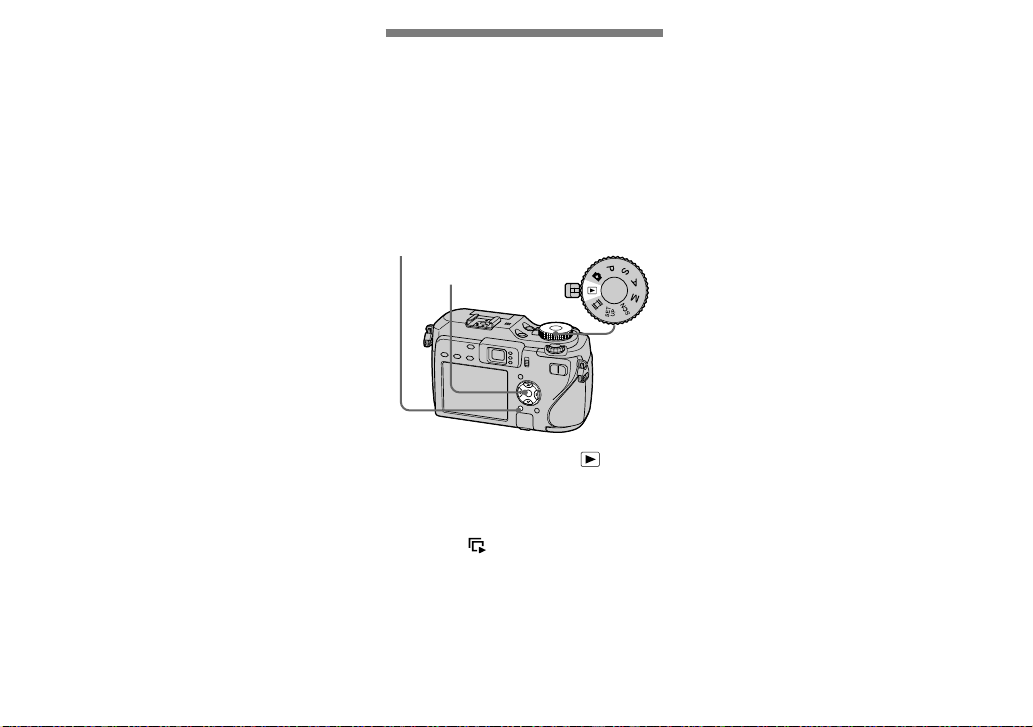
Playing back
successive images
— Slide Show
You can play back recorded images in
order. This function is useful for checking
your images or for presentations, etc.
MENU Mode dial
Control button
Set the mode dial to .
Press MENU.
The menu appears.
Select (Slide) with /, then
press .
Set the following items with
///.
Interval
3 sec/5 sec/10 sec/30 sec/1 min
Image
Folder: Plays back all images in the
selected folder.
All: Plays back all images stored in the
recording medium.
Repeat
On: Plays back images in a continuous
loop.
Off: After all the images have been
played back, the slide show ends.
Select [Start] with /, then
press .
The slide show begins.
To cancel the slide show setting
Select [Cancel] in step .
To stop slide show playback
Press , select [Exit] with , then press
again.
To skip to the next/previous
image during the slide show
Press (next) or (previous).
• The interval settings time are just guidelines,
so it may vary depending on the image.
Loading ...
Loading ...
Loading ...