Loading ...
Loading ...
Loading ...
26
Installation Menu
The Installation menu is used for changing the installation settings.
Setting items Description
Image Flip Flips the picture on the screen horizontally and/or vertically.
Use this item for installation for the rear projection or ceiling installation.
HV: Flips the picture horizontally and vertically.
H: Flips the picture horizontally.
V: Flips the picture vertically.
Off: The picture does not flip.
Lens Control Avoids any operation of the lens such as “Lens Focus,” “Lens Zoom,” and “Lens Shift,” by mistake.
On: Enables adjustment of the lens.
Off: Prevents any adjustment of the lens.
Trigger Select Switches the output function of the TRIGGER connector.
Off: Turns off the TRIGGER connector function.
Power: Outputs 12 V signals from the TRIGGER connector when the unit is on. The TRIGGER
connector does not output any signals when the unit is in standby.
Illumination Changes the lighting setting of the LED indicator in use.
On: The LED indicator lights.
Off: The LED indicator does not light.
Panel Alignment This feature allows you to adjust the gaps in the color of characters or the picture on the projection surface.
Adjust: Adjusts the gaps in the colors selecting “Adjust Item” or “Adjust Color.”
Adjust Item: Selects how to make adjustments from below.
Shift: Shifts the whole picture and makes adjustments.
Zone: Selects the desired range and makes adjustments.
Adjust Color: Assigns the desired color to adjust the gaps in color. Select “R” (Red) or “B” (Blue) to
make adjustments based on “G” (Green).
Pattern Color: Select “R/G” (Red and Green) or “R/G/B” (White, all colors) when “Adjust Color” is
“R” (Red). Select “B/G” (Blue and Green) or “R/G/B” (White, all colors) when the “Adjust Color” is
“B” (Blue).
Adjust: The shift adjustment and zone adjustment of the color selected in “Adjust Color” can be made
with the </,, M/m buttons.
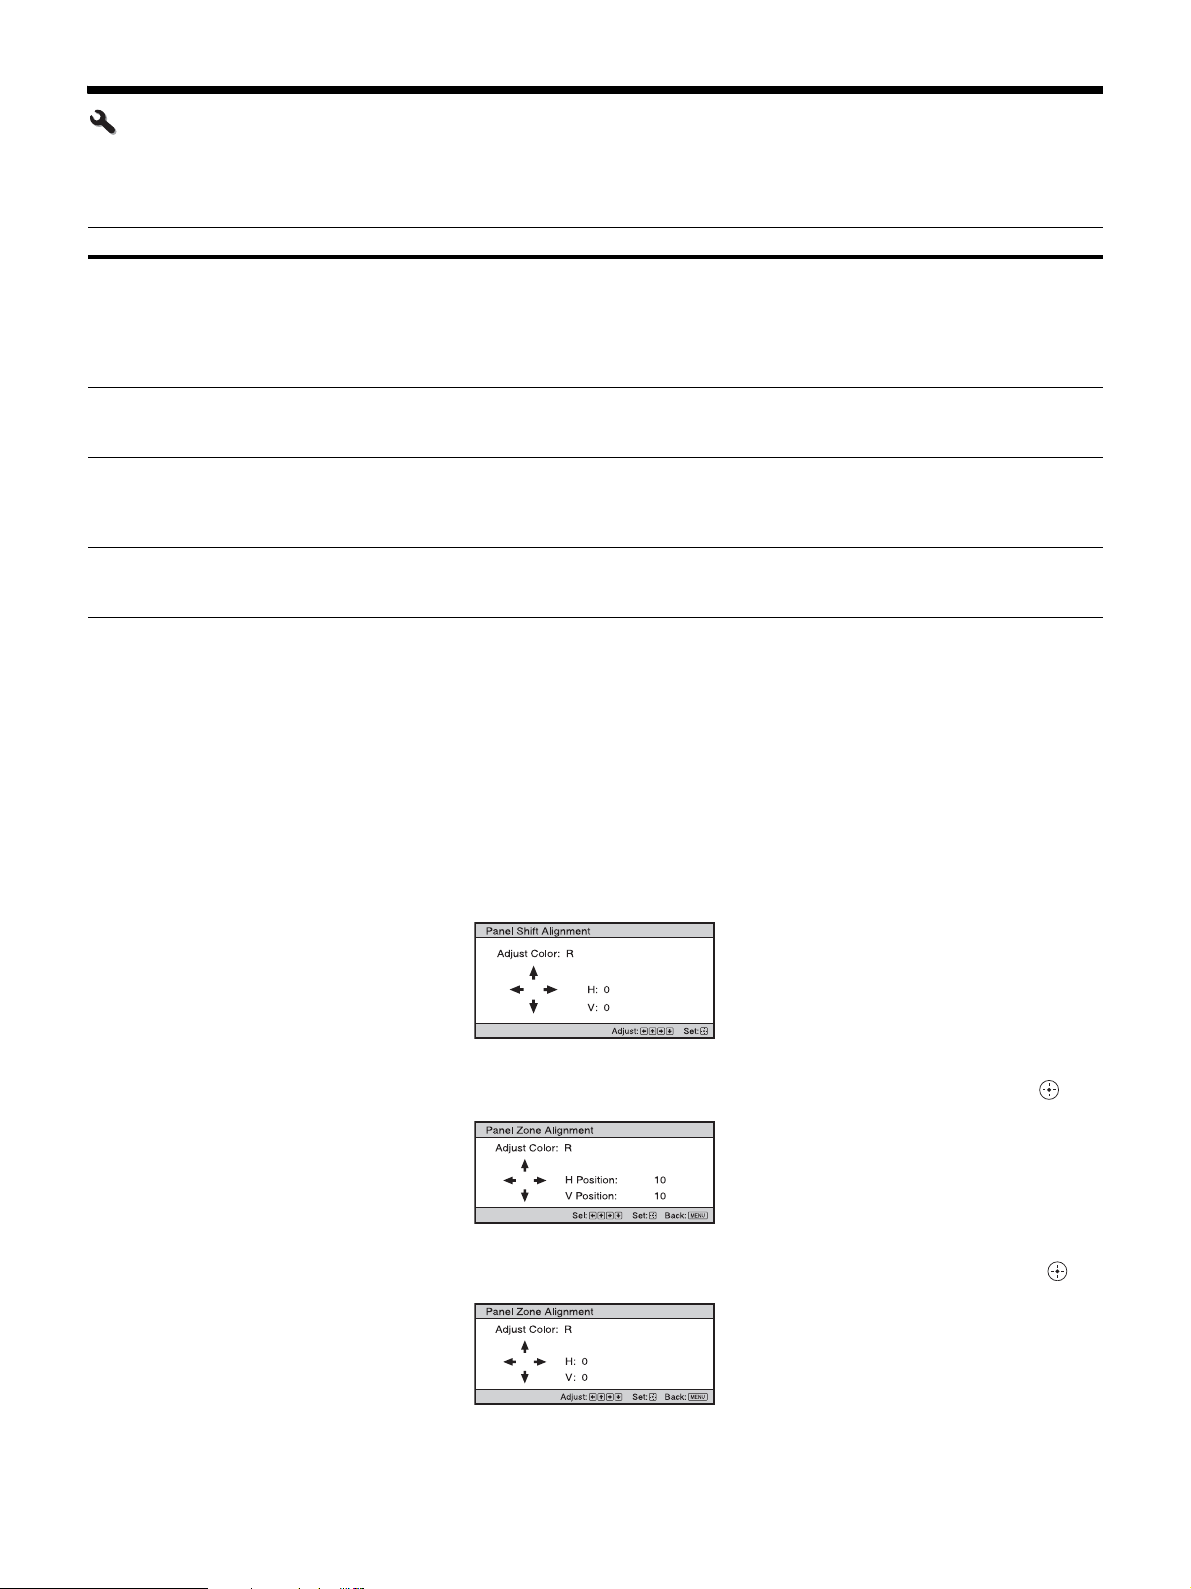
When “Shift” is selected: Assign the settings of the horizontal direction (H) with the </, buttons
and the vertical direction (V) with the M/m buttons on the shift adjustment screen.
When “Zone” is selected: Select the position to adjust with the </, buttons for the horizontal
position (H Position) and the M/m buttons for the vertical position (V Position), then press .
Set the amount to adjust with the </, buttons for the horizontal direction (H) and with the M/m
buttons for the vertical direction (V). You can select the position to adjust again by pressing .
Loading ...
Loading ...
Loading ...