Loading ...
Loading ...
Loading ...
13
1 Turn on the 3D glasses, and register them on the unit.
For details on how to register the 3D glasses, refer to
the operating instructions supplied with the 3D
glasses.
2 Put on the 3D glasses.
Precautions for use
Misoperation may occur if:
• The viewing position is too far from the projector.
• There are other communication devices, such as a
wireless LAN (IEEE802.11 b/g/n) device or a
microwave oven with a bandwidth of 2.4 GHz, near the
unit.
3D glasses communication range
The following figures indicate the communication range of
the 3D glasses. If you try to watch 3D video images from
a distance greater than the communication range or install
the unit outside the communication range, the 3D glasses
may not be able to display the images properly. Also, the
distance varies depending on the environment of the room
and installation environment of the unit.
Top view
Side view
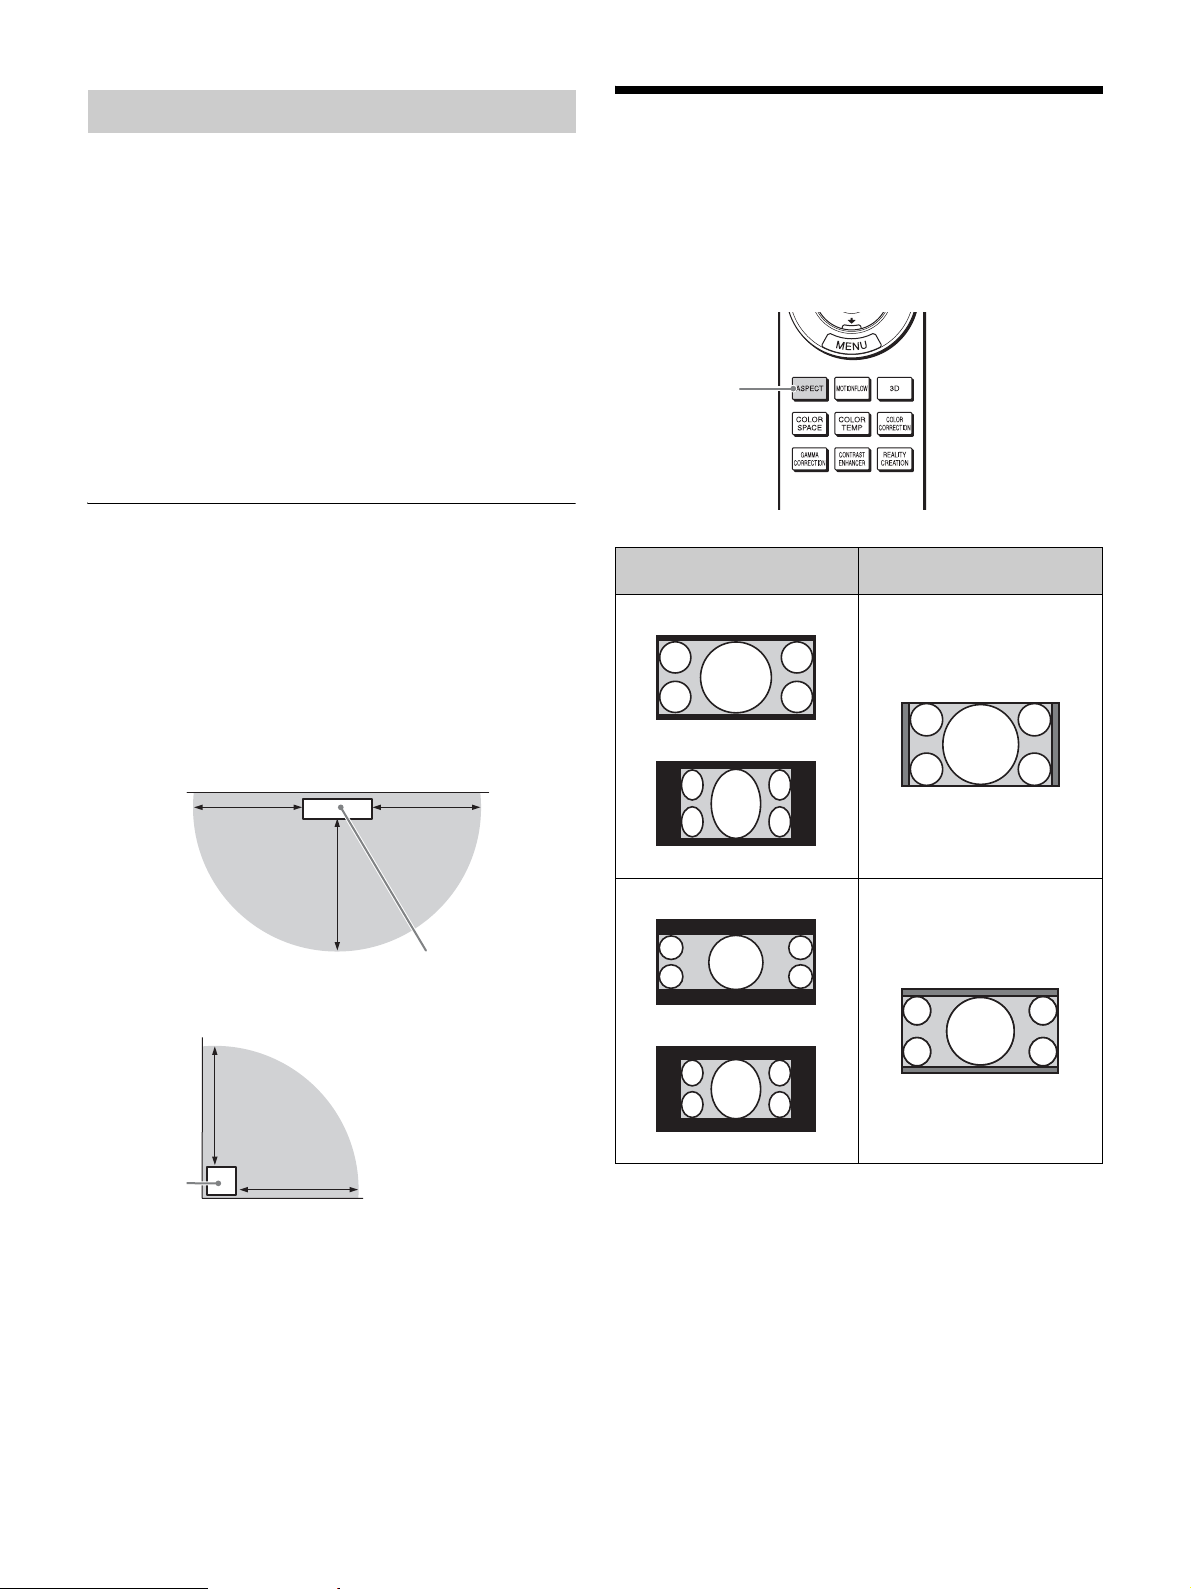
Selecting the Aspect
Ratio
Each time you press the ASPECT button, the “Aspect”
setting switches.You can also select it using the menu
(page 22).
Using the 3D Glasses
Projection surface
10 m
(33 ft)
Projector
10 m
(33 ft)
10 m
(33 ft)
10 m
(33 ft)
10 m
(33 ft)
Projector
Projection
surface
Original image (for 16:9
display)
Recommended setting and
resultant images
ASPECT
button
1.85:1
Squeezed 1.85:1
1.85:1 Zoom
2.35:1
Squeezed 2.35:1
2.35:1 Zoom
Loading ...
Loading ...
Loading ...