Loading ...
Loading ...
Loading ...
25
Auto Clock Setting
(If you know a channel that carries EDS
signals)
Important!
When using a cable box:
• See “CATV or Satellite Receiver Connec-
tions” on page 21.
• Leave POWER on the cable box turned
on and select a channel that carries EDS
signals.
1
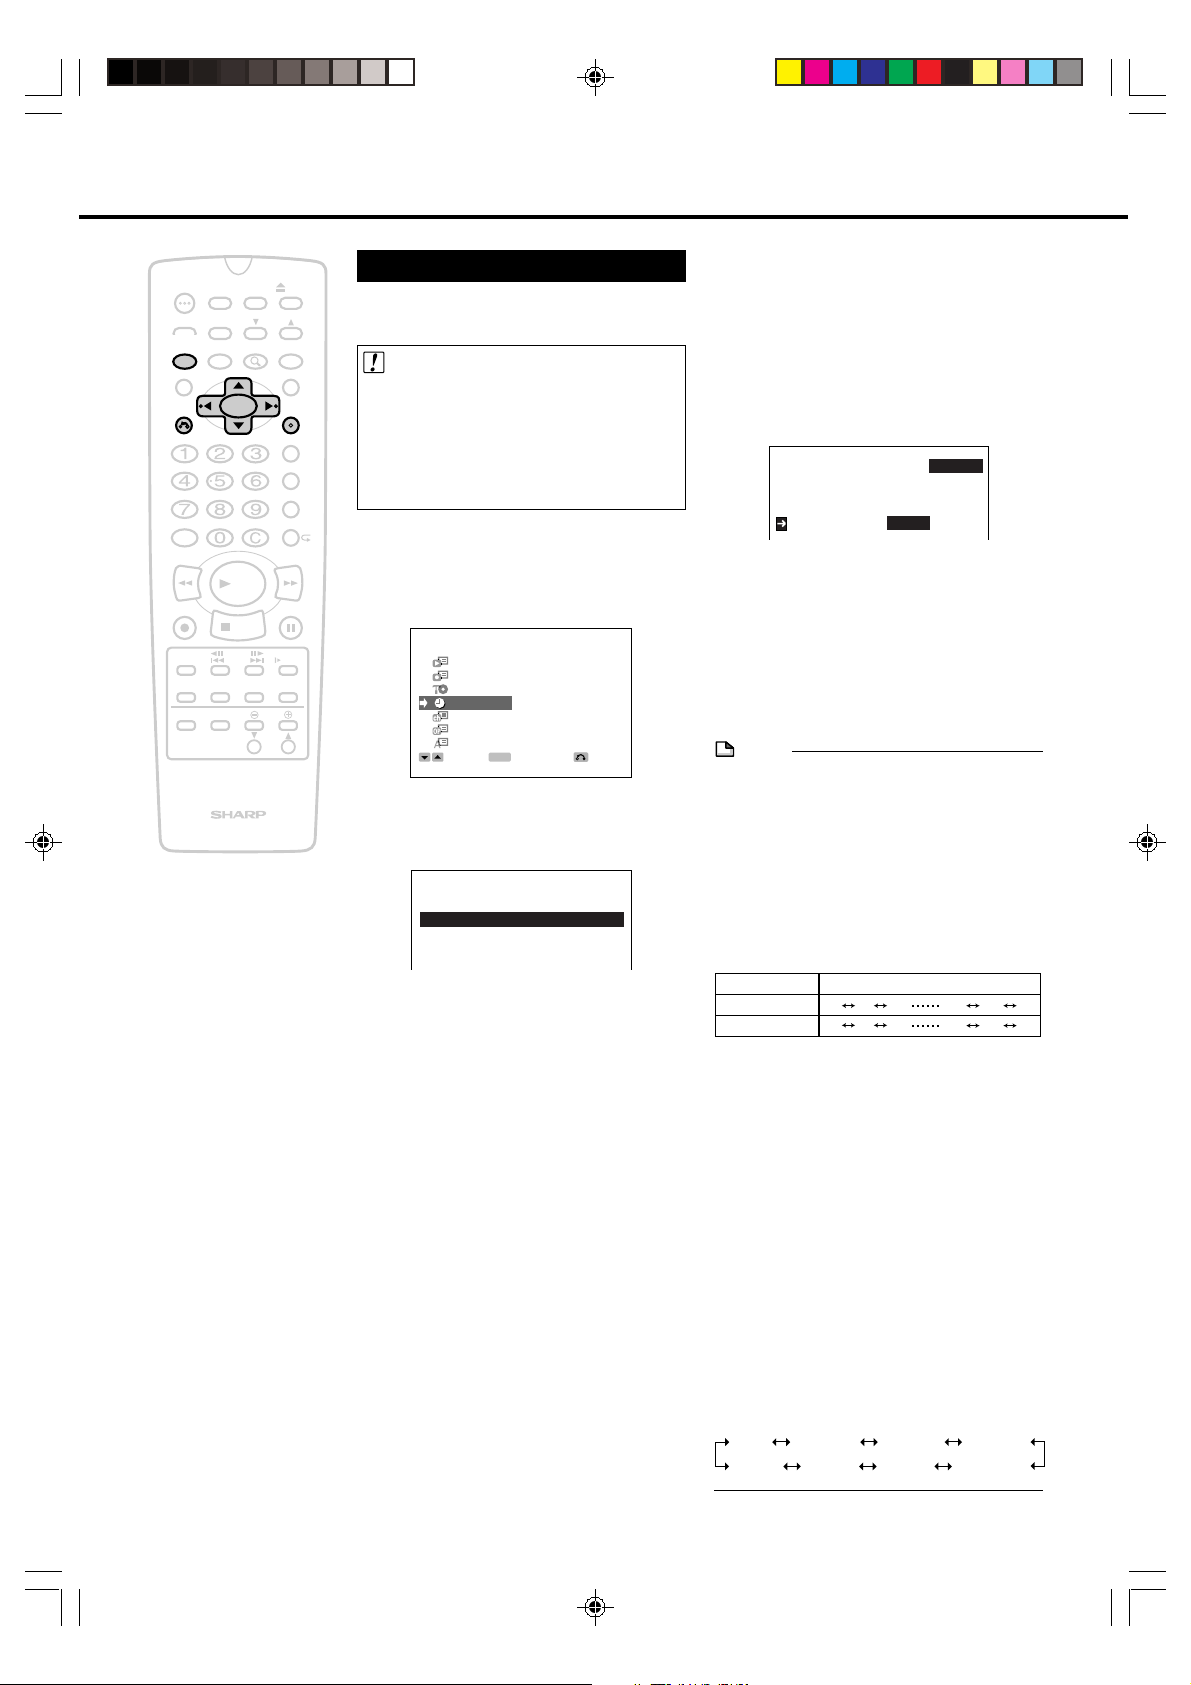
Press SETUP/FUNCTION. Press
' / " to select “CLOCK” and
then press SET/ENTER.
SETUP
PLAYBACK
RECORD
DISC
CLOCK
CHANNEL
OPTION
OSD LANGUAGE
SELECT
RETURNENTER
ENTER
2
Press ' / " to select “AUTO” and
then press SET/ENTER.
MANUAL
CLOCK
AUTO
3
Press \ / |
to set EDS CH SET
mode to “MANUAL” and then
press ".
4
Press \ / |
to select a channel
that carries EDS signals and then
press ".
Example: 07
• The number of channels that can be
selected depends on the mode
setting on the CHANNEL PRESET
screen.
See NOTE.
When using a cable box:
Input the output channel (02, 03, or 04)
of the cable box.
Clock Setting
5
Press
\ / |
to select “TIME ZONE”.
• If you want the Recorder to use the
time zone from which your
broadcasts with EDS signals, choose
AUTO. If your broadcasts with EDS
signals from a different time zone than
the one in which you live, be sure to
select your time zone.
EDS CH SET AUTO MANUAL
EDS CH 07
TIME ZONE AUTO
6
Press SET/ENTER to enter. The
screen returns to normal.
7
Press POWER to turn off the
recorder.
• The Auto Clock Setting function will
automatically set the clock.
NOTE
• If the EDS CH SET mode is set to MANUAL
mode in Step 3 and a channel that does
not carry EDS signal is selected in Step 4,
the Auto Clock Setting function will not
operate.
• In Step 4, the number of channels that can
be selected depends on the mode setting
on the CHANNEL PRESET screen. See the
table below.
• In Step 1, if you press SETUP/FUNCTION
when operating the screen setting for the
first time, the OSD LANGUAGE SETUP
screen will appear.
• If you entered incorrect data during the
setting procedure, re-enter the correct data
in the following manner:
1
Use
\\
\\
\ /
||
||
|
to select the data to be corrected.
2 Set the correct data with
''
''
' /
""
""
".
3 After correcting the data in Step 2,
press SET/ENTER to enter.
• If you press RETURN or SETUP/FUNC-
TION in Step 6, the data will not be stored.
• If a button is not pressed within 3 minutes
during the setting procedure, the screen
will return to the normal screen.
• “TIME ZONE” is changed as follows.
ATLANTICAUTO EASTERN CENTRAL
ALASKA
PACIFIC MOUNTAINHAWAII
EDIT
100
OPEN/
CLOSE
POWER
SKIP
SEARCH
AUDIO
TIMER
ON/OFF
TITLE
MENU
ANGLE
DNR
RETURN
REV FWD
SET/
ENTER
VCR PLUS
+
TIMER PROG.
REC MODE
PROGRAM
AM/ PM ERASE
STILL/PAUSE
REC
PLAY
STOP
SLOW
SKIP
F.ADV
ORIGINAL/
PLAY LIST
DISC
TIMER
CH
DISPLAY
ON
SCREEN
POWER
INPUT
VOL
CH
TV CONTROL
SETUP/
FUNCTION
ZOOM
INPUT
AIR/CATV Channels to be selected
AIR
CATV
02 03 04 68 69 02
01 02 03 124 125 01
DV_RW2U#p24-28.p65 03.1.14, 9:18 AM25
Loading ...
Loading ...
Loading ...