User manual Refrigeration
INSTALLATION
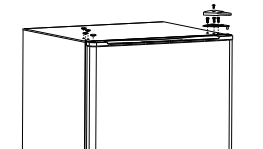
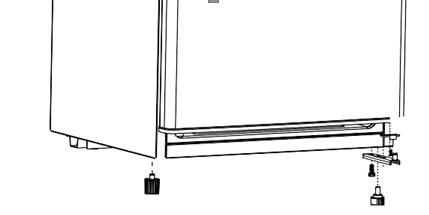
1. Steady, flat location:
If the refrigerator is not leveled during installation, the doors may not close or seal properly, causing cooling, frost, or moisture problems. It is very important for the refrigerator to be level in order to function properly. To level your refrigerator, you may either turn the level leg clockwise to raise that side to the refrigerator or turn counter-clockwise to lower that side. Having someone push against the top of the refrigerator will take some weight off the leveling leg. This makes it easier to adjust the leveling leg.
2. Ventilation:
Place refrigerator approximately 5 inches from the wall to ensure proper airflow to the compressor. Do not place refrigerator near any heat resources such as a heater or stove as it will put a strain on the compressor
3. Power supply:
Check your local power source. This refrigerator requires a 110V-120V, 60Hz power supply.
Use a receptacle that will accept the ground prong. The power cord of this appliance is equipped with a 3-prong (grounding) plug which mates with a standard 3-prong (grounding) wall outlet to minimize the possibility of electric shock hazard from this appliance.
(a) Longer cord sets or extension cords are available and may be used if care is exercised in their use.
(b) If a long cord or extension cord is used, (1) the marked electrical rating of the cord set or extension cord should be at least as great as the electrical rating of the appliance, (2) the extension cord must be a grounding-type 3-wire cord, and (3) the longer cord should be arranged so that it will not drape over the counter top or table top where it can be pulled on by children or tripped over unintentionally.
NOTES:
The refrigerator should always be plugged into its own individual electrical outlet which has a voltage rating that matches the rating plate.
If you have only a standard 2-prong wall outlet, it is your personal responsibility and obligation to have it replaced with a properly grounded 3-prong wall outlet.
Never unplug your refrigerator by pulling on the power cord. Always grip plug firmly and pull straight out from the outlet.

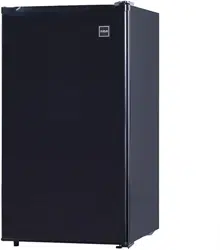
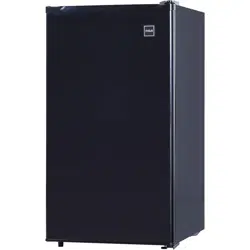
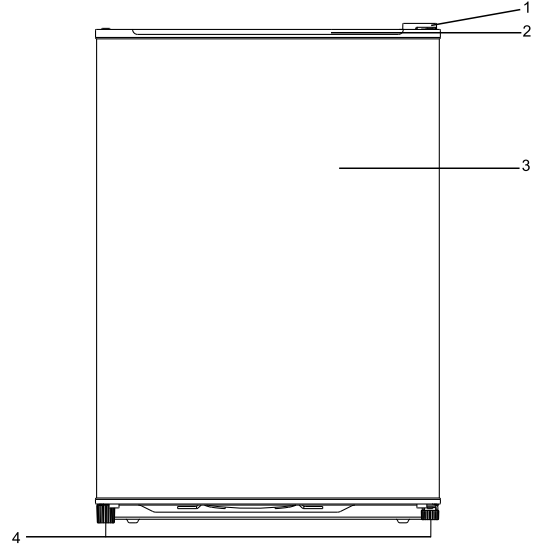
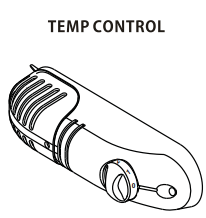
LOCATION OF CONTROLS
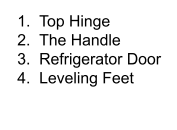
Door Closed
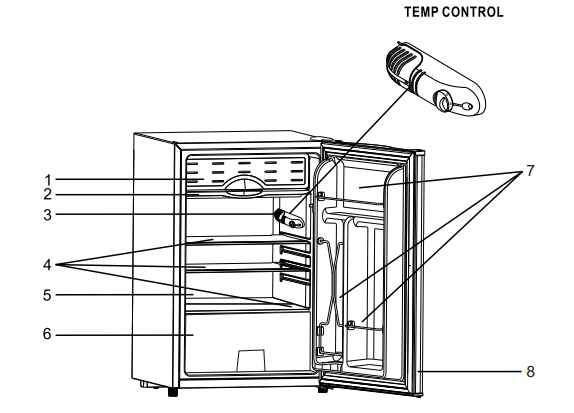
Door Open
OPERATIONS
NOTES: Temperature range of the chiller compartment is 30°F to 48°F at room temperature of 77°F (25°C). Ice cream and Popsicles must be kept cool at -5°F to 0°F, hence this chiller compartment is not suitable to store these types of items.
USING THE THERMOSTAT
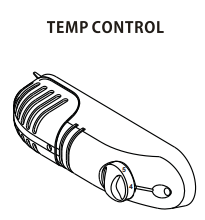
The thermostat control knob for the refrigerator and chiller is located beside the chiller compartment.
The first time you turn the unit on, adjust the thermostat control knob to “4” and give your refrigerator time to cool down completely before adding food; a full 24 hours is recommended.
After it is fully cooled, test it and adjust towards “1” to make it less cool or towards “7” to cool more to best suit your needs. However, the setting of “4” should be appropriate for home or office refrigerator use.
NOTE: Turning the thermostat control knob to the “ 0 ” position will stop the cooling cycle but does not shut off the power to the unit.
DEFROSTING
Defrosting process is manual:
- Turn the thermostat knob to the “ 0 ”position and leave the refrigerator door open.
- Remove all food from the chiller and refrigerator compartment.
- Clean and wipe out the melted frost with a cloth.
- After defrosting, turn thermostat knob to original position
NOTE: If the chiller has accumulated excessive frost/ice, please do the following:
- Remove all food from the chiller and refrigerator compartment.
- Turn the thermostat knob to the “ 0 ”position and unplug from the outlet.
- Place towel under compact refrigerator or move refrigerator outdoors where no water damage can occur.
- Follow steps 3 & 4 from above section.
REVERSING THE DOOR POSITION
CAUTION:
To avoid to injury yourself and/or property, we recommend someone assist you during the door reversal process
- Ensure the Applianœ is unplugged and empty.
- Adjust the two leveling feet to their highest position.
- We reœmmend you have someone to assist you
NOTE: To take the door off it is necessary to tilt the position Appliance backward. You should rest the Appliance on something solid, e.g., a chair just below the top panel.
DO NOT lay the Appliance completely flat as this may damage the coolant system.
TOOLS REQUIRED
- 10 mm socket screw driver
- Phillips style screw driver
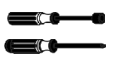
1. Phillips style screwdriver
2. Leveling foot
3. Machine Screw
4. Bottom Hinge Bracket
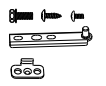
5. Door Stopper
Unscrew the screw of top hinge cover, and remove the upper hinge cover, then unscrew the upper screws of metal hinge bracket and take off the hinge. Then take off the left side screw covers. Pull the appliance door upward to take it off.
Remove left leveling foot, the bottom hinge bracket and door stopper by unscrewing the mounting screws.
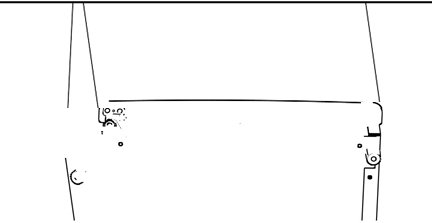
Install the leveling foot, the door stopper and the buttom hinge bracket on the new bottom side. Then tighten the screwa of the door stopper and the bottom hinge bracket.

Slot the appliance door into the bottom hinge pin. Replace the upper hinge bracket on the new side and check the fitting between the door/ hinge moving smoothly. Then tighten the screws of the upper hinge bracket. Replace the hinge cover and the right side screw covers, then tighten the screw of top hinge cover.
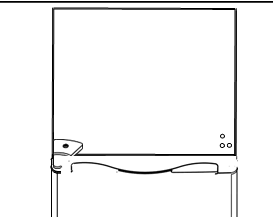
Check that the door is aligned horizontally and vertically and that the seals are closed on all sides before finally tightening the upper hinge. Re-adjust the leveling feet.
TROUBLE SHOOTING GUIDE
The refrigerator will not operate
-
- The power supply cord is unplugged.
- The thermostat knob is set to the “ 0 ” position.
- A household fuse or circuit breaker has tripped.
Food in the refrigerator compartment is freezing
-
- The thermostat knob is set too cold.
Food in the refrigerator compartment is not cold
-
- The air vents on the drip tray are blocked in the compartment; this prevents the movement of cold air.
- The door is opened too often or not closed properly.
- A large amount of food has just been added to the refrigerator or chiller compartment.
- The position of thermostat knob is adjusted too low.
The refrigerator seems to make unusual noise
-
- The refrigerator is not leveled on the floor.
- The body of the refrigerator touches a wall.
- The drip tray is not placed properly.
There is interior moisture build-up
-
- The door is opened too often or not closed properly.
- The room is humid.
- The food is not packaged correctly.
The door will not close completely
-
- Food packages are keeping the door from closing properly.
- The shelves are out of position
- The gaskets are dirty.
- The refrigerator is not level.
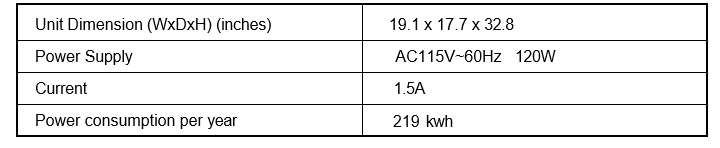
TECHNICAL SPECIFICATION