Loading ...
Loading ...
Loading ...
3 Setting Noise ReductionN
152
2
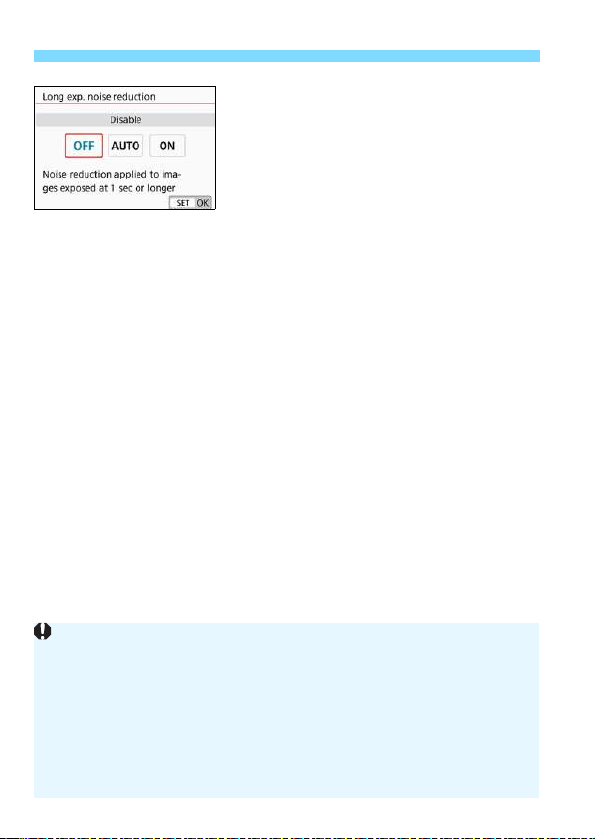
Set the desired setting.
Select the desired setting, then press
<0>.
[Auto]
For exposures of 1 sec. or longer, noise reduction is performed
automatically if noise typical of long exposures is detected. This
[Auto] setting is effective enough in most cases.
[Enable]
Noise reduction is performed for all exposures of 1 sec. or longer.
The [Enable] setting may reduce noise that cannot be detected with
the [Auto] setting.
3
Take the picture.
The image will be recorded with noise
reduction applied.
With [
Auto
] or [
Enable
] set, the noise reduction process after the picture
is taken may take the same amount of time as that for the exposure. You
cannot take another picture until the noise reduction process is complete.
Images taken at ISO 1600 or higher may look grainier with the [Enable]
setting than with the [Disable] or [Auto] setting.
With [Auto] or [Enable] set, if a long exposure is used with the Live View
image displayed, “BUSY” will be displayed during the noise reduction
process. The Live View display will not appear until the noise reduction is
complete. (You cannot take another picture.)
Loading ...
Loading ...
Loading ...