Loading ...
Loading ...
Loading ...
Changes in color, sharpness, contrast, and saturation can be made using the custom 2
section of the multi-function recording mode menu (p. 50). These imaging controls give
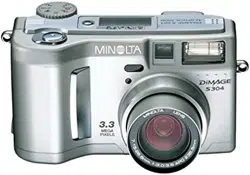
photographers the ability to maximize the image information at the scene. For example,
if a scene is too contrasty, information can be lost in the shadows and highlights;
decreasing the contrast will bring out more detail.
Any changes made with these functions are
applied to the live image on the monitor.
The color mode, sharpness, contrast, and
color saturation levels must be set before
the image is recorded. If sharpness,
contrast, or color saturation is set to any
setting other than normal, an icon will be
displayed indicating an increase (+) or
decrease (–) in the quality selected. Turning
the camera off will not reset these functions;
they must be manually reset using the
menu.
Unlike the display on a computer, changes made with sharpness, contrast, and color
saturation may be difficult to see on the LCD monitor. However, when viewed with
imaging software, the changes will be evident.
60 61
MULTI-FUNCTION RECORDING
IMAGE CONTROL - COLOR, SHARPNESS, CONTRAST, & SATURATION
Color saturation
Contrast
Sharpness
Color mode
To accent or subdue the color of a scene in three
levels: high (+), normal, and low (–).
To increase or decrease the contrast of the scene in
three levels: high (+), normal, and low (–).
To accent or soften details in an image in three levels:
hard (+), normal, and soft (–).
To select between 24-bit color and 8-bit monochrome
images. It has no effect on image file size.
High
contrast
scene
After compensation (–)
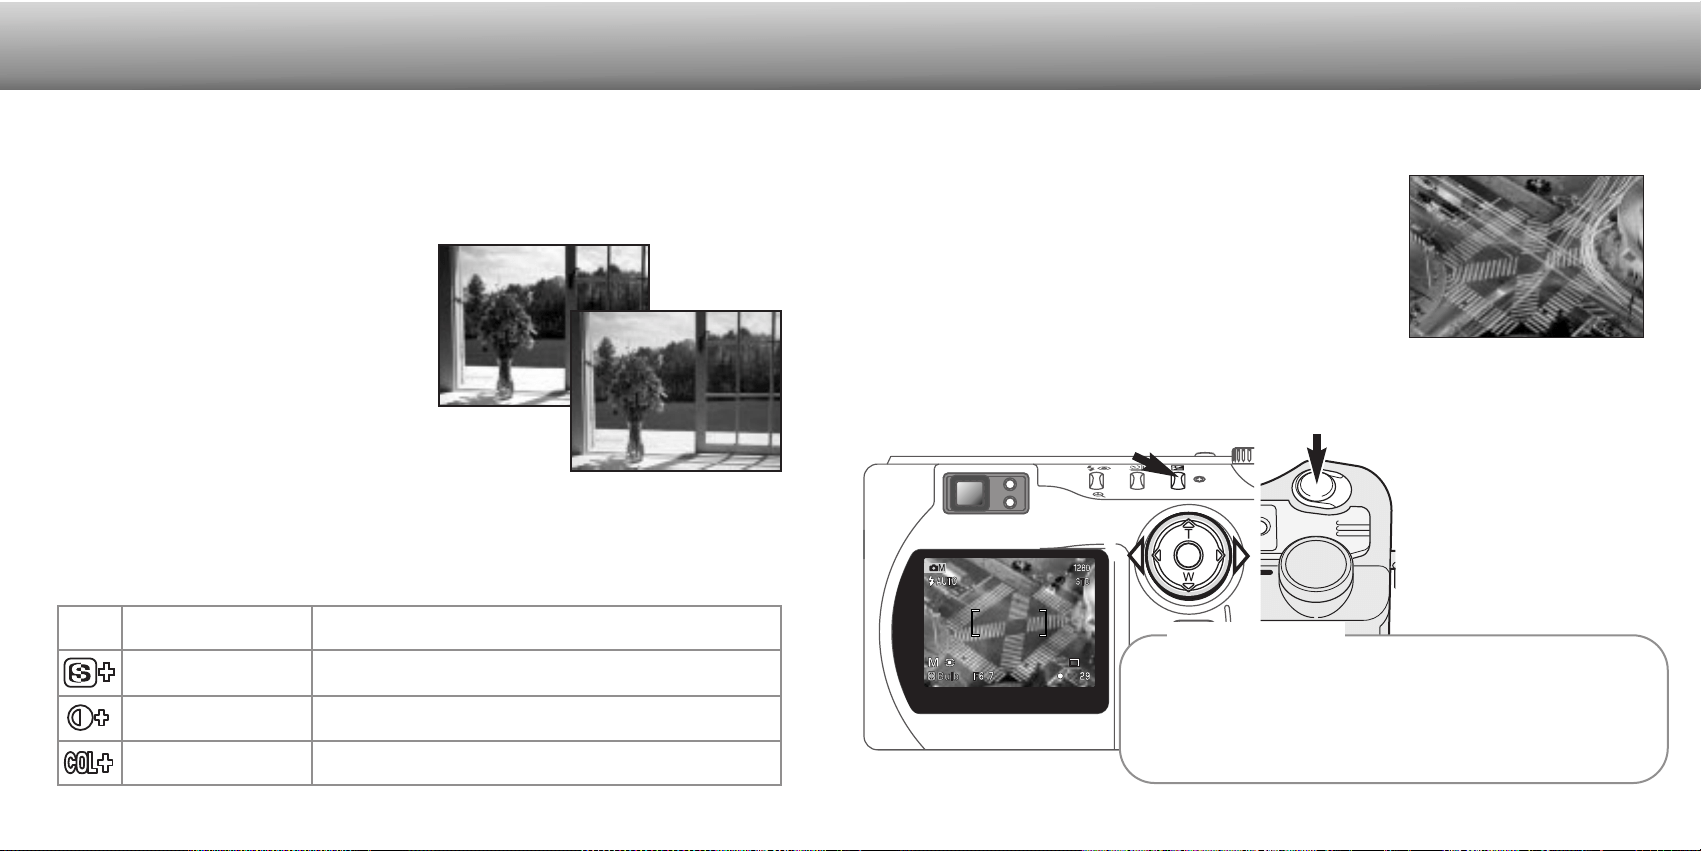
BULB EXPOSURES
Bulb photographs can be taken in the manual-exposure mode (M) (p. 53). Exposures
up to fifteen seconds can be made by pressing and holding the shutter-release button.
The use of a tripod is recommended for bulb exposures.
To set the aperture value, press the exposure-compensation button (2); the aperture
display should turn blue. Use the controller (1) to set the aperture.
• The camera’s exposure system cannot be used to calculate bulb exposures. The use of a
separate light meter is recommended.
Use the controller (1) to decrease the shutter-speed
value below four seconds until “bulb” is displayed.
To take the picture, press
and hold the shutter-release
button (3) for the duration of
the exposure.
• Releasing the shutter button
will end the exposure.
• The monitors will be blank
during the exposure.
Set the exposure mode to manual in the basic section of
the multi-function recording mode menu (p. 50).
2
1
3
When making bulb exposures, noise can be more pronounced
because of the unusually long exposure times, especially at 400 and
800 ISO. When making long bulb exposures, a camera sensitivity set-
ting of 100 or 200 will produce excellent results. At higher ISO settings,
using shorter exposure times (8 seconds or less) will reduce the effect
of noise.
Camera Notes
Loading ...
Loading ...
Loading ...