Loading ...
Loading ...
Loading ...
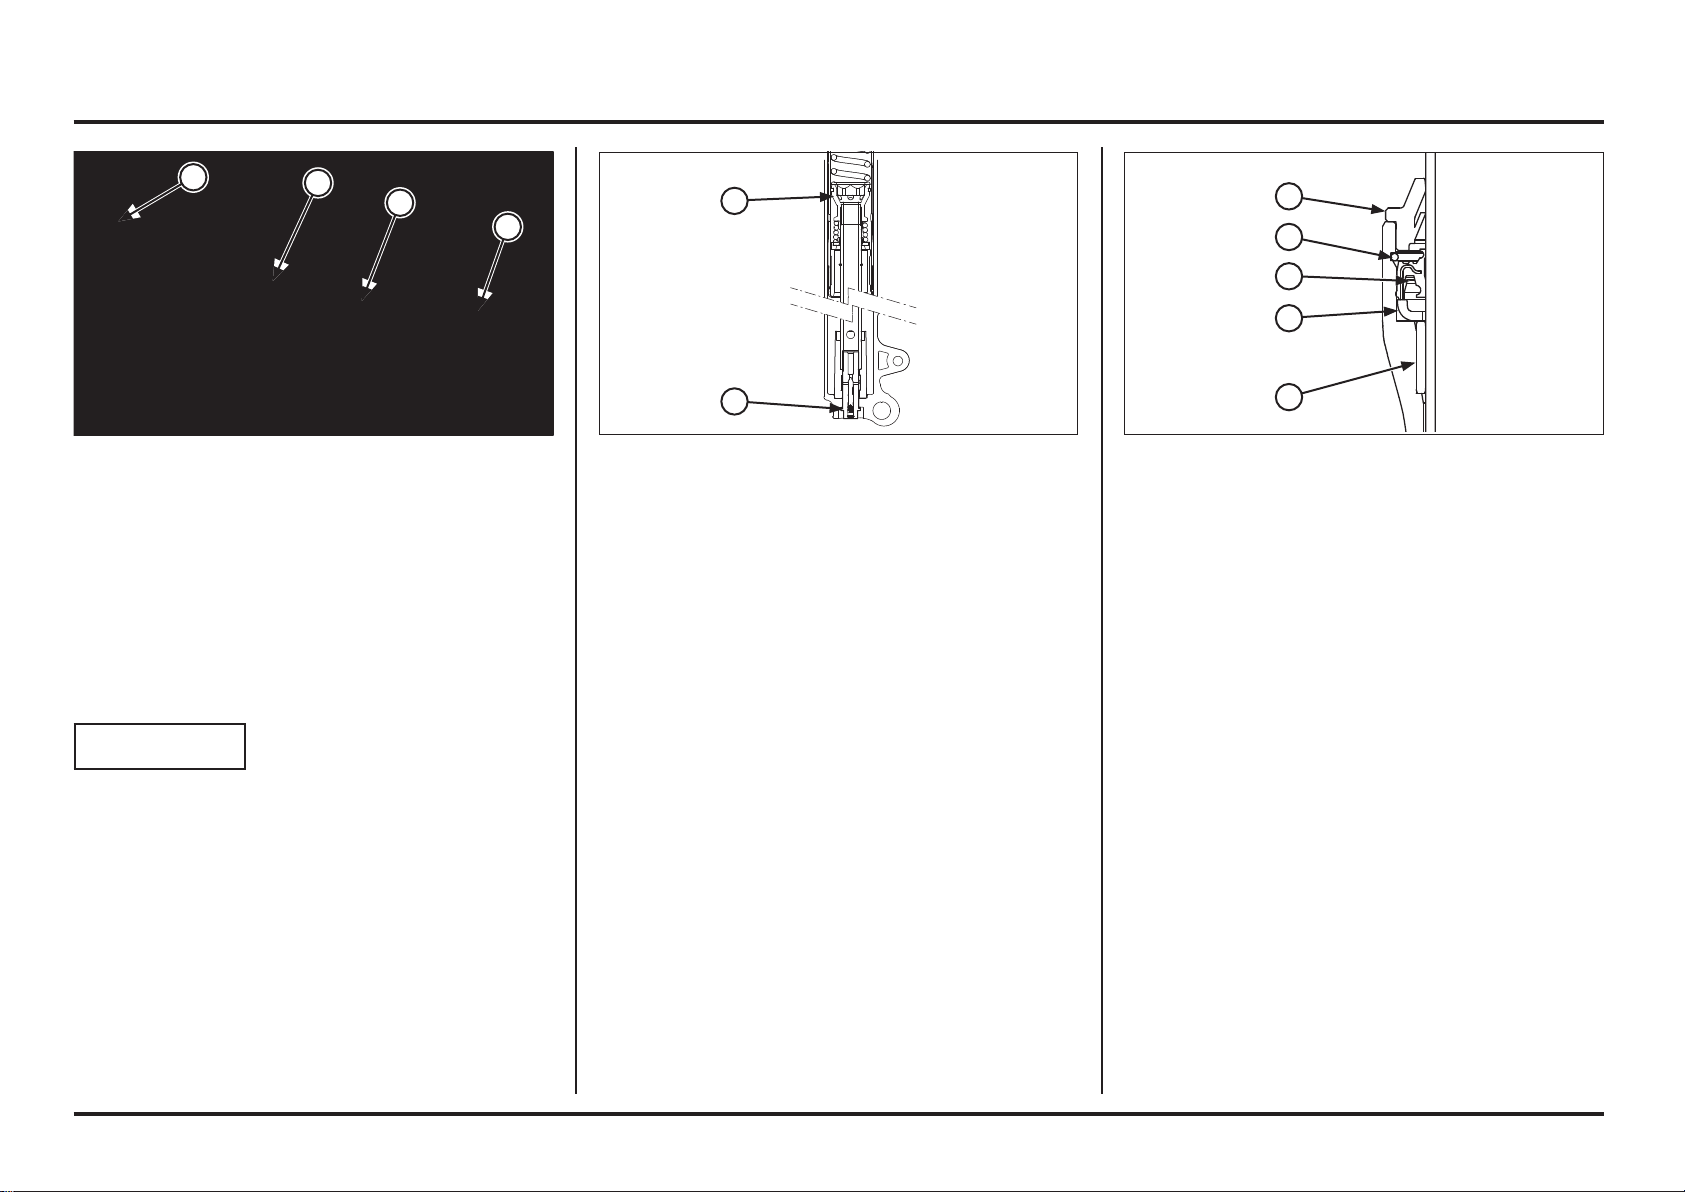
(1) GUIDE BUSHING
(2) BACK-UP RING
(3) OIL SEAL
(4) STOP RING
(5) DUST SEAL
Install the following parts onto the fork tube using the
same procedure as the right fork (page 5-6):
– Fork tube bushing
– Guide bushing
– Back-up ring
Using the special tool, drive the guide bushing and backup
ring until the stop ring groove is fully stuck in the fork
slider base.
Install the oil seal (spring up) in the fork slider. Drive
the oil seal using the special tool, performing a constant
pressure until stops in back-up ring.
Tool:
Fork seal driver 07947–4630100
Install the stop ring into the slider groove securely.
Install the dust seal.
Hold the axle holder in a vise protected with a piece of
wood or soft jaws to avoid damage.
Do not overtighten the vise.
Clean and apply a locking agent to the center bolt threads
(2ED/4ED).
Install the center bolt with a new sealing washer.
Hold the cylinder assembly using the special tool, then
tighten the center bolt to the specified torque.
Tool:
Fork damper holder 07930–KA50100
Torque: 23.5-25.5 N•m (2.4-2.6 kgf•m)
(1) CILINDER ASSY
(2) CENTER BOLT
(1) FORK TUBE
(2) CILINDER ASSY
(3) TAPERED BUSHING
(4) FORK SLIDER
Left Fork Assembly
Clean the parts thoroughly with non-flammable or high
flush point solvent before assembly.
Apply fork fluid to the piston ring.
Install the cilinder assy into the fork tube.
Install the tapered bushing on the end of the cilinder assy.
NOTE
The tapered bushing is easy to scratched or deformed.
Take care not to damage it when assembling it.
5-10
5-10
Frame servicing
2
1
3
2
1
5
4
3
2
1
4
Loading ...
Loading ...
Loading ...