Loading ...
Loading ...
Loading ...
40
General operation
1 Press HOME.
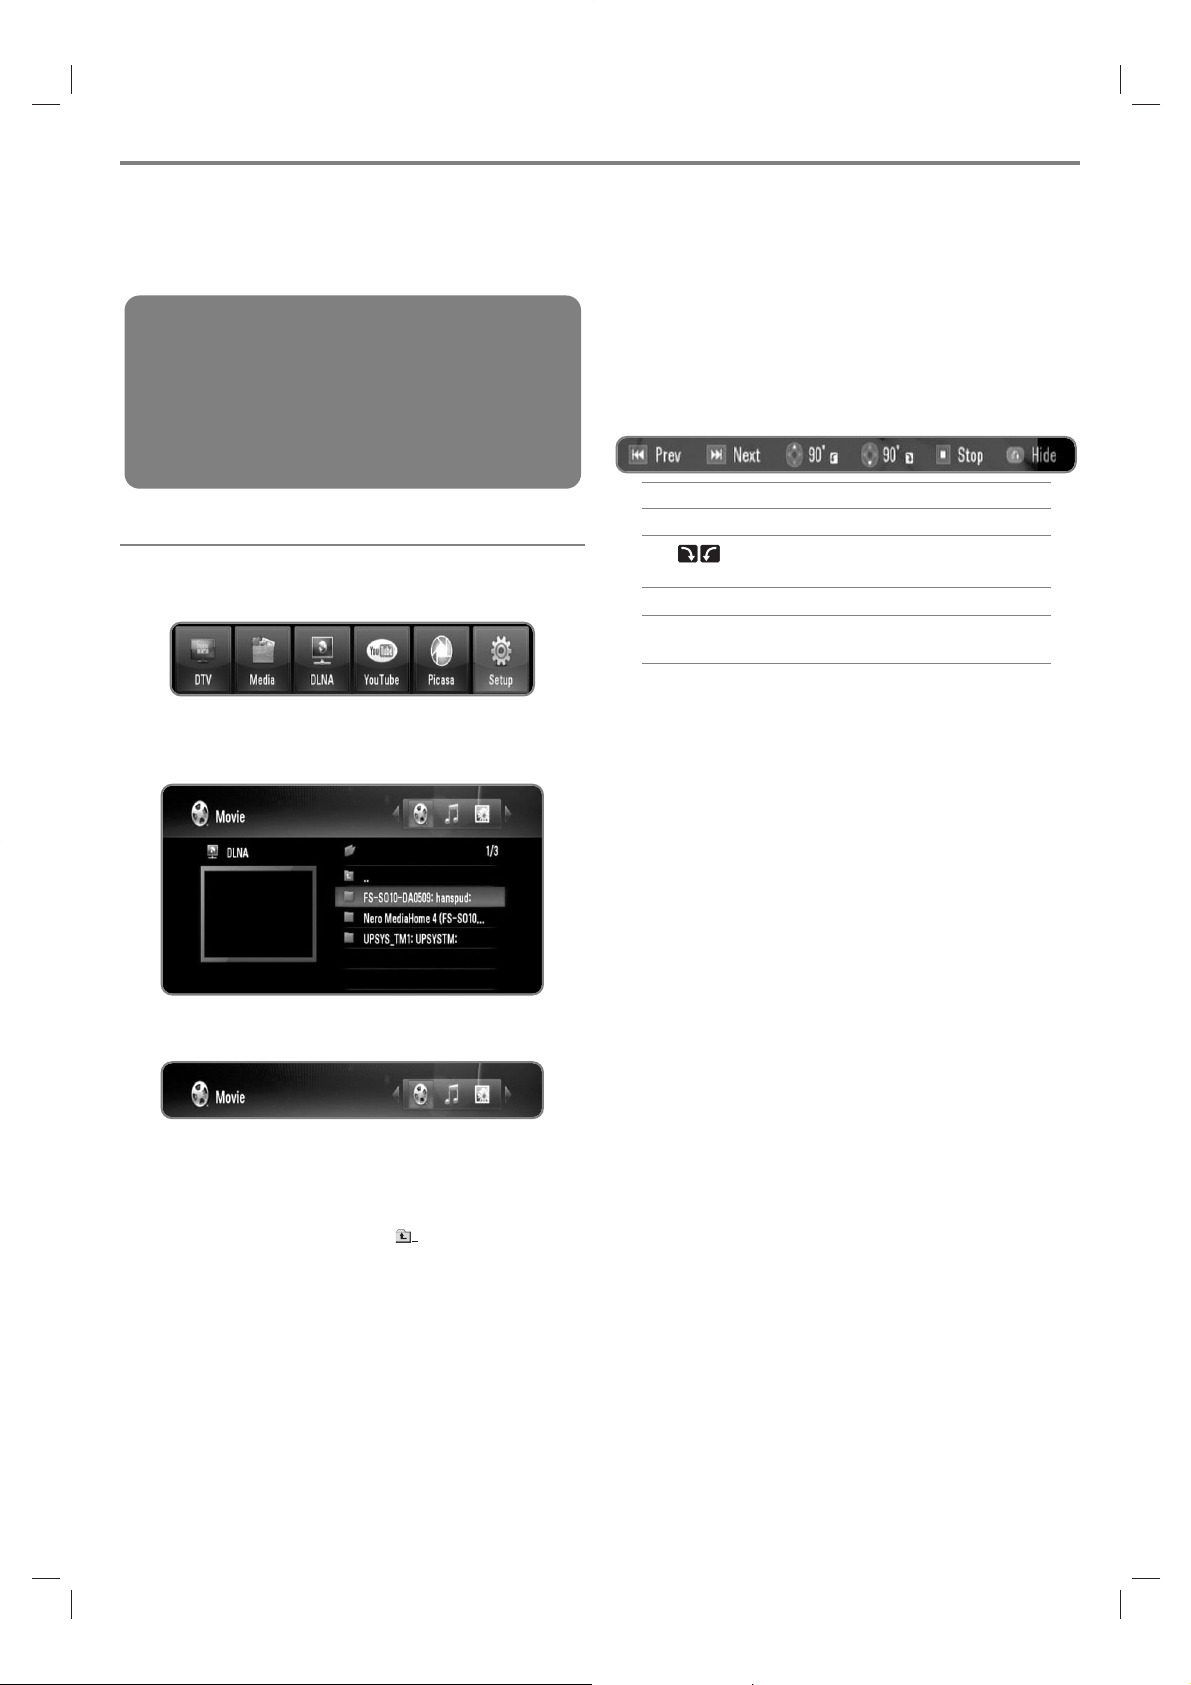
2 Use b/B to select [DLNA], and press OK.
3 Use v/V to select a server, and press OK.
Press blue coloured button to search servers within
your network environment.
4 Use b/B to select a media type (MOVIE, MUSIC or
PHOTO).
5 Use v/V to select a file you want to play.
Press v/V to select a folder, and press OK. A list of
files and folders in the folder appears.
If you want to move to the upper directory, press
BACK or use v/V to select and press OK.
Press INFO while selecting a movie file to display
the detailed file information.
6 Press PLAY or OK to play the selected file.
Refer to “Playback functions” on page 32-35 to use
various playback functions.
Starts slideshow when selecting a photo file.
When playing a slideshow, press INFO to show the
control icons as below.
Prev: Press . to move to the previous file.
Next: Press > to move to the next file.
90° : Press v/V to rotate the picture clock-
wise or counterclockwise.
Stop: Press STOP (x) to stops the slideshow.
Hide: Press BACK to hide the control icons.
To show the icons again, press INFO.
Operating DLNA feature
The recorder can play movie, music and photo files on the DLNA server.
Before playing movie, music or photo files from DLNA server, read “File requirement” on page 5.
Preparations:
This recorder and DLNA server must be
connected to the same local area network. (page
14-19)
DLNA server device must be turned on.
Depending on DLNA server, you may need
permission to get access .
Loading ...
Loading ...
Loading ...