Loading ...
Loading ...
Loading ...
12 | Westinghouse Outdoor Power Equipment, LLC
ASSEMBLY
FILLING THE FUEL TANK
1. Turn the generator OFF and allow to cool for a minimum
of two minutes before fueling.
2. Place the generator on level ground in a well ventilated
area.
3. Clean area around fuel cap and remove the cap slowly.
NOTICE
Only ll the tank from an approved gasoline container.
Make sure the gasoline container is internally clean and
in good condition to prevent fuel system contamination.
4. Slowly add the recommended fuel. Do not overll. Fill
only to the red maximum ll ring on the fuel screen lter
visible in the ller neck.
Maximum
Fuel Level
Screen
Filter
Fuel Cap
5. Install the fuel cap.
NOTICE
Fuel can damage paint and plastic. Use caution when
lling the fuel tank. Damage caused by spilled fuel is not
covered under warranty.
NOTICE
Clean the fuel screen lter of debris before and after
each fueling. Remove the fuel screen lter by slightly
compressing it while removing it from the fuel tank.
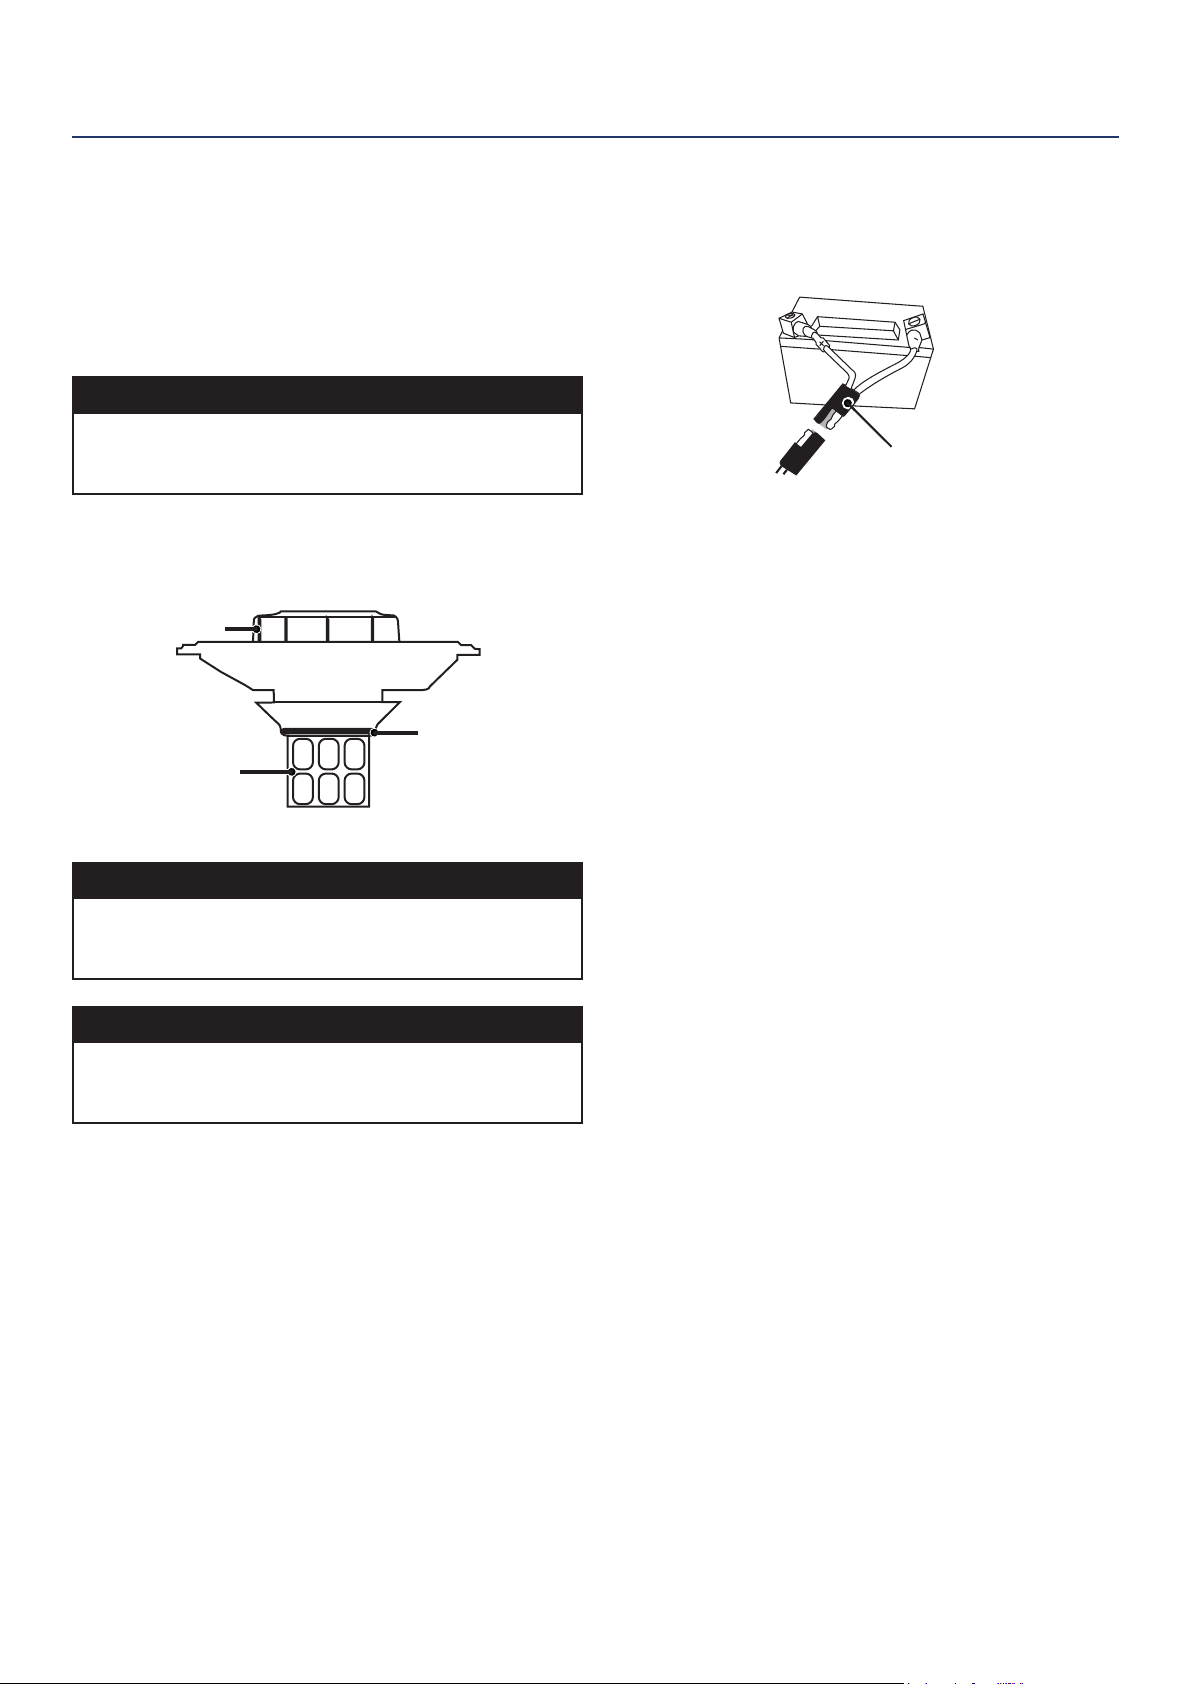
CONNECT THE BATTERY
A quick-connect battery plug is pre-installed on the battery.
Remove the cable tie securing the plugs then push rmly
to connect them.
Quick-Connect Plug
Note: The generator is equipped with a battery charging
feature. Once the engine is running, a small charge
will slowly recharge the battery.
Loading ...
Loading ...
Loading ...