Loading ...
Loading ...
Loading ...
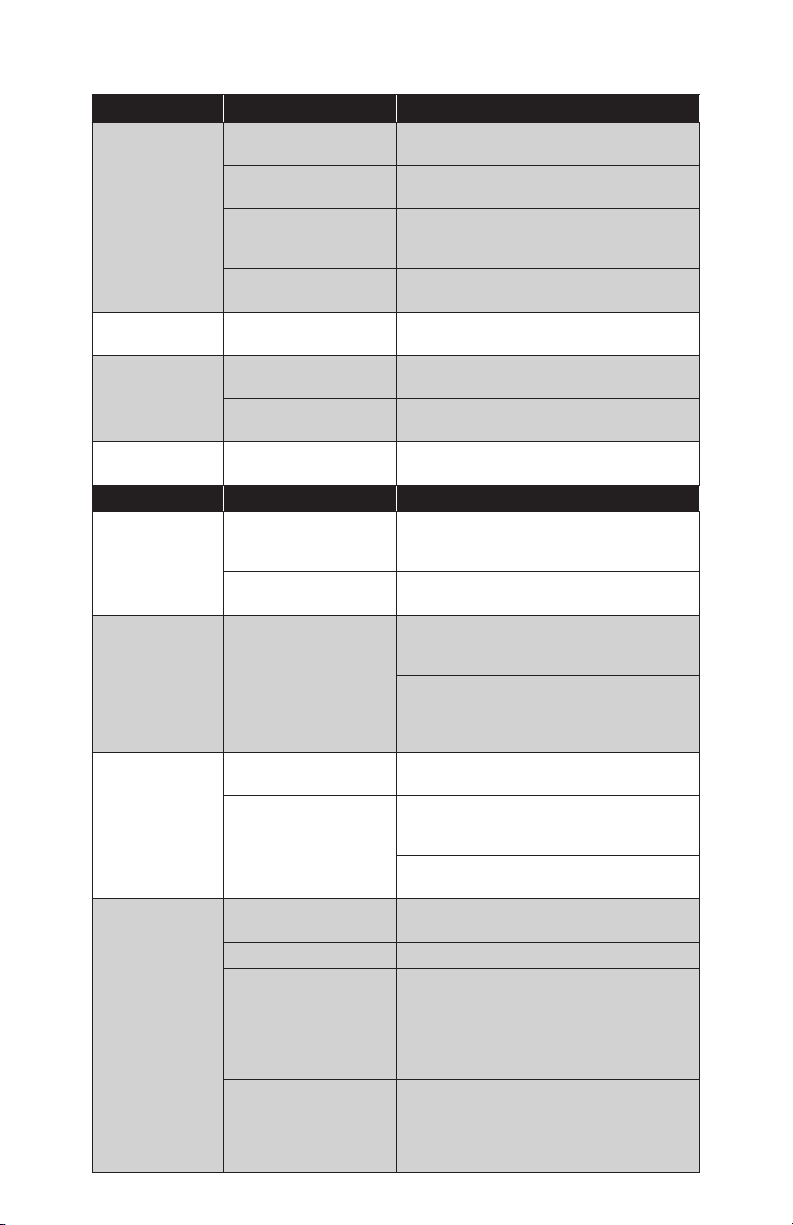
Troubleshooting
Problem Possible Cause Possible Solution
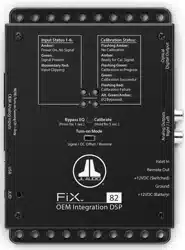
FiX doesn’t turn on
Faulty fuse
Remove fuse and check with continuity meter.
Replace if necessary.
Poor connection integrity
Check “Ground” and both “+12VDC” connections
for pinched wires; ensure tight connections.
Insucient “+12VDC
(Switched)” input
Make sure there is a sucient +12V supply at the
“+12VDC (Switched)” connection; if not, a relay
may be required.
Incorrect auto turn-on
mode settings
Verify “+12VDC (Switched)” and input signal
connections; refer to “Turn-On Mode” section.
Amps or processors
not turning on
Poor connection integrity
Check “Remote Out” connections for pinched
wires; ensure tight connections.
Little or no bass
response
Handsfree mode is
engaged
Deactivate Handsfree mode using DRC-100, if
equipped.
Reversed polarity at one or
more inputs
Double-check wiring of “OEM Analog Inputs”.
Low or no volume
OEM source unit/master
volume set too low
Increase OEM source unit volume; increase
DRC-100 master volume control, if equipped.
Calibration Error Possible Cause Possible Solution Before Recalibration Attempt
1 short red ash:
Calibrated re-
sponse not at
OEM source unit tone/EQ
controls not set at
Verify OEM source unit tone controls are set to
zero/at or “centered” and turn o any source
unit EQ or DSP modes.
Reversed polarity at one or
more inputs
Double-check wiring of “OEM Analog Inputs”.
2 short red ashes:
Incomplete audio
spectrum
Disconnected or incorrect
input connections in
multi-way system
Connect input plugs, 1 pair at a time, and check
for green “Input Status” LEDs when playing
Calibration Track 01.
Use RTA to view output spectrum to identify
response gap for correction. Attempt to “Fill the
gap” by substituting a dierent L/R channel pair
and recalibrate.
3 short red ashes:
Delay compensa-
tion failure
Poor connection integrity
Double-check “OEM Analog Input” plugs for
open or loose connections.
Elevated OEM system
noise oor
Disconnect any redundant input plugs already
carrying audio content available via other input
plugs and recalibrate.
Recalibrate at a lower (or higher) OEM source
unit volume setting.
4 short red ashes:
No/low input signal
level
OEM source unit volume
set too low
Increase OEM source unit volume and recalibrate.
Valet mode is engaged Ensure Valet mode is not active.
Too low or missing signal
from OEM outputs
Make sure “Input Status” LEDs are green during
audio playback. With multiple inputs, insert input
connectors one plug at a time (input channels
1/2, 3/4, 5/6, 7/8) while playing a calibration test
signal and conrm both L & R “Status LEDs” are
green during playback.
Verify the OEM outputs
are “on”. The OEM source
unit may need to “see” a
speaker load to turn the
amp “on”.
May need to install a FiX-LSA-4 (sold separately)
to activate OEM amp outputs.
Loading ...
Loading ...