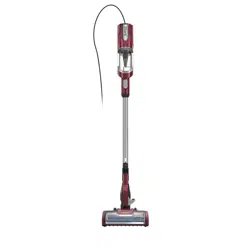
Documents: Go to download!
- Owner's manual - (English, French, Spanish)
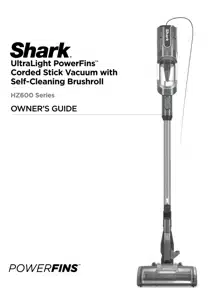
- ASSEMBLY
- SETTINGS
- CLEANING MODES
- STORAGE MODE
- AVAILABLE ACCESSORIES
- MAINTENANCE
- TROUBLESHOOTING
Table of contents
Owner's Guide Vacuum
ASSEMBLY
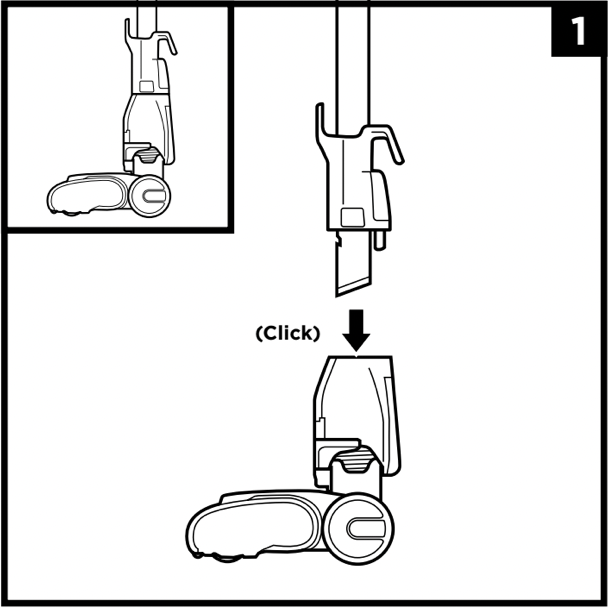
- Insert Wand into Floor Nozzle.
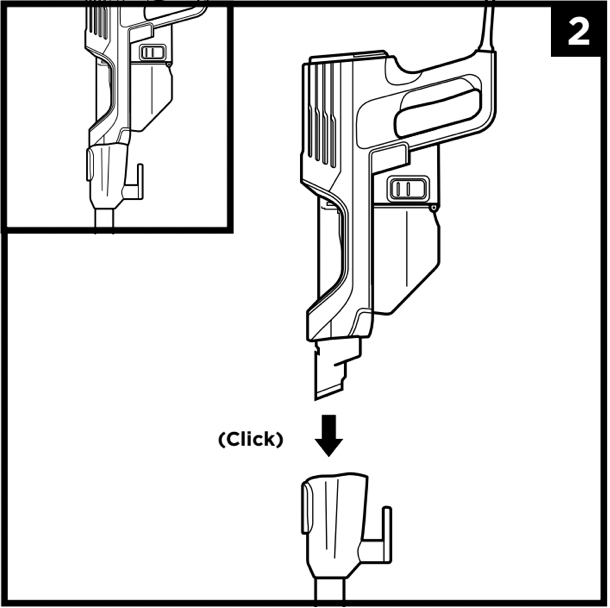
- Insert Handheld Vacuum into wand.
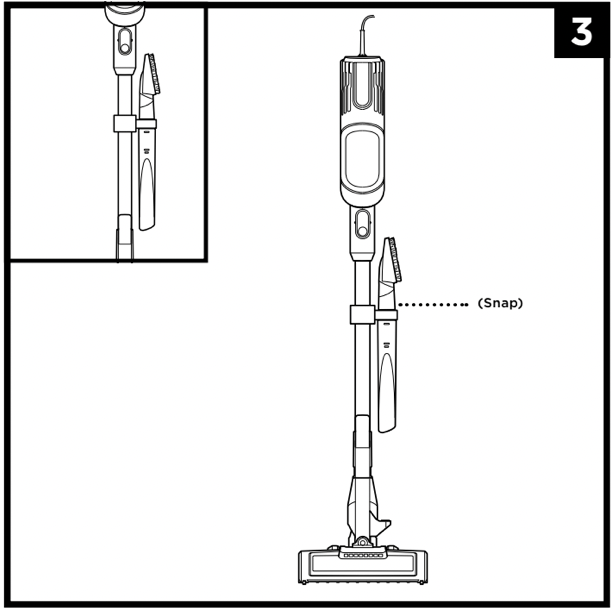
- Snap the Onboard Storage Clip onto the wand, then place accessories in the holder.
Ensure all connections click securely into place.
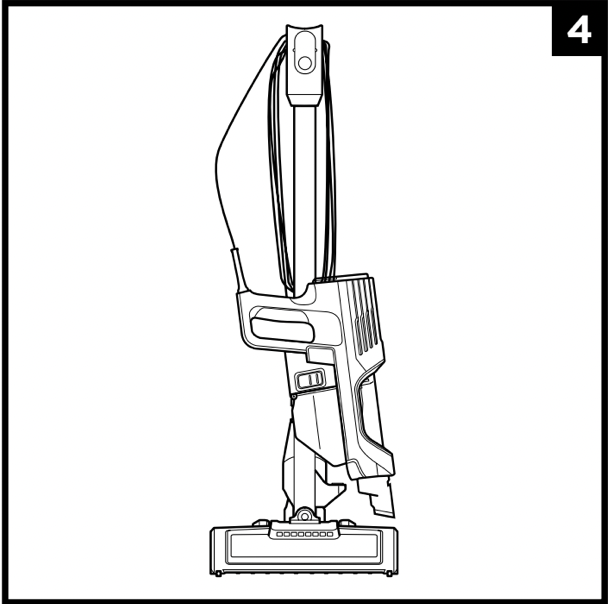
- For compact storage, hang the handheld vacuum from the Storage Hook on the wand.
SETTINGS
CONTROLS
The control panel is located on top of the handheld vacuum.
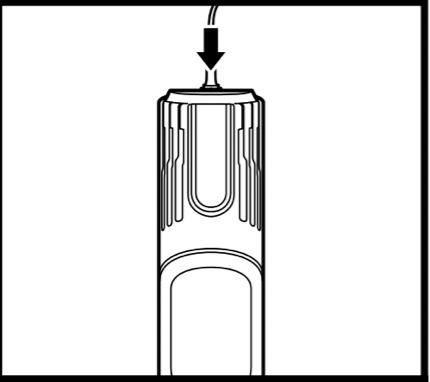
POWER BUTTON
Press the Power button to begin vacuuming. Press again to turn off power.
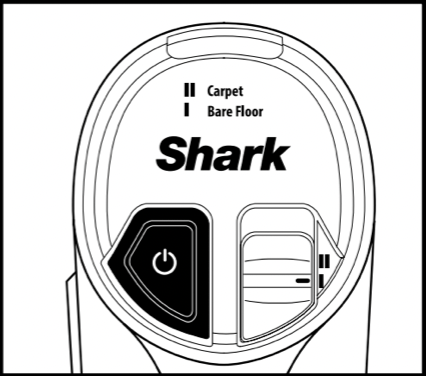
BARE FLOOR SETTING
Slide the floor select button to setting I to clean bare floors and small area rugs. The brushroll spins slowly in this setting.
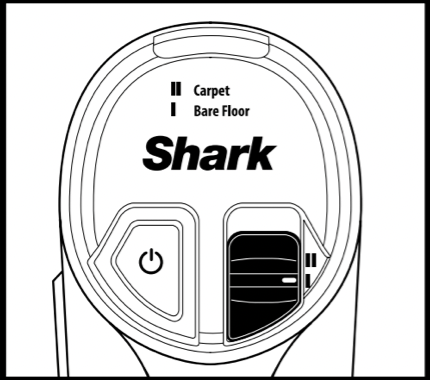
CARPET SETTING
Slide the floor select button to setting II to clean carpets. In this setting, the brushroll spins faster to pick up debris below the surface of your carpets.
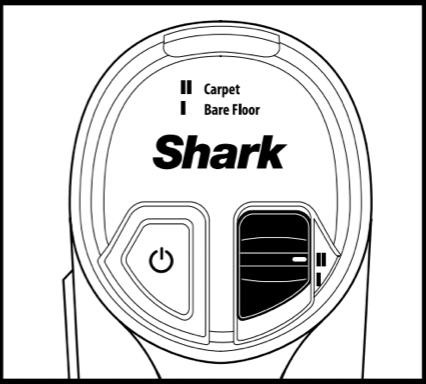
NOTE: Press the floor select button to toggle between Bare Floor and Carpet settings.
See other models: IZ361H HE601 HD113BRN HH202 RV765
NOTE: For deep cleaning per ASTM F 608 (embedded dirt in carpets) please use the Carpet setting.
NOTE: Select Carpet for stuck-on dust and debris.
CLEANING MODES
FLOOR MODE
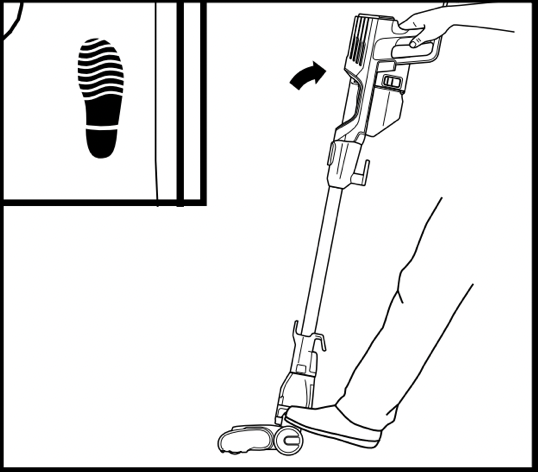
To clean floors, step on floor nozzle and tilt handheld vacuum back.
ABOVE-FLOOR WITH WAND
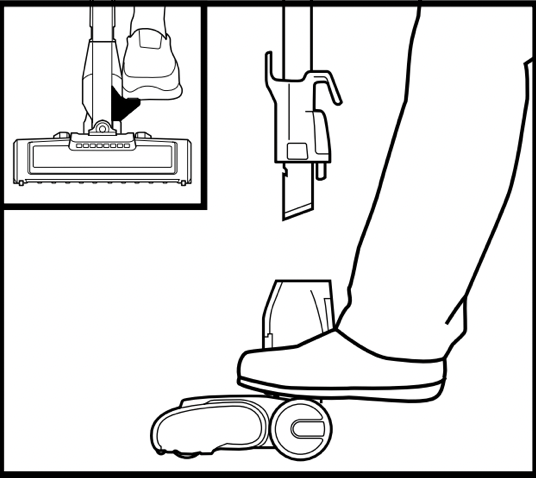
For more reach, detach the wand. Stand the vacuum upright, step on the Foot Pedal on the side of the nozzle, and pull up the wand to detach.
ABOVE-FLOOR HANDHELD
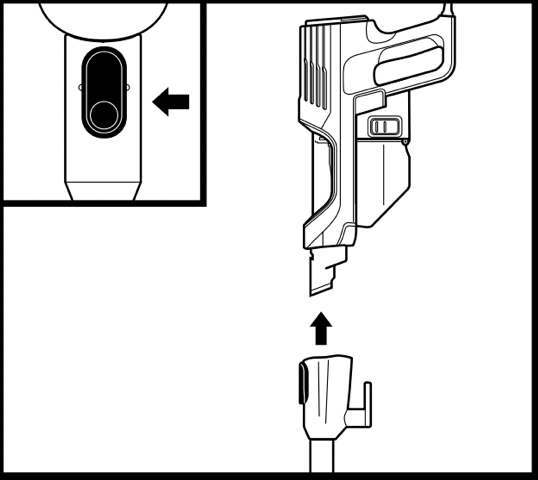
To detach the handheld vacuum, press the Wand Release button and lift the handheld vacuum off the wand. Great for cleaning stairs, furniture, and countertops.
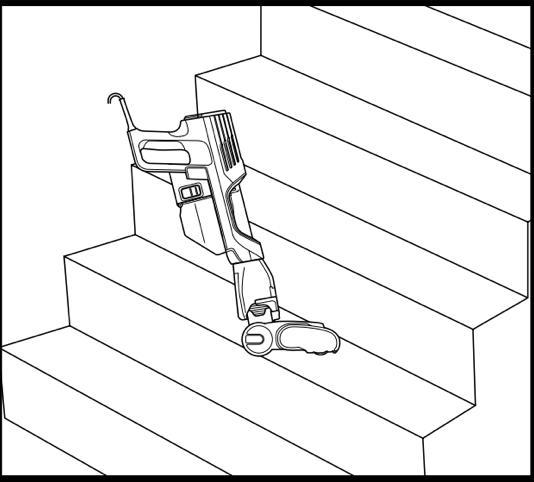
STAIR CLEANING
To clean stairs or other narrow spaces, attach the handheld vacuum to the floor nozzle.
NOTE: All accessories are compatible with both the wand and the handheld vacuum.
STORAGE MODE
HANDHELD STORAGE HOOK
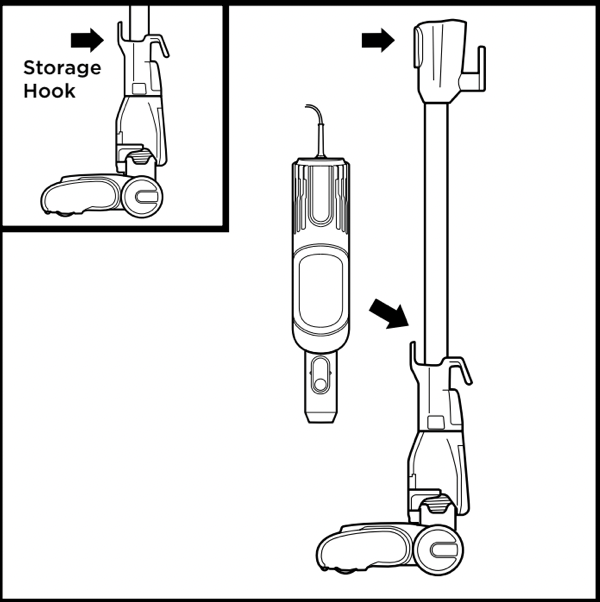
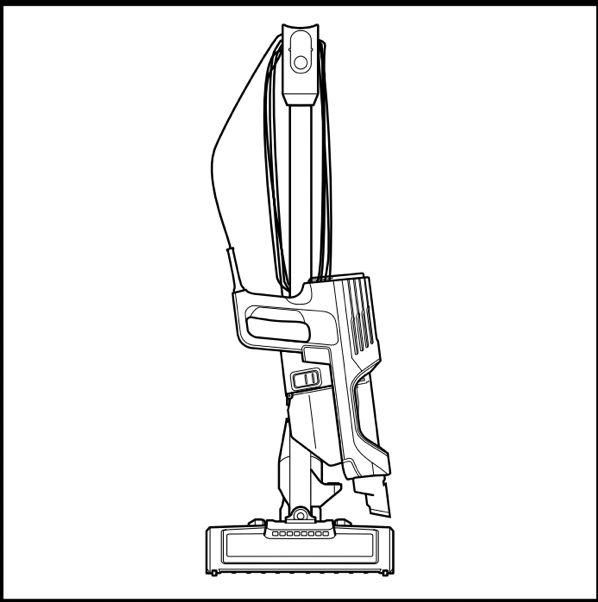
Press the Wand Release button near the top of the wand to detach the handheld vacuum. Align the Catch on the side of the handheld vacuum with the Storage Hook on the wand, then hang the handheld vacuum from the hook.
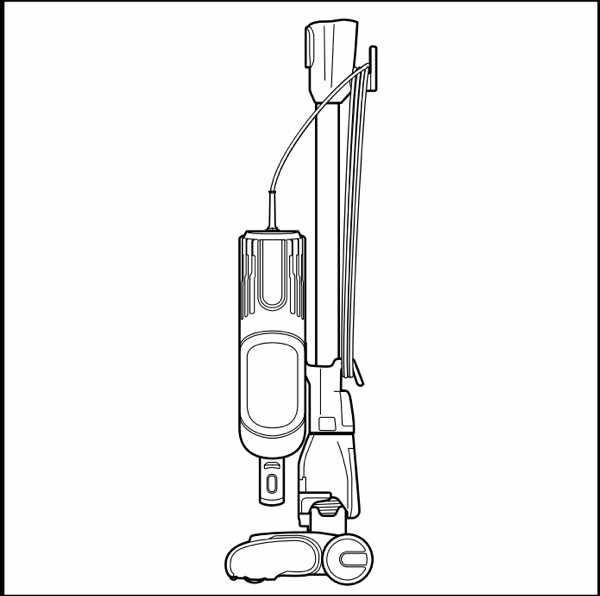
Wrap the cord around the two cord hooks. Start with the top hook, and leave a little slack in the cord.
AVAILABLE ACCESSORIES
NOTE: Not all accessories come with all units. For a list of the accessories included with this model, see the top inside flap of the box.
A. Crevice Tool
This slim tool is great for cleaning in tight spaces, between couch cushions, and in hard-to-reach areas.
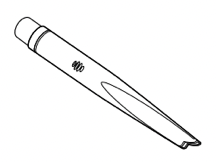
B. Pet Crevice Tool
This versatile, slender 8" tool removes pet hair from hard-to-reach spaces like corners, stairs, and between couch cushions.
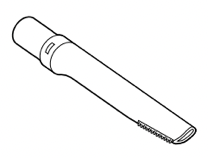
C. Upholstery Tool
Picks up pet hair, dust, and large debris from mattresses, couches, curtains, and other delicate upholstered fabrics.
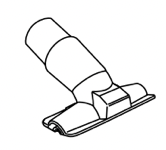
D. Dusting Brush
This brush dusts and cleans delicate surfaces. Great for use on fans, blinds, lampshades, and keyboards.
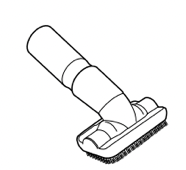
E. Pet Multi-Tool
A single convertible tool for cleaning tough pet messes two ways: use the stiff bristle brush to clean stuck-on debris, or take off the bristles to reveal an upholstery tool perfect for removing stubborn pet hair and large piles of debris.
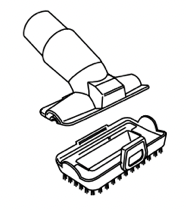
F. Duster Crevice Tool
Two cleaning tools in one. The crevice tool gives you extended reach to clean in tight spaces, while the soft brush is ideal for dusting delicate surfaces.
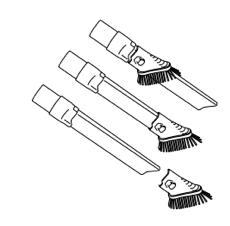
G. Anti-Allergen Dust Brush
This brush features nylon fiber bristles specifically designed for removing fine dust and allergen particles from the most delicate surfaces.
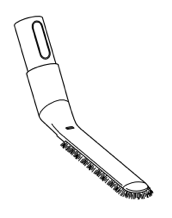
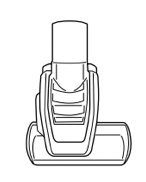
H. Self-Cleaning Pet Power Brush
Tackles pet hair and ground-in dirt from above floor areas like carpeted stairs and upholstery, while actively removing hair wrap as it cleans.
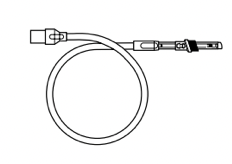
I. Precision Duster
This flexible tube features a micro-duster crevice tool on the end for cleaning around delicate objects and in difficult-to-reach spots like car interiors and computer keyboards.
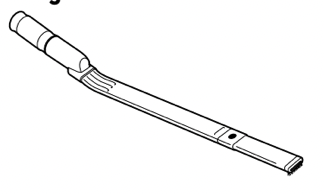
J. Under-Appliance Wand
Clean under and behind hard-to-move appliances and furniture with this adjustable 36" tool. Flip the extension piece over to clean the underside of appliances.
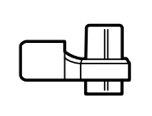
K. Onboard Storage Clip
This removable clip attaches to your vacuum. The clip can store up to two accessories at a time while you clean.
L. Accessory Bag (Large, 32cm x 70 cm)
This convenient accessory storage bag measures 32 cm x 70 cm and fits the Under Appliance Wand.
MAINTENANCE
IMPORTANT: Unplug the vacuum before performing any maintenance.
EMPTYING THE DUST CUP
Empty the dust cup each time you vacuum and periodically during cleaning, when debris in the dust cup reaches the MAX fill line.
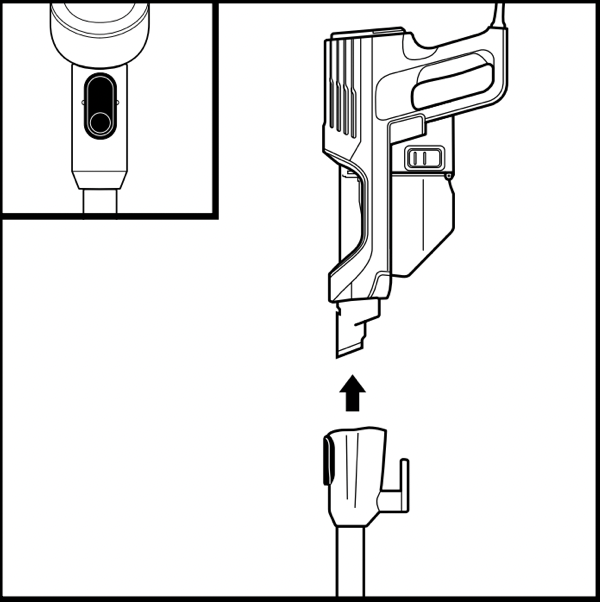
Press the Wand Release button and lift off the handheld vacuum.
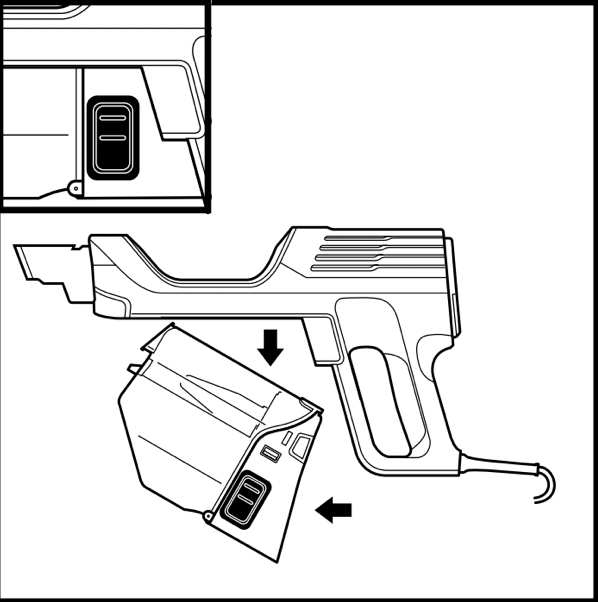
To remove the dust cup from the handheld vacuum, press the two Dust Cup Release buttons at the same time and slide out the dust cup.
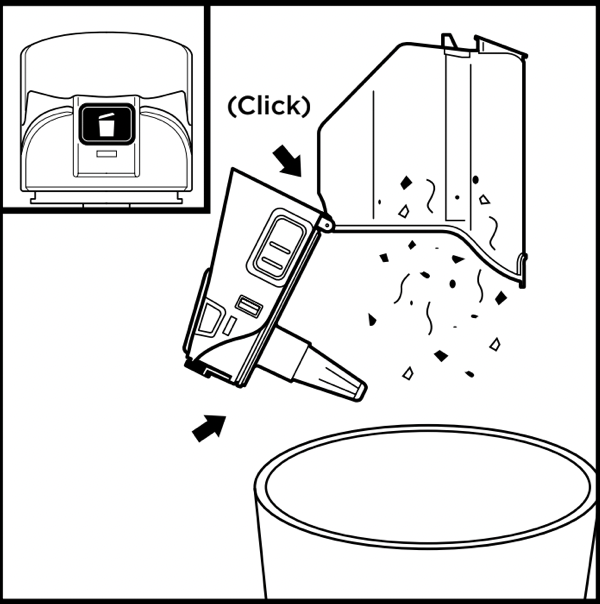
Hold the dust cup over the trash. Press the Empty button and pull open the dust cup lid until it clicks and locks in the open position.
Gently tap the cone-shaped screen inside the dust cup to knock dust and debris into the trash.
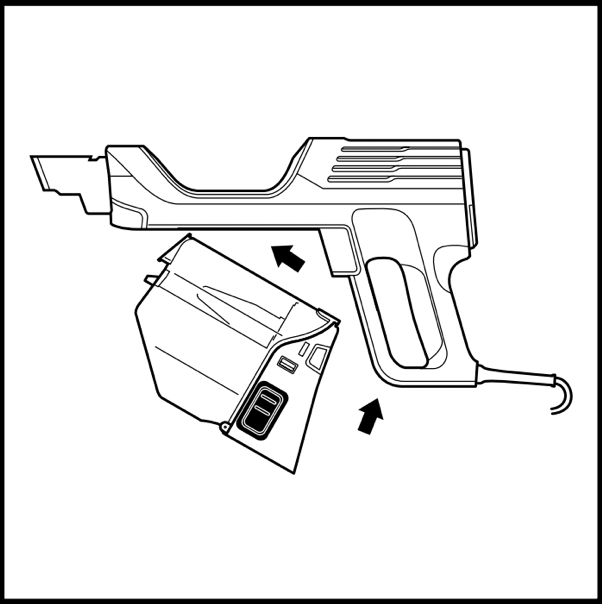
To reinstall, push the lid closed, then insert the front end of the dust cup into the handheld vacuum first, then the back end, until it clicks into place.
CLEANING FILTERS
Regularly rinse and replace the filters to maintain your vacuum's suction power.
To prevent damage from cleaning chemicals, rinse filters with cold water only. Do not use soap. Allow all filters to airdry for at least 24 hours before reinstalling them to prevent liquid from being drawn into electronic parts.
PRE-MOTOR FILTERS
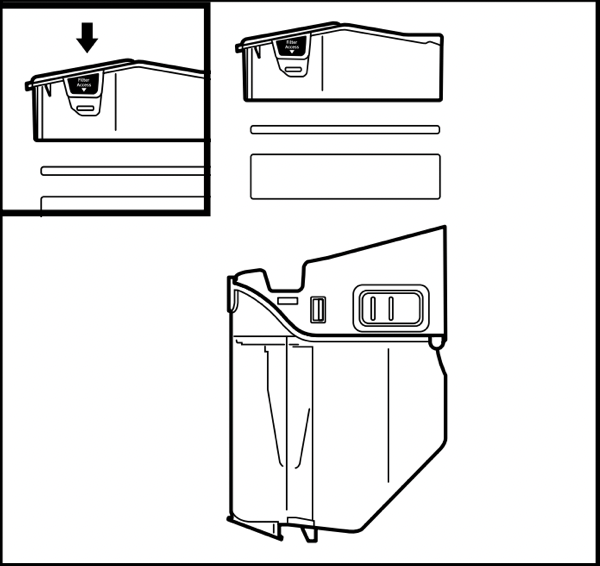
With the dust cup detached, press the Filter Access buttons on both sides of the back of the dust cup, then pull out the filter housing.
Pull the foam filter out of the housing, then lift out the felt filter by the pull tab.
The Pre-Motor Filters should be washed once a month.
POST-MOTOR FILTER
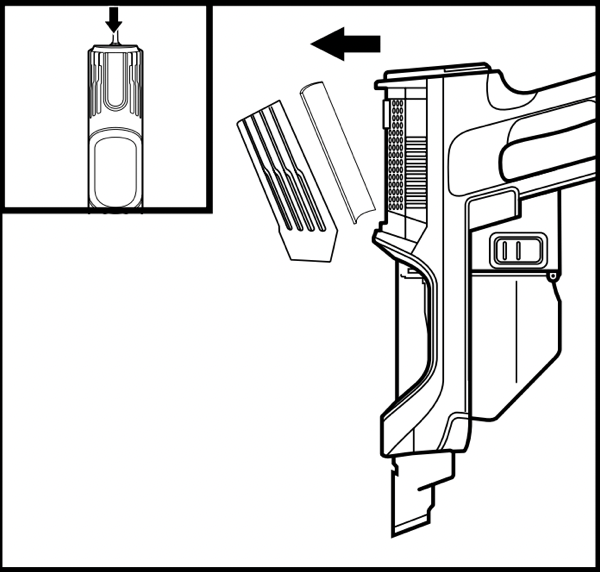
To access the post-motor filter, press the release latch on the filter cover on the handheld vacuum. Remove the cover and lift out the filter.
The Post-Motor Filter should be washed once every 9 months.
REPLACEMENT FILTERS
Replacement Pre-Motor Filter Kit
XFFKHZ2000

Replacement Post-Motor Filter
XPMFHZ2000

NOTE: The pre-motor filters should be replaced every 2.5 years. The post-motor filter should be replaced every 3 years.
CHECKING FOR BLOCKAGES
CHECK HANDHELD
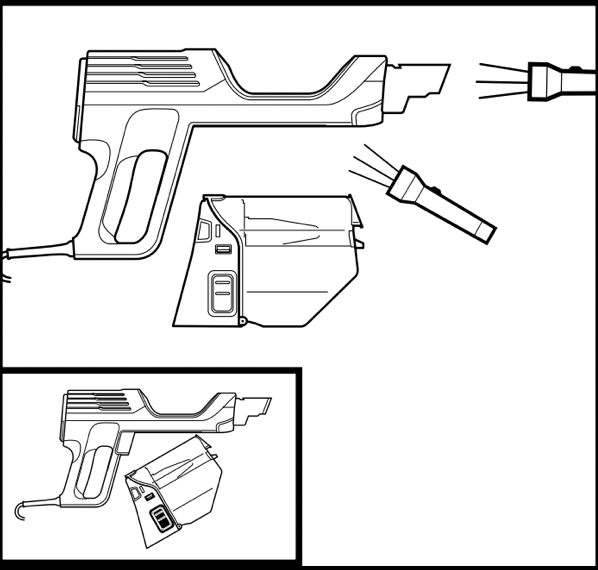
Remove the handheld vacuum from the wand and check all dust cup intake openings for debris or blockages.
CHECK WAND
Detach the wand and check it for blockages.
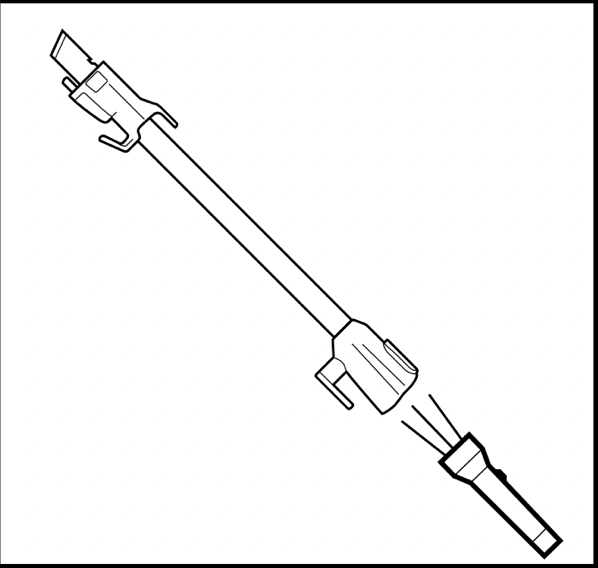
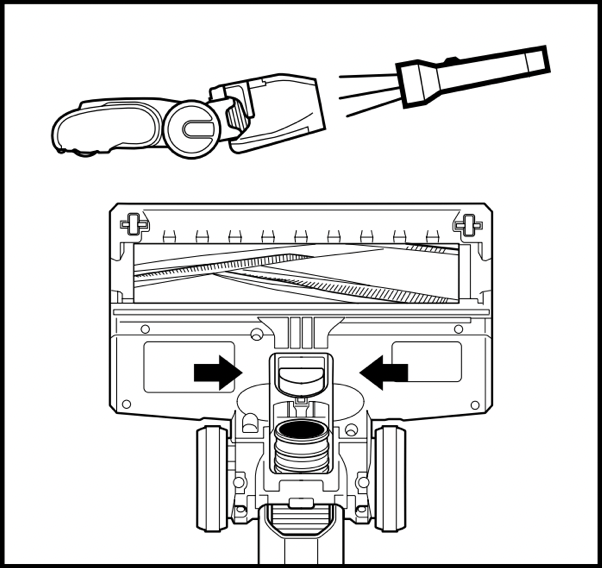
CHECK FLOOR NOZZLE
Detach the wand, then tilt the floor nozzle Debris Intake back and check openings for blockages.
NOZZLE MAINTENANCE
SELF-CLEANING BRUSHROLL
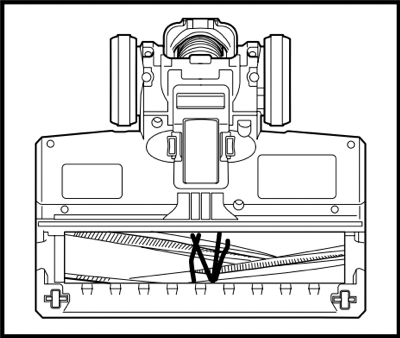
If you run over a hard or sharp object or notice a noise change while vacuuming, check for blockages or objects caught in the brushroll.
If some fibers remain wrapped around the brushroll after continued use, clear them from the brushroll.
DEBRIS WRAPPED AROUND BRUSHROLL
Clean off any debris on the brushroll.
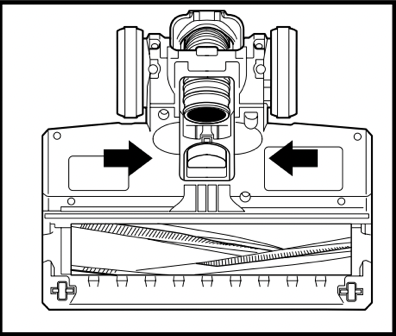
DEBRIS BEHIND BRUSHROLL
Check the Debris intake and clear away any dirt or blockages. To close the cover, push down until it clicks into place.
CORD MAINTENANCE
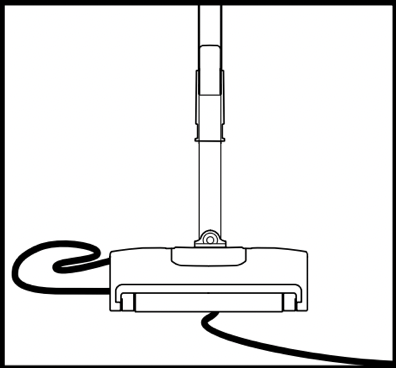
- DO NOT pull or carry vacuum cleaner by the cord or use cord as a handle.
- DO NOT unplug by pulling on the cord. Grasp the plug, not the cord.
- DO NOT close the door on the cord.
- DO NOT pull the cord around sharp corners.
- DO NOT leave the cord near heated surfaces.
To minimize the risk of power cord damage, DO NOT run the vacuum over the power cord.
If this occurs, immediately shut off power to the vacuum and remove the cord from the brushroll or nozzle.
NOTE: For best performance, keep the Soft Roller clean with regular maintenance.
TROUBLESHOOTING
Power cord caught in brushroll or floor nozzle.
- To minimize the risk of power cord damage, DO NOT run the vacuum over the power cord. If this occurs, immediately shut off power to the vacuum and remove the cord from the brushroll or nozzle.
- Inspect power cord and plug for any damage before use. DO NOT use vacuum cleaner with a damaged cord or plug. Turn off all controls before plugging in or unplugging the vacuum cleaner. Store your vacuum cleaner with the power cord secured around the two cord hooks.
Vacuum is not picking up debris. No suction or light suction.
See Maintenance section for more information.
- Empty the dust cup. Check filters to see if they need cleaning. Follow instructions for rinsing and completely air-drying the filters before reinstalling them.
- Clear any blockages in the nozzle, wand, handheld vacuum, or accessories. See Checking for Blockages section for more information.
- If any string, hair, or carpet fibers remain wrapped around the brushroll after continued use, carefully clear them away.
- Remove any blockages from the debris intake in the floor nozzle. Pinch the tabs on the bottom of the nozzle to open the cover, and lift up the intake tube. Clear blockages, then push the tube down and press the nozzle cover closed.
Vacuum lifts area rugs.
- Suction is powerful. Take care when vacuuming area rugs or rugs with delicately sewn edges.
- Turn off the unit to disengage the brushroll. To restart, press the power button on the handle.
NOTE: Clean area rugs in Bare Floor mode or with accessories. See Available Accessories section.
Vacuum turns off on its own or the indicator light flashes red.
If your vacuum overheats, the thermostat will automatically turn off the motor. Perform the following steps to restart:
- Turn off the vacuum and unplug it.
- Empty the dust cup and clean the filters. See Emptying the Dust Cup and Cleaning Filters sections.
- Check for blockages in the wand, floor nozzle, handheld vacuum, inlet openings, and accessories.
- Reassemble the entire vacuum and ensure all parts click into place.
- Allow unit to cool for a minimum of 60 minutes.
- Plug in vacuum and turn it on.
Handheld vacuum is warm.
Due to the strong suction power of the vacuum, it is normal for the area around the filter exhaust to become warm during and after use. Turn off the vacuum and wait 10 minutes for it to cool down. If it still feels warm, clean the pre-motor and post-motor filters. See Maintenance section for filter cleaning instructions.
