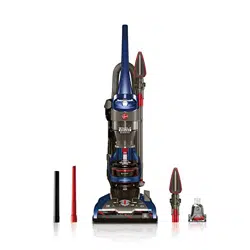
User Manual Vacuum
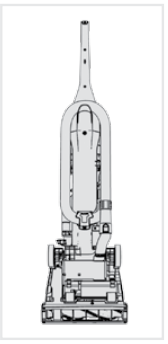
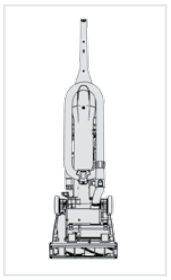
Getting Started with your Rewind
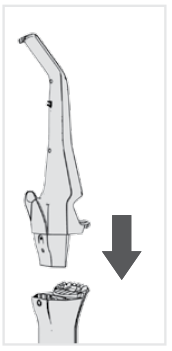
1. Remove handle screw and insert handle.
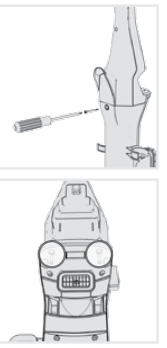
2. Insert handle screw and tighten with a Phillips screwdriver. Then tighten 2 small screws in the front lower handle.
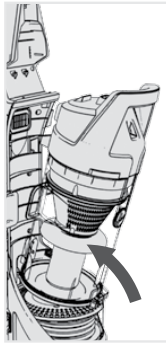
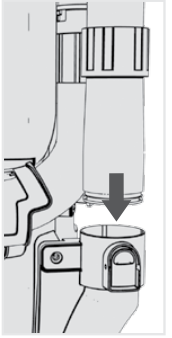
3. Place bottom of dirt cup in first and pivot into place. It’ll click.
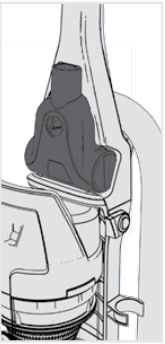
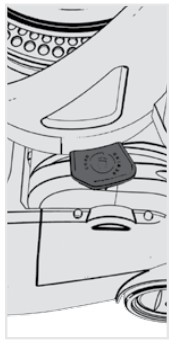
4. Secure Turbo tool here.
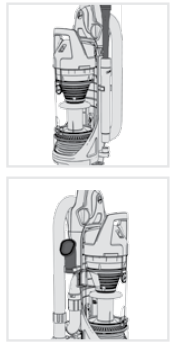
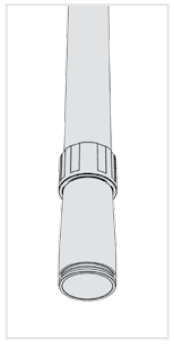
5. Place Crevice Tool into wand then slide into storage area. Place the Dusting Brush on the other side.
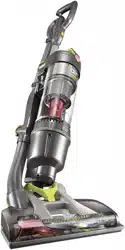
NOTE: Actual model may vary from images shown
Using your Rewind
CAUTION: Not to be used for grooming a pet
IMPORTANT:
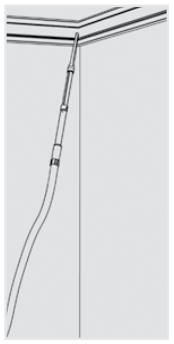
- When pulling on the cord, yellow tape will identify when the cord is almost fully extended. When red tape is visible on the cord, the cord has reached its full length. (Do not pull the cord past the red tape.)
- If the vacuum is difficult to push, push down and turn knob to the next higher setting.
For maximum cleaning performance, set to LOW for all types of carpet. For very deep pile and soft carpet, set to HIGH Carpet. For bare floors turn dial to HARD FLOOR.
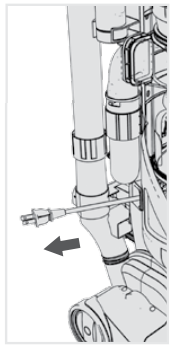
1. Grasp the end of the plug and pull to release cord from cord reel.
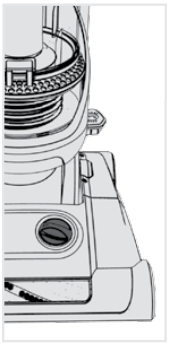
2. Push down and turn height adjustment* knob to a desired setting.
*Number of height settings vary per model.
WARNING: Very fine materials, such as face powder or corn starch, may seal the filter and cause a reduction in performance. When using the vacuum for this type of dust, empty the cup and clean the filters often.
3. Plug into an electrical outlet. Press power switch on side of vacuum.
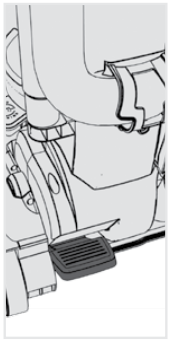
4. Step here and pull handle back to recline.
WARNING: Hold plug when retracting onto cord reel. Do not allow plug to whip when retracting.
IMPORTANT: If system check indicator is red:
- Clean rinsable filter (refer to page 10) and/or filter made with HEPA media (refer to page 12).
- Empty dirt cup (refer to page 9).
- Check hose for clogging (refer to page 14).
- Check brushroll for clogging (refer to page 13).
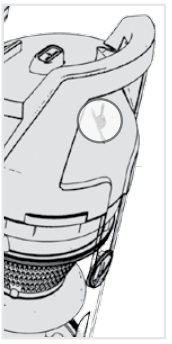
5. When red, the system check indicator alerts to possible system performance issues.
6. To rewind the cord, unplug from electrical outlet. Hold plug and press down on the cord rewind pedal on side of cord reel.
Using your Rewind: Tools and Hose
WARNING: Always turn off before connecting or disconnecting wand or tools.
CAUTION: Use extra care when cleaning on stairs. To avoid personal injury or damage, and to prevent the cleaner from falling, always place cleaner at bottom of stairs or on floor. Do not place cleaner on stairs or furniture, as it may result in injury or damage. When using tools, always insure handle is in upright position.
IMPORTANT: Brushroll continues to turn while product is turned on and handle is in upright position. To avoid damage to carpet, rugs, furniture and flooring, avoid tipping cleaner or setting it on furniture, fringed area rugs, or carpeted stairs during tool use.
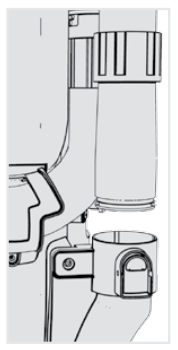
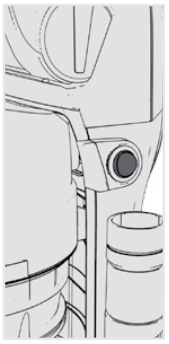
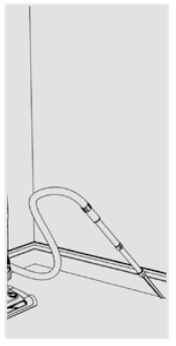
1. Press the hose release button and pull hose end out for tool use. To lock back into place, reinsert into hose tube until it clicks.
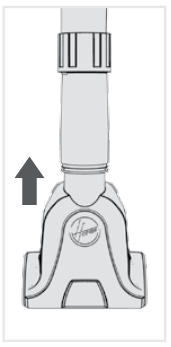
2. Attach tool or wand by pushing firmly into place.

3. Use the Turbo Tool to clean stairs and upholstery.
(Tools vary per model)
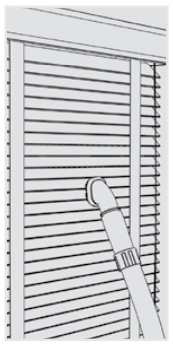
4. Use the dusting brush on vents, blinds and furniture.
5. The Wand gives you extra reach with any attached tool.
6. Use the Crevice Tool in tight spaces, corners and along edges.
Keep your Rewind Running Properly
Emptying Dirt Cup
WARNING To reduce the risk of personal injury - Unplug before cleaning or servicing. Do not use vacuum without dirt cup or filters in place.

1. Empty the dirt cup when it reaches the max fill line, or when filter check indicator is red.

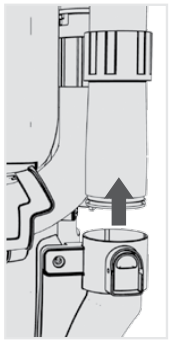
2. Press this tab and pivot the dirt cup out.

3. Press lower button to empty. Snap the dirt cup closed.
4. Place the cup back in, bottom first, and pivot into place. It'll click.
Cleaning Rinsable Filter
IMPORTANT: Allow filter to dry completely before replacing. Dry filter on edge so air circulates on both sides of the filter. This will take at least 24 hours.
WARNING:
- To reduce the risk of personal injury - Unplug before cleaning or servicing. Do not use vacuum without dirt cup or filters in place.
- Very fine materials, such as face powder or cornstarch, may seal the filter and cause a reduction in performance. When using the vacuum for this type of dust, empty the cup and clean the filters often.
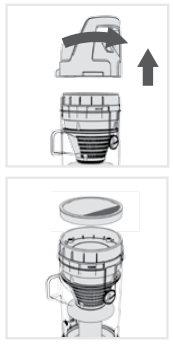
1. Remove the dirt cup. Twist the lid open. Pull tab to remove the filter.
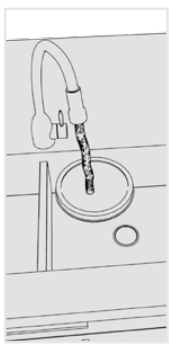
2. Rinse for 2 minutes in clear warm water; dry for a minimum of 24 hours.
3. Replace the filter, tab side out. Twist lid securely until it clicks.
Cleaning Cyclonic Filter Assembly
WARNING: To reduce the risk of personal injury - Unplug before cleaning or servicing. Do not use vacuum without dirt cup or filters in place.
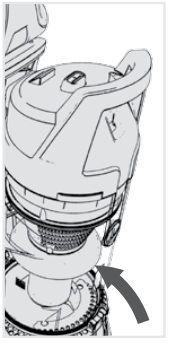
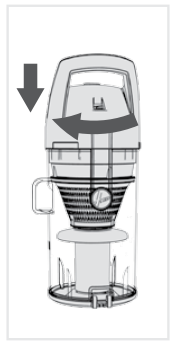
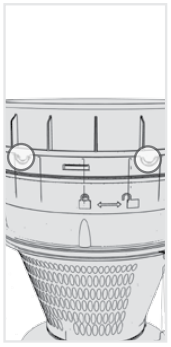
1. Remove the dirt cup. Twist the lid open.
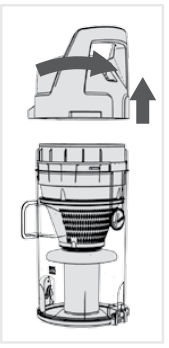
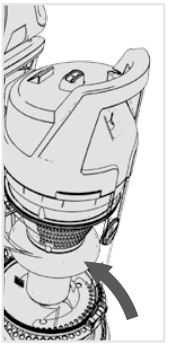
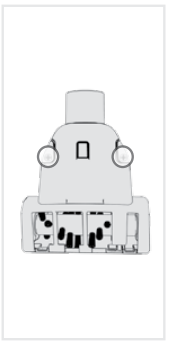
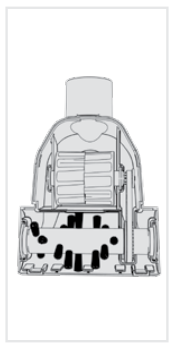
2. Pull the cyclone assembly out. Use the Dusting Brush to clean off assembly debris.
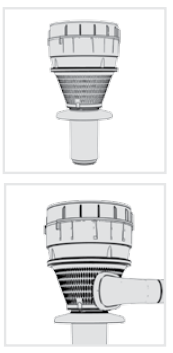
3. Replace the cyclone assembly making sure the tabs align. Then twist to lock dirt cup lid.
4. Place the cup back in, bottom first, and pivot into place. It'll click.
Cleaning Filter made with HEPA media
IMPORTANT Do not rinse or wash the filter made with HEPA media.
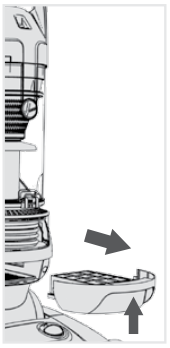
1. With fingers in slot, pull filter frame straight out.
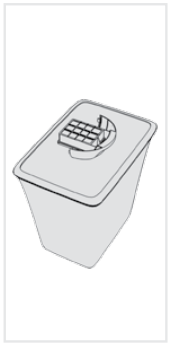
2. Hold filter over a trash can and tap out debris.

3. Slide filter frame back into position.
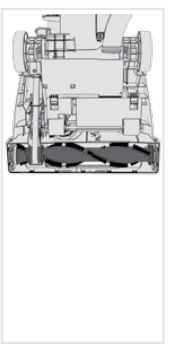
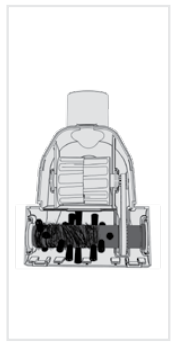
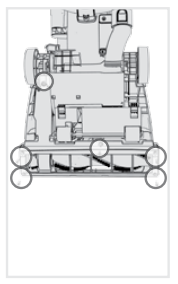
Cleaning Brushroll
CAUTION: To reduce risk of injury from moving parts - Unplug before servicing.
1. Turn off brushroll. Lower the handle. Flip vacuum over.

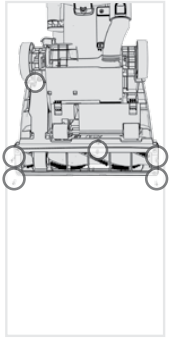
2. Remove (6) screws on bottom plate with a Phillips screwdriver. Pivot to remove bottom plate.
3. Remove any debris or hair from brushroll. Visit Hoover.com for more info.
4. Replace bottom plate and reinsert screws.
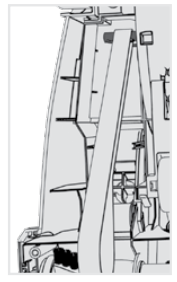
Cleaning Hose and Tools
1. Press the hose release button and pull hose end out.
2. Clear away debris or obstructions using a blunt object. Do not use sharp objects.
3. To lock back into place, push hose into hose tube until it clicks.
4. Clean the Turbo Tool by removing screws on either side.
5. Remove the bottom plate.
CAUTION To reduce the risk of injury from moving parts - Unplug before servicing.
LUBRICATION NOT REQUIRED. The motor and brushroll are equipped with bearings which contain sufficient lubrication for their lifetime. The addition of lubricant could cause damage. Do not add lubricant to motor or brushroll.
NOTICE: A Thermal Protector has been designed into your cleaner to protect it from overheating. When the thermal protector activates the cleaner will stop running. If this happens proceed as follows:
1. Turn cleaner OFF and unplug it from the electrical outlet.
2. Empty dirt cup.
3. Inspect the nozzle inlet, hose connector, hose, dirt cup inlet, cyclonic filter, rinsable filter, and HEPA filter. Clear obstructions if present.
4. When cleaner is unplugged and motor cools for 30 minutes, the thermal protector will deactivate and cleaning may continue.
If the thermal protector continues to activate after following the above steps, your cleaner needs servicing
6. Clean out any debris or hair from the brushroll.
7. Replace bottom plate and replace screws on either side.
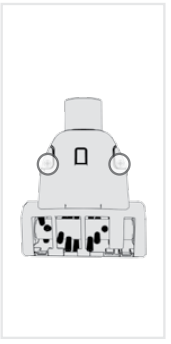
Replacing Belt
The belt is located under the cover of the vacuum and should be checked often. Replace belt if it stretched, cut or broken.
1. Lower handle and vacuum flip over.

2. Remove (6) screws on bottom plate with a Phillips screwdriver. Pivot off the bottom plate.
3. Remove worn belt and slide new belt with lettering on the outside over the motor shaft.
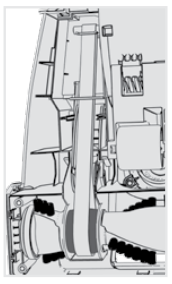
4. Push other end of new belt around brushroll area without bristles.
5. Replace bottom plate and reinsert screws.
CAUTION: To reduce the risk of injury from moving parts - Unplug before servicing.
Any other servicing should be done by an authorized service representative. If appliance is not working as it should, has been dropped, damaged, left outdoors, or dropped into water, take it to a service center prior to continuing use.
Need Help?
WARNING: To reduce the risk of personal injury - Unplug before cleaning or servicing.
My Rewind won’t run.
Always be sure to plug it in firmly. A Thermal Protector may have been activated— unplug and let vacuum cool for 30 min. If this doesn’t work, there may be no voltage in the wall plug. Check fuse or breaker in home. If there is a blown fuse or tripped breaker, replace fuse or reset breaker in home.
If the System Check Indicator is red…
The Rinsable Filter, filter made with HEPA media or Filter Assembly may be dirty. Also be sure to empty the dirt cup if full. See "Getting Started with your Rewind"
If your Rewind turns off
A Thermal Protector may have been activated. First, turn off and unplug. Empty Dirt Cup then inspect hose, filters for obstructions. Thermal Protector should deactivate in 30 minutes. (See "Cleaning Cyclonic Filter Assembly")
My Rewind isn’t picking up well.
Be sure to empty if the dirt cup is full. You may have a clogged filter. Lift the filter assembly out of the dirt cup and remove the filter. Rinse with clear warm water for two minutes.
Let it dry for 24 hours before reinstalling. (See "Tools and Hose")
If your filter was dirty…
You may also have a clog in the system. Unhook the hose to search for a clog. If found, remove the clog. (See "Cleaning Cyclonic Filter Assembly")
My Rewind is hard to push
Be sure to set the carpet height adjustment to the appropriate setting.
If your Turbo Tool brushroll won’t turn.
Be sure not to apply to much pressure to the tool. If that doesn’t work you may have blockage—remove any hair or debris from the tool brushroll. (See "Cleaning Cyclonic Filter Assembly")
Any other servicing should be done by an authorized service representative. If appliance is not working as it should, has been dropped, damaged, left outdoors, or dropped into water, take it to a service center prior to continuing use.