Loading ...
2 www.mastercool.com
SPECIFICATIONS
• Gauge: Class 1.0
• Pressure Display: psi, bar, MPa, kg/cm
2
, kPa
• Temperature Display: ˚F or ˚C
• Deep Vacuum Display: micron, mBar, kPa, Pa, Torr, mTorr, mmHg
• Sensing Resolution: 1 psi (.07 bar, .007 MPa, .07 kg/cm
2
)
• Sensing Accuracy: ±1 psi or 1% of reading (whichever is greater)
• Working Pressure: 0 to 725 psi (50 bar, 5 MPa, 52 kg/cm
2
)
• Proof Pressure: 1000 psi (70 bar, 7 MPa, 70 kg/cm
2
)(Tolerable pressure without internal
damage)
• Refrigerant Temperature Range: -40 to 200˚F (-40 to 93˚C)
• Operating Temperature: 32 to 122˚F (0 to 45˚C)
• Temperature Accuracy: ±1˚F (±0.5˚C) between 32 to 160˚F (0 to 71˚C)
• Storage Temperature: 10 to 120˚F (-12 to 49˚C)
• Vacuum Sensor: Range 20,000 to 1 micron
• Connections: 1/4” m-flare and 3/8” m-fl (vacuum hose connection (4 way only))
• Power: Li-Ion rechargeable battery (charge through supplied USB type C cable)
• Battery Life: 30-36 hours normal use (25-30 hours with Bluetooth
®
enabled)
• Auto-Off: after 30 minutes, sleep mode 4 minutes
• Data Logging: Up to 36 hours
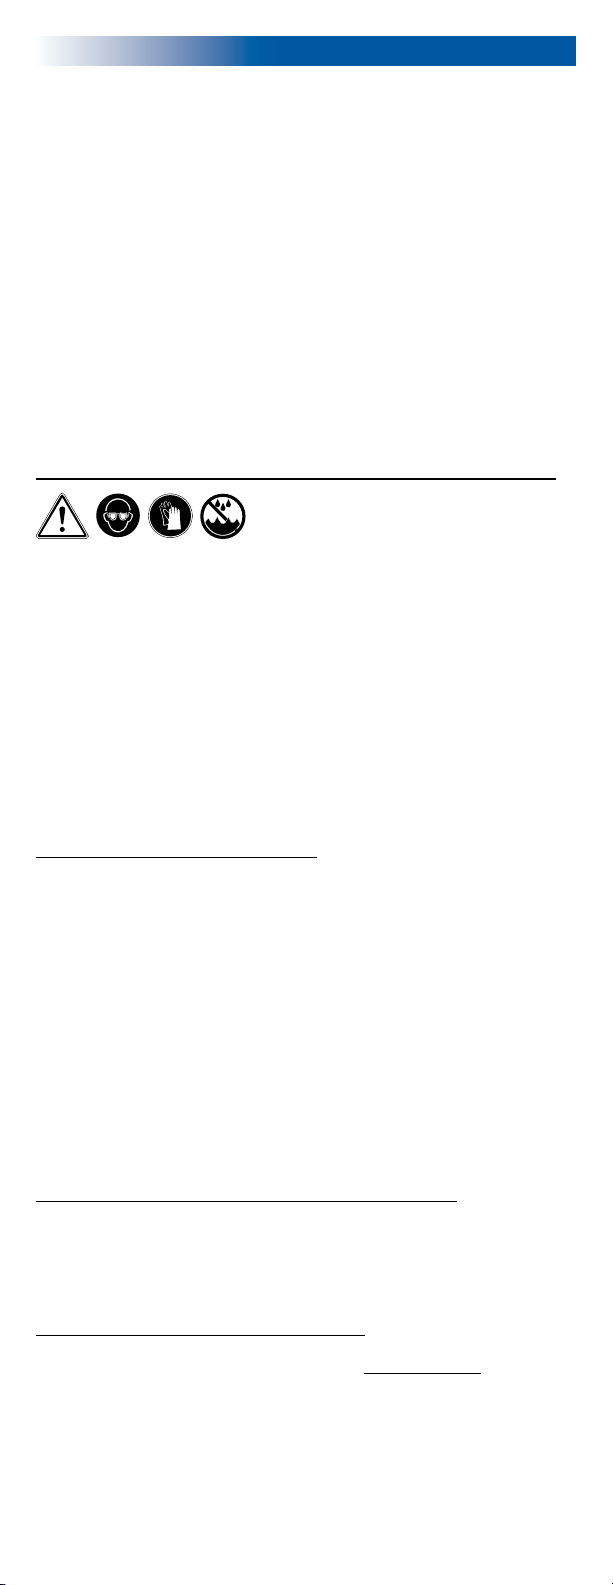
WARNING!!
• Wear Safety Glasses / Wear Gloves
• If eyes come in contact with refrigerant, immediately flush with plenty of water.
Seek medical attention immediately.
• If the battery indicator is red, charge the manifold before use. The sensors will not
give accurate readings if the battery level is in the red.
• Keep the manifold in a dry place. Do not allow moisture to enter the unit.
• Do not set manifold on top of an A/C system. This will result in incorrect
temperature probe readings.
• Your digital manifold has been designed to eliminate the damaging effects of
Electric Static Discharge ESD. If the unit is disrupted by ESD, it could affect the
display and the unit may restart.
USING THE MANIFOLD
Note: Charge overnight before first use
TURNING ON AND USING THE TOUCH SCREEN
To turn the unit on, press the on/off button. The screen will flash white, go black, then the
unit will start up. If the unit flashes white, but does not turn on, you might need to press the
button and hold it a little longer.
The manifold has a resistive touch screen. That means you can use any non-scratching
item to press the buttons on the screen. Even a gloved finger.
Use a light touch on the screen to activate a button.
Note: You might have to keep the button pressed a little longer than you are used to.
The display will turn off (sleep) after four minutes. The manifold will keep running for 26
minutes after the screen turns off before turning off completely. To turn the display back on,
touch anywhere on the screen or press the power button. To turn the manifold off, press
the power button while the screen is on.
The left (your left when facing the screen), blue side of the manifold is for the HVAC
unit’s compressor suction or low-pressure side. The right, red side is for the compressor
discharge or high-side of the unit.
CHECKING THE PRESSURES AND TEMPERATURES OF AN HVAC UNIT
Make sure the valves on the manifold are closed. Attach a blue hose to the left fitting (your
left when facing the screen) and a red hose to the right fitting, using the opposite end of
the hose from the hose’s valve or check valve. Attach the valve end of the blue hose to the
suction side of the HVAC unit and the valve end of the red hose to the compressor outlet
side. The manifold should show the pressure inside the unit.
SATURATED PRESSURES, SUPERHEAT AND SUBCOOL
For the manifold to calculate the refrigerant’s saturated pressure it has to be set to the
refrigerant in the HVAC unit. To set the refrigerant, see “Refrigerants Screen” below.
The manifold will calculate superheat and subcool using the K type thermocouple clamps.
Plug the clamp needed into the manifold. For superheat, use the left port. If you need
subcool, plug the clamp into the right port. You can use both ports at the same time if
needed. The actual temperature at the clamp and the appropriate subcool/superheat will
be calculated and displayed.
English
Loading ...
Loading ...
Loading ...