Loading ...
Loading ...
Loading ...
13
simply press the Power Button and you can
brew as soon as the water is heated and the
“READY TO BREW” indicator is displayed on
the LCD Control Center.
NOTE
:
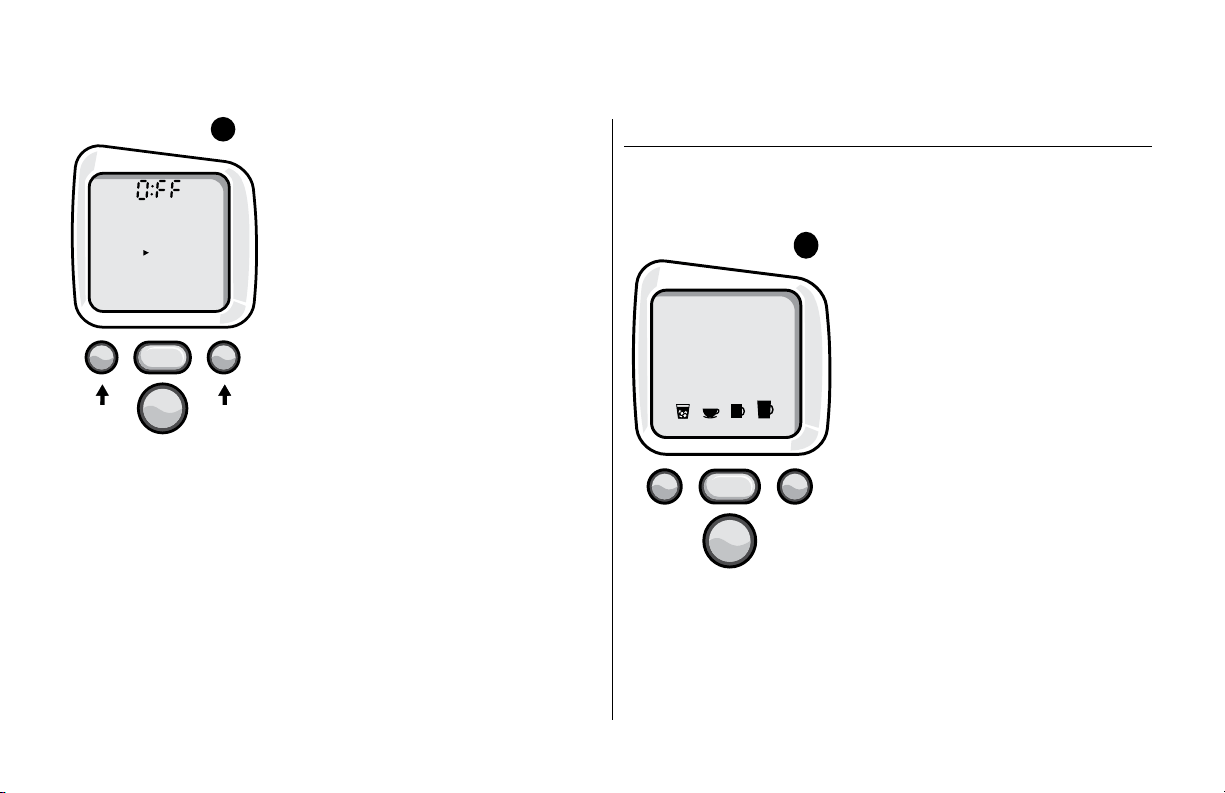
The “On Time” and “Off Time” functions
operate independently from one another. To
cancel either function, follow the steps above
and use the “H” and “M” Buttons to advance to
12:00 AM. When you reach 12:00 AM,
the Control Center will display ‘OFF’ and the
function will be disabled (fig. 15).
NOTE: The “Auto Off Timer” and the
“On/Off Time” programming options operate
independently, but can also be programmed
to work together. For example, you can set the
On Time function to turn on at 7:00 AM and then
set the Auto Off Timer function to turn off the
Brewer two hours after the last brew.
SECTION 2 Controls & Indicators (LCD Control Center)
12
BREW TEMP
Set
Hours
Set
Minutes
MEN U
BRE W
MEN U
CLOCK
AUTO OFF
SET OFF TIME
BREW SIZE
MH
READY
NOT
fig.
15
Programming Your Brew Size
The Brewer is preset with the Small Mug (7.25 oz.) as the default brew size.
The default brew size allows the user to avoid scrolling through brew sizes if
a particular size is chosen most often.
To change the default brew size to your
desired brew size:
1. Press the MENU Button five times.
2. Using Left and Right Buttons, select your
desired default brew size (fig. 16).
3. Once the desired default brew size is
selected press the MENU Button once to
exit. The LCD will display the brew size set.
MEN U
BRE W
MEN U
READY
TO BREW
fig.
16
Loading ...
Loading ...
Loading ...