Loading ...
Loading ...
Loading ...
10 11
b. Press or hold the Left Button under the
blinking “H” to advance 1 hour at a time, up
to 9 hours.
c. After setting the desired Auto Off time, press
the MENU Button four times to scroll through
the remaining programming options and exit
the programming mode. “AUTO OFF SET”
(fig. 12) will now be displayed to indicate that it
has been set.
d. To cancel the Auto Off feature, press the
MENU Button twice to reach the “AUTO OFF”
programming mode. Press and release the
blue Left Button under the blinking “H”
to advance one hour at a time until “OFF”
is displayed.
3. Program your Brewer for a specific On/Off Time.
NOTE: To use this programming feature, the
clock must be set to the correct time. The clock
will not be displayed unless the time is set.
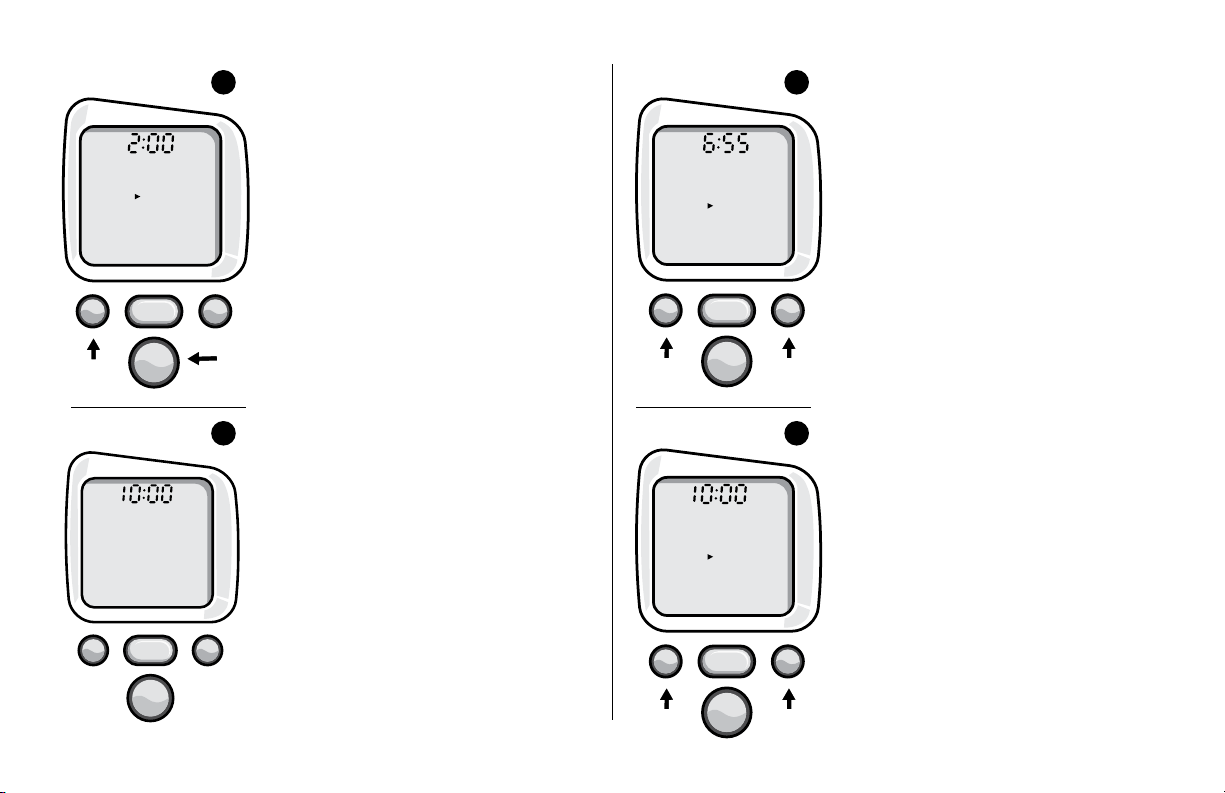
a. After setting the correct time (required), press
the MENU Button three times to program
On Time feature. The LCD Control Center will
show the programming options with a small
arrow next to “SET ON TIME” (fig. 13).
b. Press or hold the Left Button under the “H”
to scroll through the hours to your desired On
Time hour.
c. Press or hold the Right Button under the
“M” to scroll through the minutes to your
desired “ON TIME” minutes.
d. After setting the desired time, press the
MENU Button to save the “ON TIME” and
move to the “SET OFF TIME” (fig. 14).
e. If you want to set an “OFF TIME”, repeat the
procedure above in steps b & c to set your
desired “OFF TIME” (fig. 14).
f. To complete the process, press the MENU
Button two more times to exit the program-
ming mode. The Control Center will now
indicate the options you have set.
g. The Auto On time and Auto Off time functions
operate independently from one another. To
cancel either set function, follow the steps
above and use the “H” and “M” Buttons to
advance to 12:00 AM. Make sure the “M”
Button is set to :00, then change the “H”
Button. When you reach 12:00 AM, the
Control Center will display ‘OFF’ and the
function will be disabled.
EXAMPLE
:
If you chose to set the “On Time”
at 6:55 AM and the “Off Time” for 10:00 PM,
then the Brewer will be “READY TO BREW”
and maintain hot water in the tank during that
time so that it is always ready for you to brew.
If you wanted to brew outside this window,
BREW TEMP
x2
Set
Hours
MEN U
BRE W
MEN U
CLOCK
SET AUTO OFF
ONOFF TIME
BREW SIZE
H
READY
NOT
fig.
11
ME N U
BR E W
ME N U
AUTO OFF SET
READY
TO BREW
fig.
12
BREW TEMP
Set
Hours
Set
Minutes
MEN U
BRE W
MEN U
CLOCK
AUTO OFF
SET ON TIME
BREW SIZE
MH
READY
NOT
fig.
13
BREW TEMP
Set
Hours
Set
Minutes
MEN U
BRE W
MEN U
CLOCK
AUTO OFF
SET OFF TIME
BREW SIZE
M
PM
H
READY
NOT
fig.
14
Loading ...
Loading ...
Loading ...