Tired of Wi-Fi “dead zones”? The TP-Link extender is connected to your router wirelessly, strengthening its signal and expanding its coverage into areas that could not otherwise be reached. The device also reduces signal interference to ensure reliable Wi-Fi coverage throughout your home or office.
Easy Installation & Quick Position
The extender works with any standard wireless router. Instantly connect the extender to a router by pressing the router’s WPS button (if available) followed by the extender’s RE/WPS button. Alternatively, follow the Quick Setup instructions on the extender’s web management page.
Once the extender is connected to a router, you can relocate it to your preferred location with no further configuration required. The intelligent signal light can help to find the best location.
Easy Management with the TP-Link
Tether App Tether provides a simple, intuitive way to access and manage your extender with your smart devices.
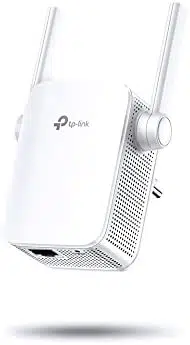
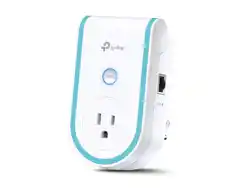
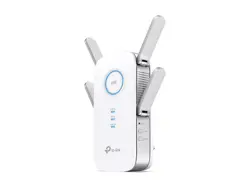
Appearance
Note: The provided plug may differ from the picture due to different regional power specifications.
LED Explanation
You can check the extender’s working status by following the LED Explanation table.
Port and Button Description
Ports or Buttons
Description
WPS Button
Press the WPS button on your host router, and immediately press the WPS button on the extender for 1 second. The Signal LED of the extender should change to solid blue, indicating successful WPS connection.
RESET Button (Hole)
Use a pin to press the button for 1 second to reset the extender.
Ethernet Port
Connect your Ethernet-only device to the Ethernet port of the extender to join the Wi-Fi network.
Set Up Internet Connection
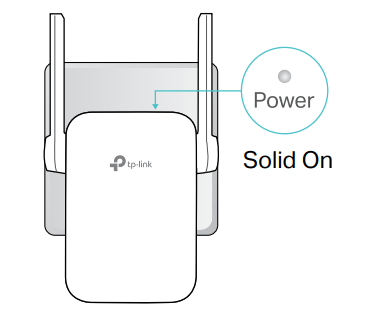
Power On the Extender
Plug the extender into an electrical outlet near your host router, and then wait until the Power LED is solid on.
Set Up the Extender
There are three ways to set up the extender: via the TP-Link Tether app, via a web browser, or via the WPS button
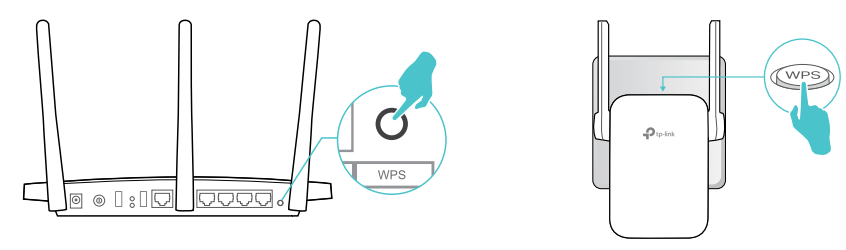
Method 1: Via the WPS Button
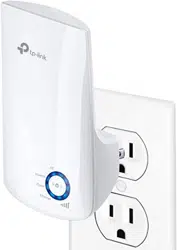
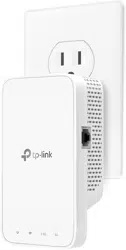
Use this way if your router has a WPS button. The button might look like one of these:
1. Press the WPS button on your host router, and then press the WPS button on the extender for 1 second within 2 minutes.
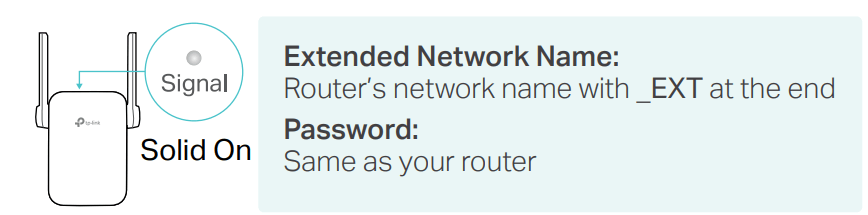
2. Wait until the Signal LED changes to solid on, which indicates that the WPS connection is successful.
3. The extender uses your router’s network name with _EXT at the end, and shares the same password as your router.
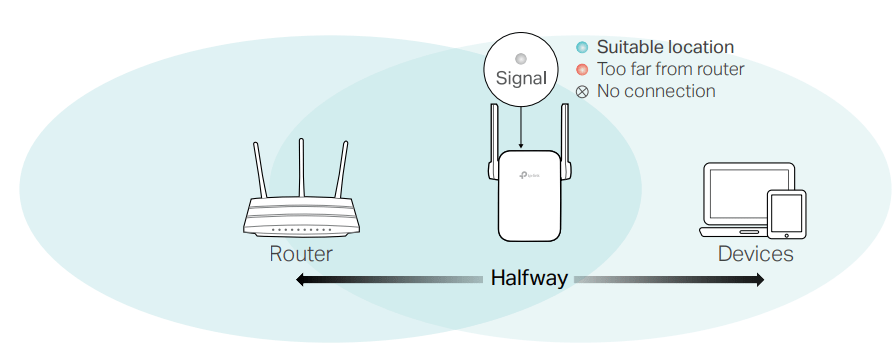
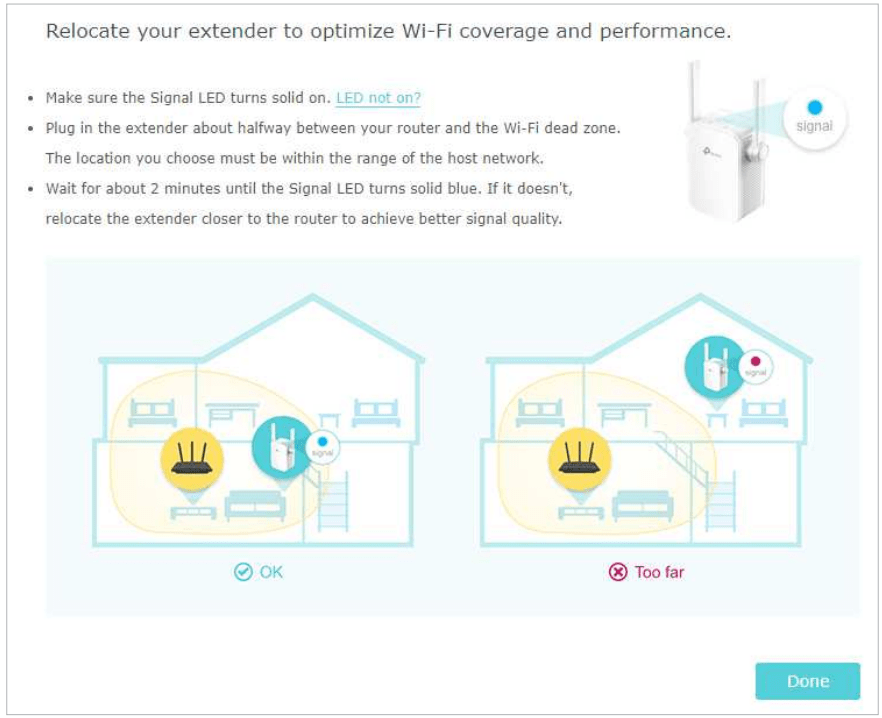
4. Relocate your extender for optimal Wi-Fi coverage and performance.
1 ) Plug in the extender about halfway between your router and the Wi-Fi dead zone. The location you choose must be within the range of your router.
2 ) Wait for about 2 minutes until the Signal LED turns solid blue. If it doesn’t, relocate the extender closer to the router to achieve better signal quality.
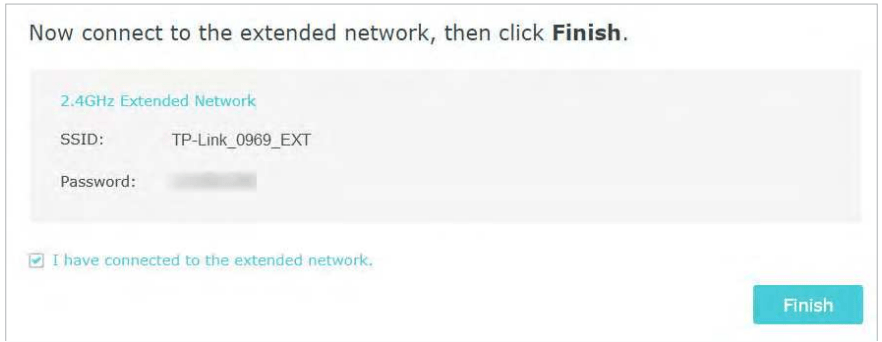
5. Enjoy! Connect to the extended network and enjoy the internet.
Method 2: Via the TP-Link Tether App
1. Launch the Apple App Store or Google Play Store and search TP-Link Tether or simply scan the QR code to download and install the app.
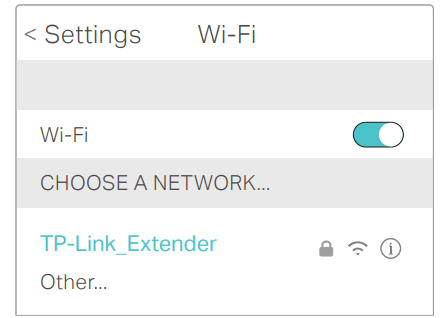
2. Go to Wi-Fi Settings and connect your device to the extender’s wireless network: TP-Link_Extender.
3. Launch Tether and select your extender from the Local Devices list.
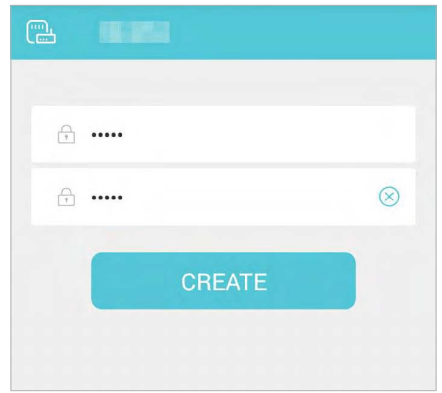
4. Create a password to log in.
5. Follow app instructions to set up and relocate your extender.
Method 3: Via a Web Browser
1. Connect your computer to the extender via your Ethernet cable, or connect wirelessly as follows:
• For Windows Users
1 ) Unplug the Ethernet cable from your computer (if any).
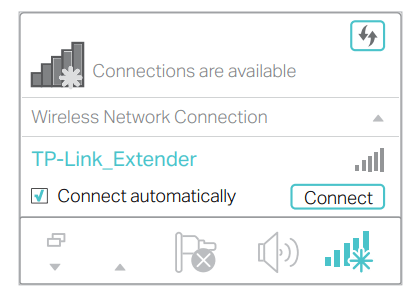
2 ) Click the Wi-Fi icon on the taskbar and connect to the extender’s wireless network: TP-Link_Extender.
• For Mac OS X Users
1 ) Unplug the Ethernet cable from your computer (if any).
2 ) Click the Wi-Fi icon in the top right corner of the screen, and connect to the extender’s network: TP-Link_Extender.
2. Follow the instructions of the Quick Setup Wizard to connect the extender to your host router
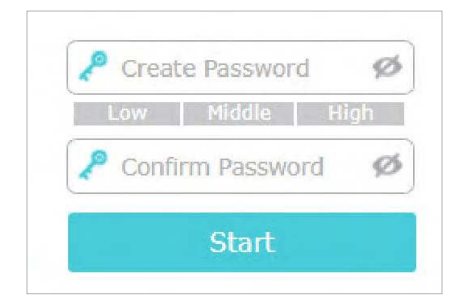
1 ) Launch a web browser, enter tplink repeater website or 192.168.0.254 in the address bar, and then create a password to log in.
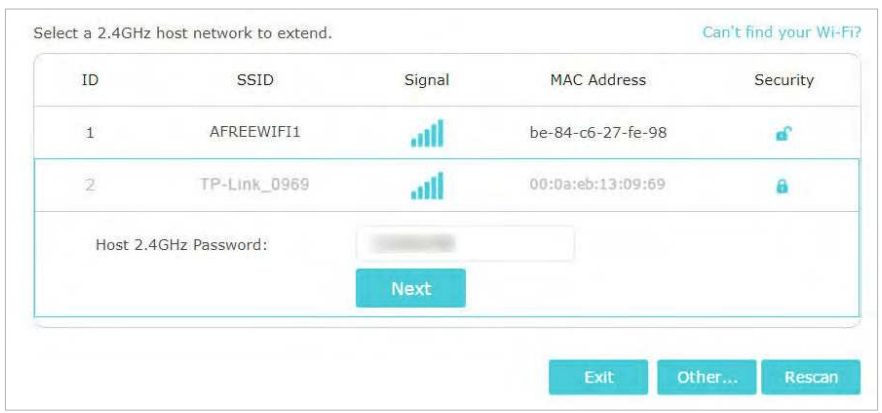
2 ) Select your host router’s 2.4GHz SSID (network name), enter its password (NOT the password you just created for management), and click Next.
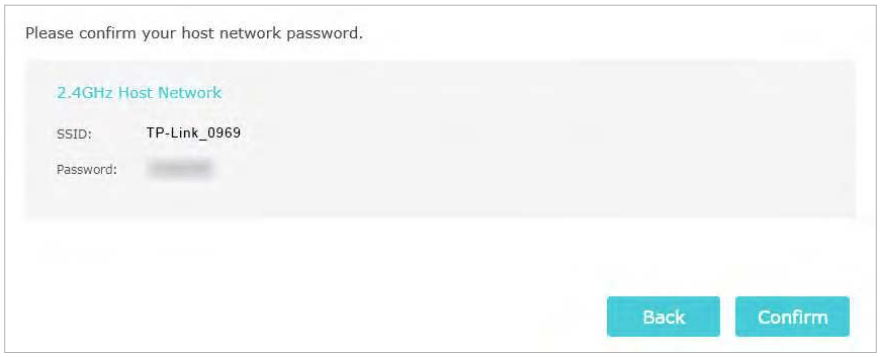
3 ) Confirm your host network password.
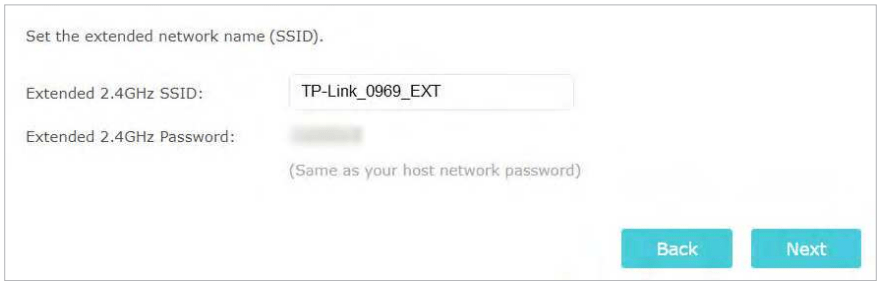
4 ) Either keep the default SSIDs (network names) or customize them for the extended networks, and then click Next.
5 ) Follow web instructions to relocate your extender for optimal Wi-Fi coverage and performance, then click Done.
6 ) Enjoy! Connect to the extended network and enjoy the internet.
Customize Your Network
Check Internet Status
You can view the internet status of your extender to check whether you have successfully set up the extended network(s).
1. Visit tplink repeater website, and log in with the password you set for the extender.
2. Go to Settings > Status to view the internet status of your extender.
• The extender is functioning normally.
• The extender is not connected to the host network. Please go to Settings > Wireless > Connect to Network to check whether the host network passwords are correct. If the problem still exists, relocate the extender closer to the router to achieve better signal quality
• The extender is connected to the host network, but is not transmitting data. Please check your router’s internet connection.
• The extender is connected to the router abnormally. Please go to Settings > Network and try setting your extender to obtain an IP address automatically.
Click the Internet/Router/Range Extender/Clients icon to view corresponding information.
Configure Wireless Network
If you want to extend another host network after Quick Setup, you can refer to this section. Moreover, you can change the wireless settings for your extended network.
• To extend another host network:
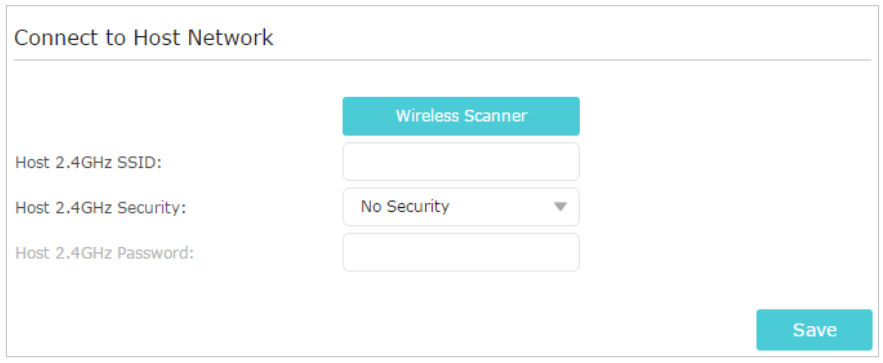
1. Go to Settings > Wireless > Connect to Network.
2. Click Wireless Scanner to find all available networks.
3. Select the 2.4GHz host network you want to extend.
4. Once a host network is selected, the SSID and security type will be automatically filled in. If the selected network is encrypted, enter the password in the Password field.
5. Click Save.
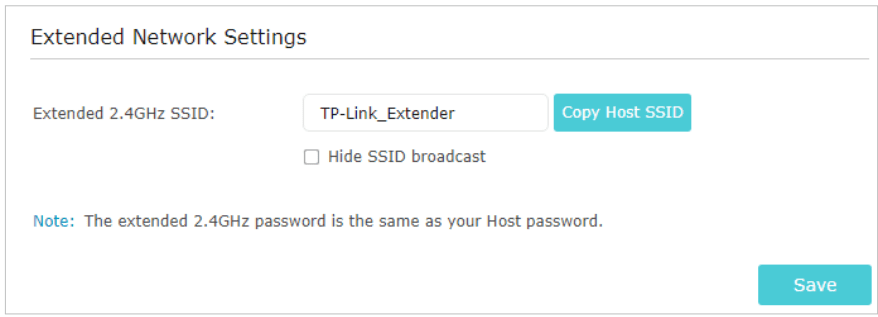
• To change the wireless network name (SSID):
1. Go to Settings > Wireless > Extended Network.
2. Create a new SSID in Extended 2.4GHz SSID or click Copy Host SSID. The value is case-sensitive.
3. Click Save.
• To hide the SSID of the extended network:
1. Go to Settings > Wireless > Extended Network.
2. Select Hide SSID broadcast, and the corresponding SSID will not be displayed when wireless devices scan for local wireless networks. Devices must join the network manually in order to connect.
3. Click Save.
Manage Your Extender
Set Up System Time
The System Time of the extender will be used for time-based functions such as the Power Schedule function. If you have enabled the Daylight Saving Time feature, the system time will be sychronized with the daylight saving time you configure.
Visit tplink repeater website, and log in with the password you set for the extender.
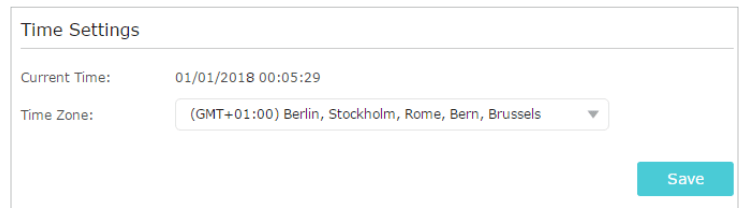
Go to Settings > System Tools > Time Settings.
• To get system time:
1. Select your local Time Zone from the drop-down list.
2. Click Save.
• To set up Daylight Saving Time:
1. Select Enable Daylight Saving Time.
2. Select the Start and End date and time of the daylight saving time at your local time zone.
3. Click Save.
Control LEDs
The LEDs of the extender indicate its activities and status. You can enable the Night Mode feature to specify a time period during which the LEDs are off.
1. Visit tplink repeater website, and log in with the password you set for the extender.
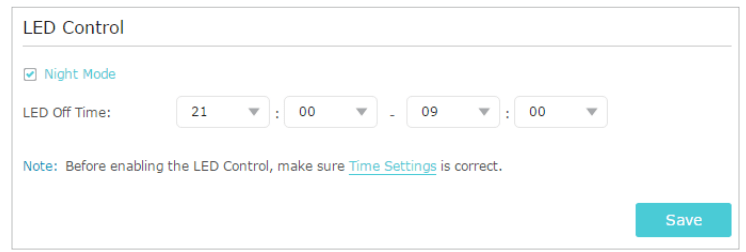
2. Go to Settings > System Tools > LED Control.
• To specify a time period when LEDs are off:
Select Night Mode.
Specify a time period in the LED Off Time field, and the LEDs will be off during this period.
Click Save
Power Schedule
The Power Schdule feature allows you to specify a time period during which the extender is off.
1. Visit tplink repeater website, and log in with the password you set for the extender.
2. Go to Settings > Advanced Settings > Power Schedule.
• To specify a time period when the extender is off:
1. Select Enable Power Schedule.
2. Specify a time period in the Power-Off Time field and days in the Day(s) field, and the extender will be off during this period.
3. Click Save.
Upgrade the Firmware
TP-Link is committed to improving product features, giving you a better network experience. You can download the latest firmware file from the Support page at our website tp-link and upgrade the extender to the latest firmware version.
• To upgrade the firmware locally:
1. Download the latest firmware file for the extender from our website tp-link.
2. Visit tplink repeater website, and log in with the password you set for the extender.
3. Go to Settings > System Tools > Firmware Upgrade.
4. Click Browse to locate the downloaded new firmware file, and then click Upgrade
5. Wait a few minutes for the firmware upgrade to complete and the extender to reboot.
Backup and Restore Configuration Settings
The configuration settings are stored as a configuration file in the extender. You can backup the configuration file and restore the extender to the previous settings from the backup file when needed. Moreover, if necessary, you can erase the current settings and reset the extender to the default factory settings.
1. Visit tplink repeater, and log in with the password you set for the extender.
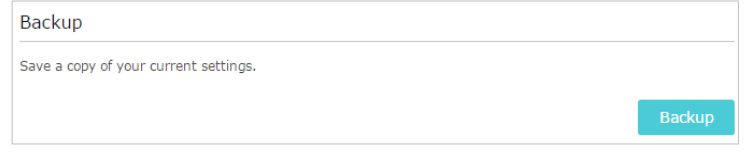
2. Go to Settings > System Tools > Backup & Restore.
• To backup configuration settings:
Click Backup to save a copy of the current settings to your local computer. A ‘.bin’ file of the current settings will be stored on your computer.
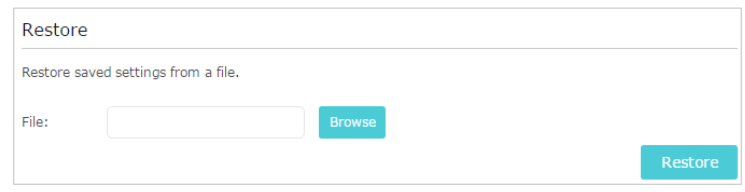
• To restore configuration settings:
1. Click Browse to locate the backup configuration file stored on your computer, and click Restore.
2. Wait a few minutes for the restore and reboot.
• To reset the extender to factory default settings:
1. Click Factory Restore to reset the extender.
2. Wait a few minutes for the reset and reboot.
Change Login Password
The account management feature allows you to change your login password of the web management page.
1. Visit tplink repeater website, and log in with the password you set for the extender.
2. Go to Settings > System Tools > Admin Account.
3. Enter the old password, then the new password twice (both case-sensitive) and click Save.
4. Use the new password for future logins.
System Log
If the extender is not working normally, you can save the system log and send it to our technical support team.
1. Visit tplink repeater website, and log in with the password you set for the extender.
2. Go to Settings > System Tools > System Log.
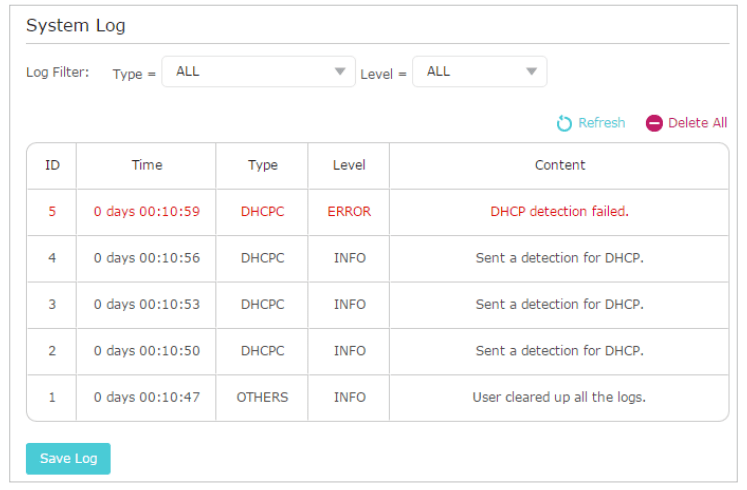
• To save the system log locally:
1. Choose the type and level of the system log as needed.
2. Click Save Log to save the system logs to a local disk.
FAQ
Q1. How to reset the extender to its factory default settings?
• With the extender powered on, use a pin to press the RESET button for 1 second.
• Log in to the extender’s web management page. Go to System Tools > Backup & Restore and click Factory Restore.
Q2. What can I do if I forgot my login password?
Refer to FAQ > Q1 to reset the extender, and create a password to log in
Q3. What can I do if I forgot my wireless password?
The factory default wireless password is printed on the label of the extender.
If the password has been altered, please connect your computer to the extender using an Ethernet cable and follow the steps below:
Visit tplink repeater website, and log in with the password you set for the extender.
Go to Settings > Wireless > Wireless Settings to retrieve or reset your wireless password.
Q4. What can I do if I cannot access the web management page?
This can happen for a variety of reasons. Please try the methods below to log in again.
• Make sure your computer is connected to the extended network.
• Make sure your computer is configured as Obtain an IP address automatically and Obtain DNS server address automatically.
• Use the IP address to access the extender. The default IP is 192.168.0.254. If the extender is connected to the router, you should go to your router’s DHCP client list to obtain the extender’s current IP address.
• Reset the extender. Then connect your computer to its wireless network, enter tplink repeater website or 192.168.0.254 in the web browser and press Enter.
Q5. I enabled wireless MAC filter, wireless access control, or access control list (ACL) on my router, what should I do to configure and use the extender?
When a device connects through the extender to your router, the MAC address of the device shown on the router is translated to another MAC address. If your router’s MAC filter, wireless access control, or ACL is enabled, the devices connected to the extender cannot get an IP address from the extender and cannot access internet.
To solve this problem, please follow the steps below:
Log in to your router and disable the MAC filter, wireless access control or ACL.
Power on your extender, and run the Quick Setup to configure your extender.
Connect all of your devices to the extended network.
On your router, add all the Online Devices’ MAC addresses to your router’s MAC filter table.
Enable the router’s MAC filter, wireless access control, or ACL to complete the configuration