Loading ...
Loading ...
Loading ...
d) Press SET and the second digits will begin to ash. Select seconds for the countdown using or
e) Press SET and the “ON” will begin to ash in the display. Next press CTD to begin the
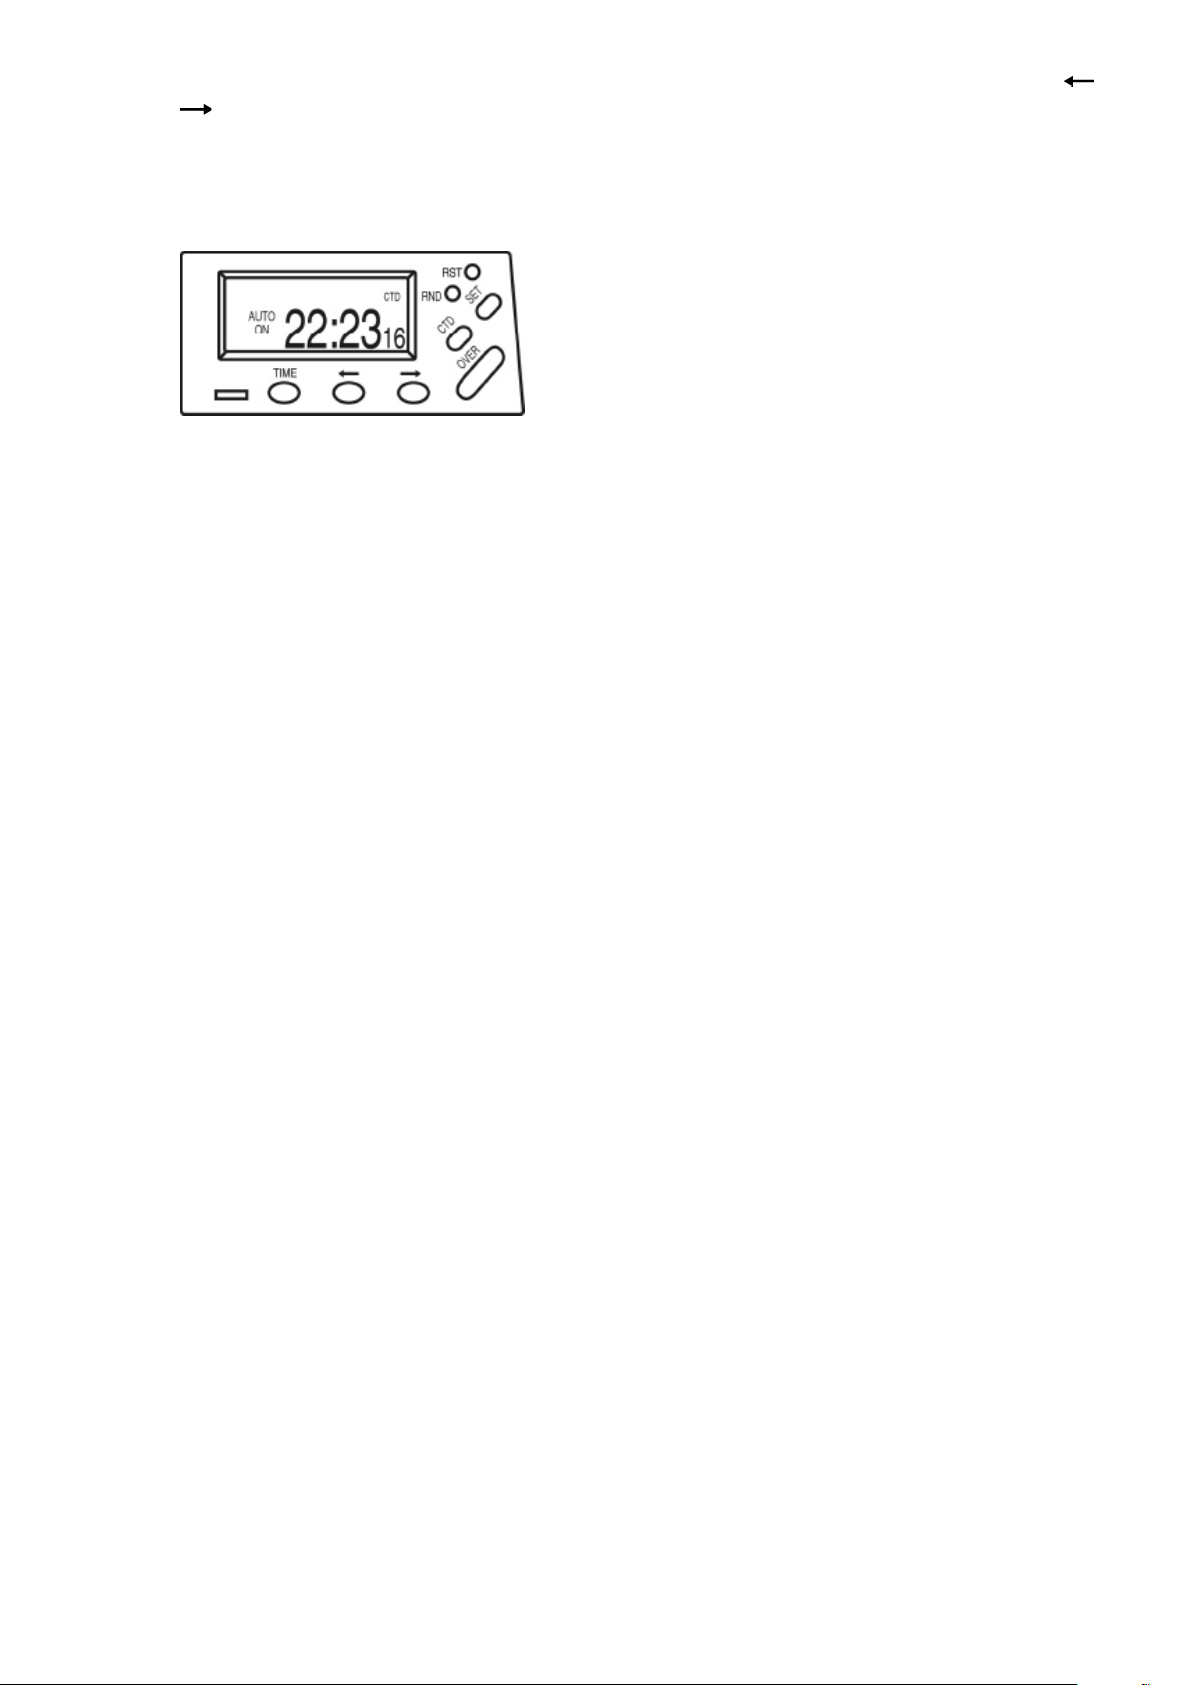
countdown. “AUTO ON” will be displayed as the countdown proceeds.
The timer display will appear like this:
Note: To stop the countdown press CTD and then press TIME to exit the countdown mode.
5) To reset the timer
Pressing the RST button with a pointed object like a pen or pencil will clear all programs and current
time. This is useful when you are about to reprogram the timer or when operating the heater for the rst
time.
SAFETY – OVERHEAT PROTECTION
For your safety, all models are tted with a thermal cut out. In the event that the product overheats for some
reason, the cut-out prevents excessive temperatures on the product by cutting power to the heater. This is
generally something covering the front grill. Once the heater has cooled down, it will reset automatically. It is
important that this grill is not covered. Also do not operate the heater whilst it is sitting upright on the ground
(ie not on castors) – this blocks the air intake on the bottom of the heater – it must only be operated when
installed on the wall bracket or on the optional castors.
SAFETY – TILT SWITCH
All heaters are equipped with a safety tilt switch. If the heater is tilted 45 degrees or greater in either direction
or placed upside down, the safety tilt switch will cause it to switch off. The red indicator light next to the
thermostat wheel which indicates the element is heating will switch off. When the heater is placed in the
proper upright position it will turn on again. The switch consists of a metallic ball making an electrical
connection across two contacts. When the heater is tilted this ball moves and breaks the connection. Moving
the heater can break this connection – therefore the red indicator light can ash on and off- do not move the
heater whilst it is operating.
CLEANING
Before commencing cleaning, switch off the heater to the “O” position using the ON/OFF switch on the top
of the control panel. Switch off the power outlet, unplug the heater cord and allow the heater to cool. Release
the heater from the wall bracket if desired.
The outside can be cleaned by wiping over with a soft, damp cloth and then dried using a soft dry cloth.
Do not use abrasive cleaning powders as this can damage the powder coated surface nish.
Page 8
Loading ...