Documents: Go to download!
- Owner's manual - (English, French, Spanish)
- Getting to know your machine
- Getting started
- Using your machine
- Taking care of your machine
- Let’s talk technical
- Troubleshooting
Table of contents
User manual Vacuum
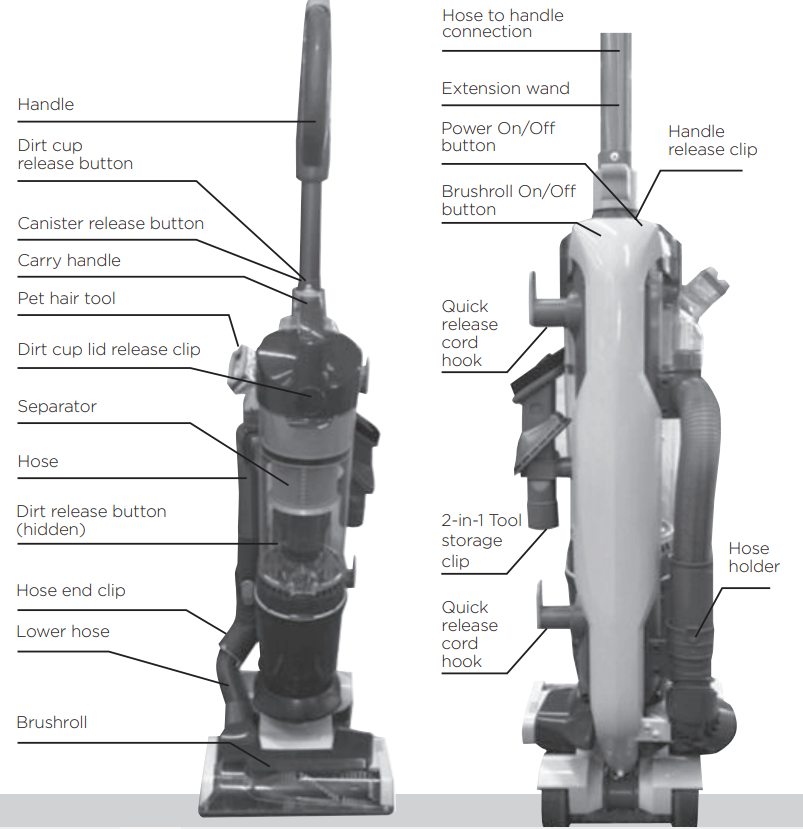
Getting to know your machine
Technical Specification
- Name: AirTM Lift Light
- Voltage: 120V
- Wattage: See rating label on machine for details
- Cord length: 30ft.
- Weight: 15.2 lbs.
Getting started
Before you begin cleaning
WARNING: Always switch off the vacuum cleaner before connecting or disconnecting the lift off canister/ hose/attachments or removing and emptying the dirt cup.
NOTICE:
A Thermal Protector has been designed into your cleaner to protect it from overheating. When the thermal protector activates the cleaner will stop running. If this happens proceed as follows:
- Turn cleaner OFF and unplug it from the electrical outlet.
- Empty the dirt cup.
- Inspect the nozzle inlet, hose connector, hose, dirt cup inlet, pre-motor filter, and HEPA filter for any obstructions. Clear obstructions if present.
- When cleaner is unplugged and motor cools off for 30 minutes, the thermal protector will deactivate and cleaning may continue.
If the thermal protector continues to activate after following the above steps, your cleaner needs servicing.
For best cleaning results, filters should be tapped over a bin every 4-6 uses to remove dirt and debris and washed every 3 to 6 months (depending on the level of use).
Assembling your upright
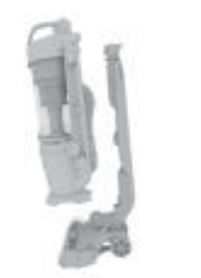
- Place the lift off canister onto the spine and nozzle.
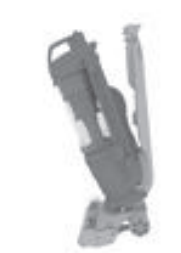
- In a hinge like manner push the lift off canister backwards until it clicks into place.
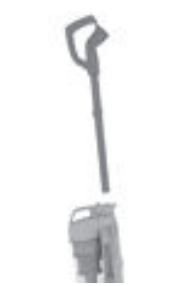
- Push the handle with extension wand into the spine of the vacuum cleaner. The handle will click into position when correctly fitted.
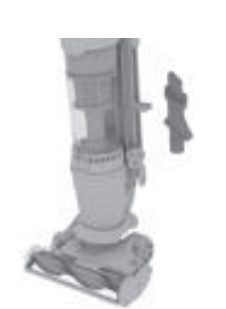
- Place the 2-in-1 tool onto the storage clip.
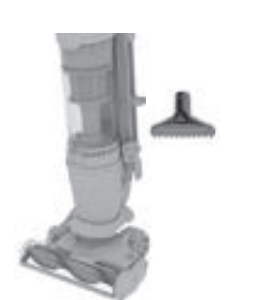
- Store Pet Hair tool on the side of the vacuum.
Using your machine
The full unit
Using with the lift off canister attached
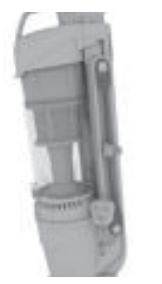
- Twist the quick release cord hooks and release the power cord.
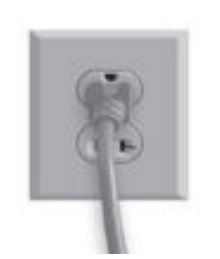
- Plug the vacuum cleaner into the mains and switch on.
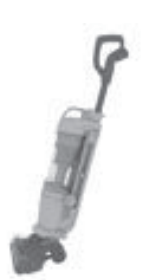
- Place foot on the nozzle and pull the handle backwards to recline.
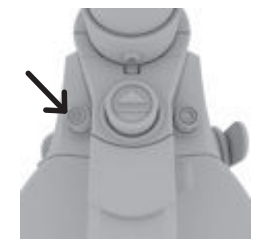
- Press the On/Off button to switch the vacuum cleaner on.
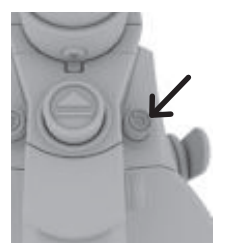
- Press the brushroll button to activate the brushroll The brushroll should be ON for carpets and OFF for hard floors.
CAUTION: When the vacuum is reclined with the brushroll switched on, never leave the vacuum in one position for any long period of time.
Using the hose/extension wand with the lift off canister attached
- Always switch off the vacuum cleaner before connecting or disconnecting the hose/ tools.
- For easier cleaning detach the lift off canister for stair and above floor cleaning. Hold the lift off canister by the carry handle at all times when detached.
- The accessories can be attached directly to the hose or extension wand.
Using the hose
- Pull and remove the hose from the hose holder.
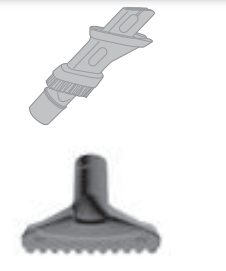
- Choose an accessory Pet Hair Tool 2-in-1 Crevice Tool
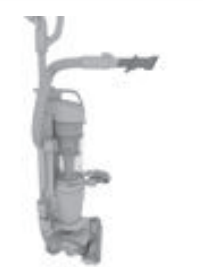
- Attach the tool to the end of the hose.
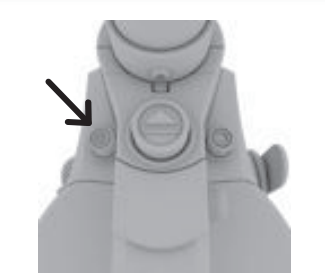
- Press the On/Off button to switch the vacuum cleaner on.
Using the hose with the extension wand
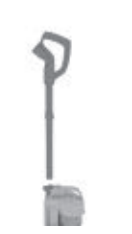
- Press the handle release clip and lift to remove the handle with extension wand from the spine.
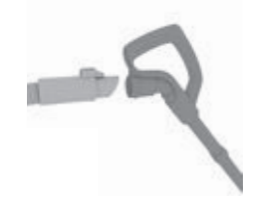
- Attach the hose to the handle, clipping the hose end clip over the ridge on the handle entry point.
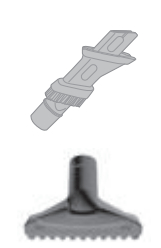
- Choose an accessory Pet Hair Tool 2-in-1 Crevice Tool
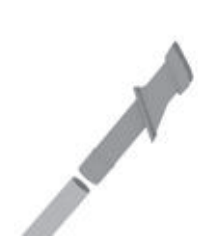
- Attach the tool to the end of the extension wand.
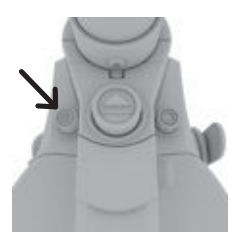
- Press the On/Off button to switch the vacuum cleaner on.
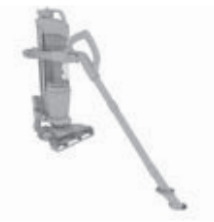
- Use the hose with extension wand for hard to reach areas.
TIP
- The brushroll will not rotate when the vacuum cleaner is stood in the upright position.
- Whilst using the whole unit, don’t forget to use the handle cord hook so that the cord doesn’t get caught or tangled in the machine.
CAUTION: Use extra care when cleaning on stairs. To avoid personal injury or damage, and to prevent the cleaner from falling, always place the vacuum at the bottom of the stairs or on floor. Do not place vacuum on stairs or furniture, as it may result in injury or damage. When using tools, always ensure handle is in the upright position.
CAUTION: Not to be used for grooming a pet.
The lift away
Using the hose/extension wand with the lift off canister detached
CAUTION: Hold the lift off canister by the carry handle at all times when the lift off canister is detached for stair and above floor cleaning.
WARNING: Always turn off this appliance before connecting or disconnecting the canister, hose or tools.
Using the hose
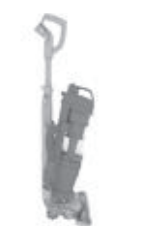
- Hold the carry handle and press the lift off release button.
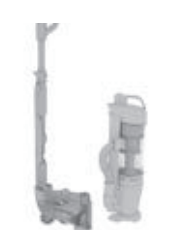
- Lift and remove the lift off canister body off the spine and nozzle.
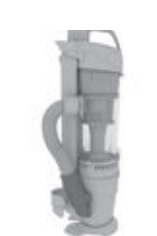
- Pull and remove the hose from the hose holder.
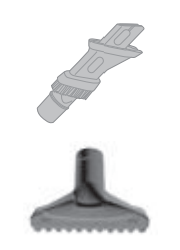
- Choose an accessory Pet Hair Tool 2-in-1 Crevice Tool
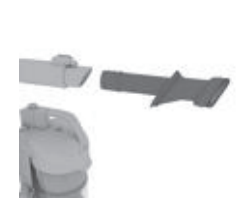
- Attach the tool to the end of the hose.
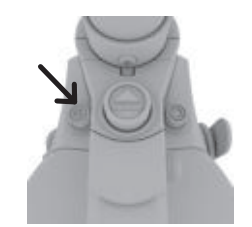
- Press the On/Off button to switch the vacuum cleaner on.
Using the hose with the extension wand
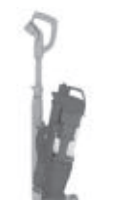
- Hold the carry handle and press the lift off canister release button.
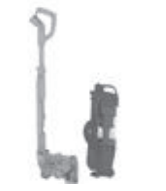
- Lift and remove the lift off canister off the spine and nozzle.
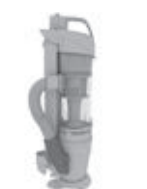
- Pull and remove the hose from the hose holder.

- Press the handle release clip and remove the handle with extension wand from the spine.
Using the hose with the extension wand (continued)
CAUTION: Use extra care when cleaning on stairs. To avoid personal injury or damage, and to prevent the cleaner from falling, always place the vacuum at the bottom of the stairs or on floor. Do not place vacuum on stairs or furniture, as it may result in injury or damage. When using tools, always ensure handle is in the upright position.
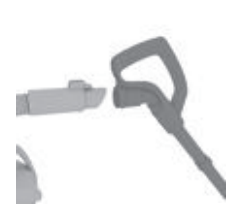
- Attach the hose to the handle, clipping the hose end clip over the ridge on the handle entry point.
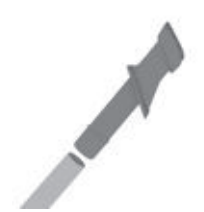
- Choose an accessory and attach tool to the end of the extension wand.
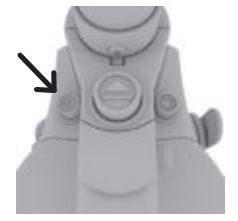
- Press the On/Off button to switch the vacuum cleaner on.
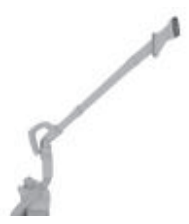
- Use the hose with extension wand for hard to reach areas. Hold the lift off canister by the carry handle at all times.
Using the hose with the lift off canister attached
Only attach the hose to the vacuum cleaner with the lift off canister attached. The hose can be attached directly to the hose.
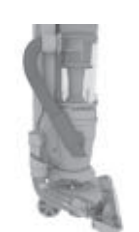
- Pull and remove the hose from the hose holder.
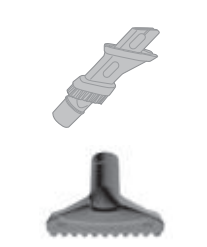
- Choose an accessory Pet Hair Tool 2-in-1 Crevice Tool
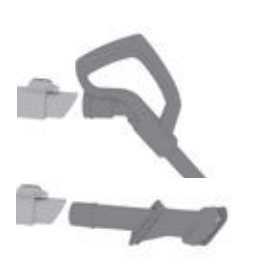
- Attach the tool or extension wand to the other end of the hose.
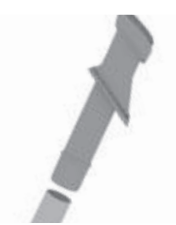
- If required attach tool to the end of the extension wand.
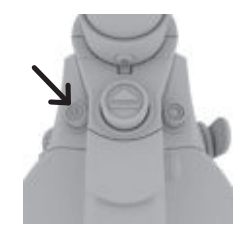
- Press the On/Off button to switch the vacuum cleaner on.
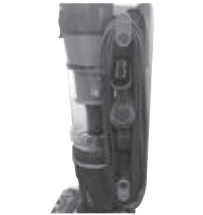
- CORD STORAGE Wrap cord around hooks for convenient storage. Attached the plug end to the cord.
Taking care of your machine
NOTICE:
A Thermal Protector has been designed into your cleaner to protect it from overheating. When the thermal protector activates the cleaner will stop running. If this happens proceed as follows:
- Turn cleaner OFF and unplug it from the electrical outlet.
- Empty the dirt cup.
- Inspect the nozzle inlet, hose connector, hose, dirt cup inlet, pre-motor filter, and HEPA filter for any obstructions. Clear obstructions if present.
- When cleaner is unplugged and motor cools off for 30 minutes, the thermal protector will deactivate and cleaning may continue.
If the thermal protector continues to activate after following the above steps, your cleaner needs servicing.
For best cleaning results, filters should be tapped over a bin every 4-6 uses to remove dirt and debris and washed every 3 to 6 months (depending on the level of use). Don’t use your vacuum cleaner without all of the filters in place.
Emptying and cleaning the dirt cup
WARNING: To reduce the risk of personal injury - unplug before cleaning or servicing. Do not use vacuum without dirt cup or filters in place.
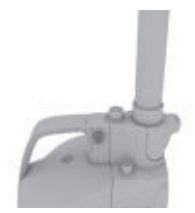
- Press the dirt cup release buttons located the side of the carry handle.
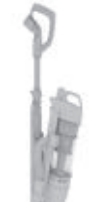
- Pull and remove the dirt cup off the vacuum cleaner.
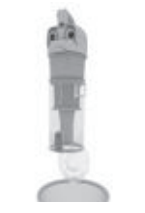
- Hold the dirt cup over a bin, press the dirt release button to open and allow the dirt to fall out.
TIP: To avoid blocking the air flow through the vacuum cleaner, don’t overfill the dirt cup, and replace filters every 6-9 months.
Cleaning the pre-motor filter
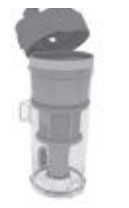
- Lift the dirt cup lid release clip. In a hinge like manor lift the dirt cup lid.
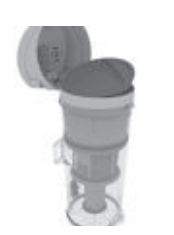
- Pull the rinseable and replaceable filter tab and remove the filter from the dirt cup.
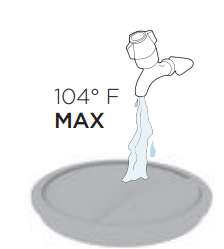
- Tap the filter over a bin to remove any dirt/ debris. Wash the filter under running water (40° C max).
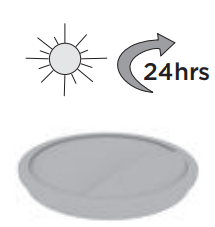
- Leave for 24 hrs or until fully dry before replacing.
Cleaning the separator
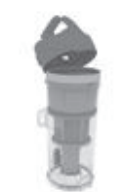
- Lift the dirt cup lid release clip. In a hinge like manor lift the dirt cup lid.
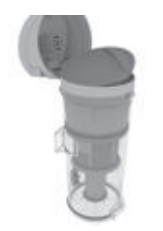
- Pull the rinseable and replaceable filter tab and remove the filter from the dirt cup.
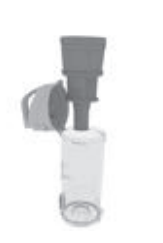
- Lift and remove separator out of dirt cup. Using a soft brush remove any dirt/debris from separator.
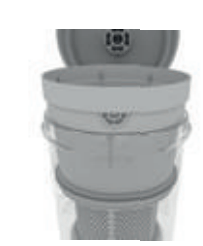
- Re fit the separator making sure the semi circular tab on the separator fits into the groove on the dirt cup.
HEPA Media filter maintenance
IMPORTANT: The post-motor filter is designed to offer long life with no maintenance. The filter should be checked periodically and when heavily discoloured it should be replaced. Please do not wash, scrub or brush the filter as this will damage the filter.
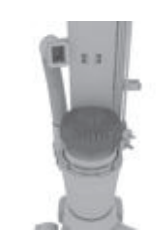
- Twist the HEPA Media filter cover anti clockwise and remove.
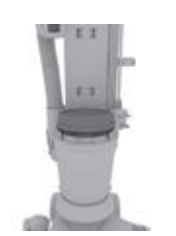
- Lift and remove the HEPA Media filter
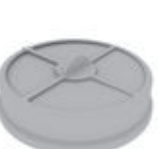
- Check the HEPA Media filter for any discolouration.
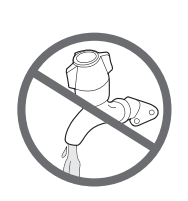
CAUTION: Don’t use your vacuum cleaner without all of the filters in place.
Let’s talk technical
Any other servicing should be done by an authorized service representative. If appliance is not working as it should, has been dropped, damaged, left outdoors, or dropped into water, take it to a service center prior to continuing use.
IMPORTANT: Unplug and switch off vacuum cleaner before performing maintenance or troubleshooting checks. If the brushroll has been obstructed, the Motor Protection Sensor may have been activated.
Cleaning the brushroll
CAUTION: To reduce the risk of injury from moving parts - unplug before servicing.
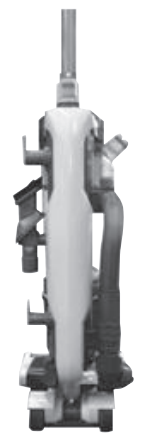
- Flip vacuum over.
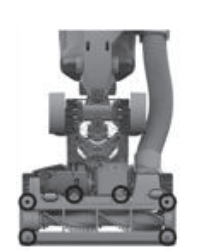
- Remove the 6 screws with a Phillips screwdriver.
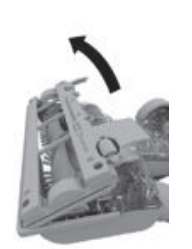
- Rotate bottom plate off.
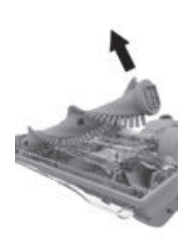
- Pull out the brushroll and remove debris.
IMPORTANT: Rotate brushroll manually to make sure the belt is properly installed. Vacuum is equipped with an automatic brushroll shut-off in event of overload or jam. Check for obstructions in the brushroll area and remove any obstructions
Cleaning the brushroll
CAUTION: To reduce the risk of injury from moving parts - unplug before servicing.
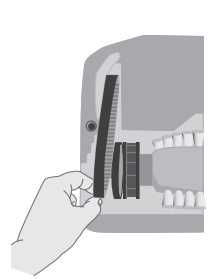
- Slide belt over motor shaft with the lettering on the outside of the belt.
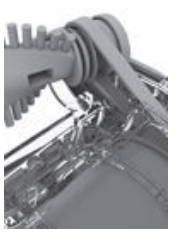
- Slide other end of belt around end of brushroll.
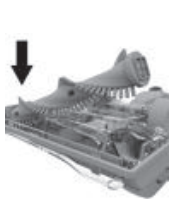
- With belt in place, slide brushroll into nozzle making sure that the brushroll end caps are in the correct orientation.
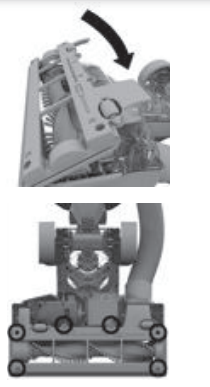
- Replace the bottom plate and reinstall the 6 screws as shown.
TIP: LUBRICATION NOT REQUIRED - The motor and brushroll are equipped with bearings which contain sufficient lubrication for their lifetime. The addition of lubricant could cause damage. Do not add lubricant to motor or brushroll.
Troubleshooting
What to do if it goes wrong: Any other servicing should be done by an authorized service representative. If appliance is not working as it should, has been dropped, damaged, left outdoors, or dropped into water, take it to a service center prior to continuing use.
WARNING: To reduce the risk of personal injury - unplug before cleaning or servicing.
Problem | Solution |
| There is an accessory missing |
|
| Why does my vacuum cleaner have no power? |
|
| Why won’t the vacuum cleaner pick up? |
|
| Why isn’t my brushroll rotating? |
|
| Why is dust escaping from the vacuum? |
|
See other models: UH72510 UH72450 UH72430 UH72420 UH72409
