Loading ...
Loading ...
Loading ...
26 Preparing the Camera
Setting the Date / Time
1
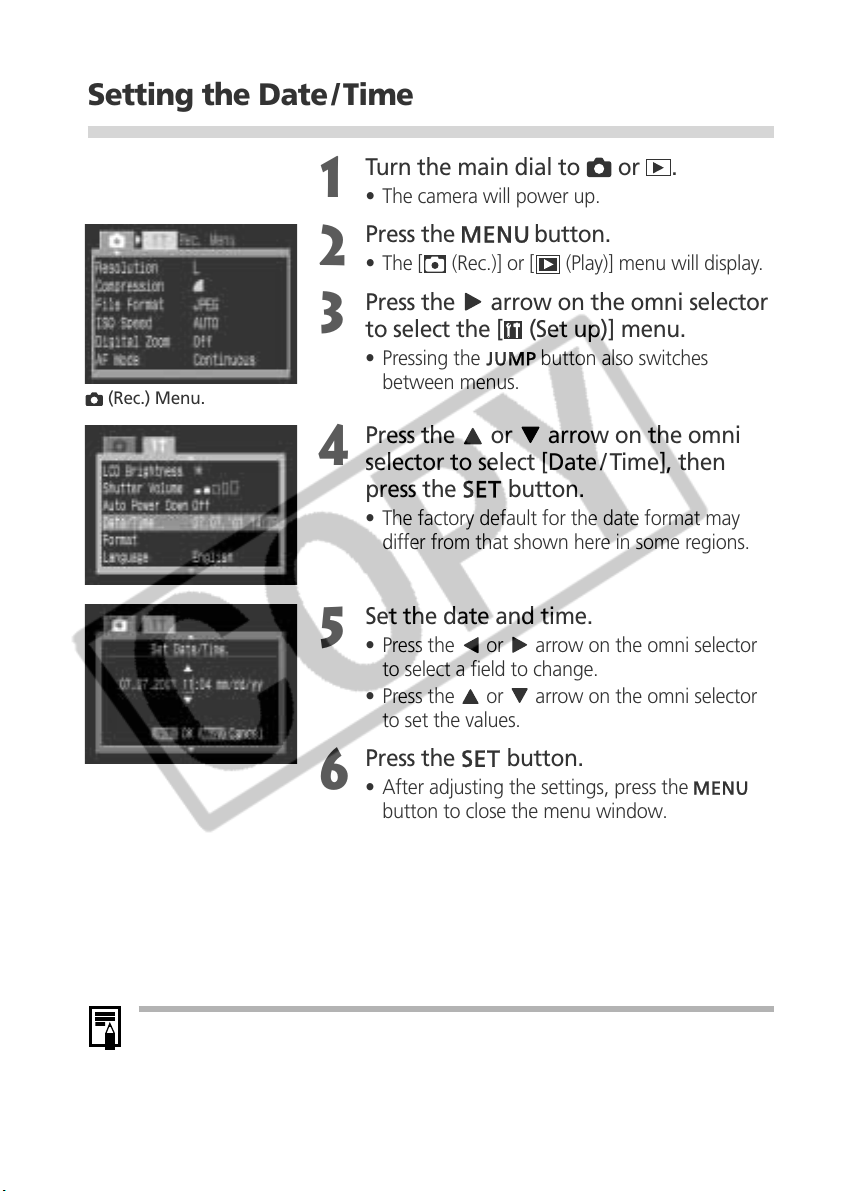
Turn the main dial to or .
• The camera will power up.
2
Press the button.
• The [ (Rec.)] or [ (Play)] menu will display.
3
Press the
arrow on the omni selector
to select the [ (Set up)] menu.
• Pressing the
button also switches
between menus.
4
Press the or
arrow on the omni
selector to select [Date / Time], then
press the
button.
• The factory default for the date format may
differ from that shown here in some regions.
5
Set the date and time.
• Press the or arrow on the omni selector
to select a field to change.
• Press the
or arrow on the omni selector
to set the values.
6
Press the
button.
• After adjusting the settings, press the
button to close the menu window.
• If the Set Date/Time menu appears when the camera is turned on, it means that
the date battery (button battery) charge is low and that the settings have been
lost. Reset the date and time after you replace the date battery (p. 130).
• The date can be set up to the year 2030.
(Rec.) Menu.
Loading ...
Loading ...
Loading ...