Loading ...
Loading ...
Loading ...
11
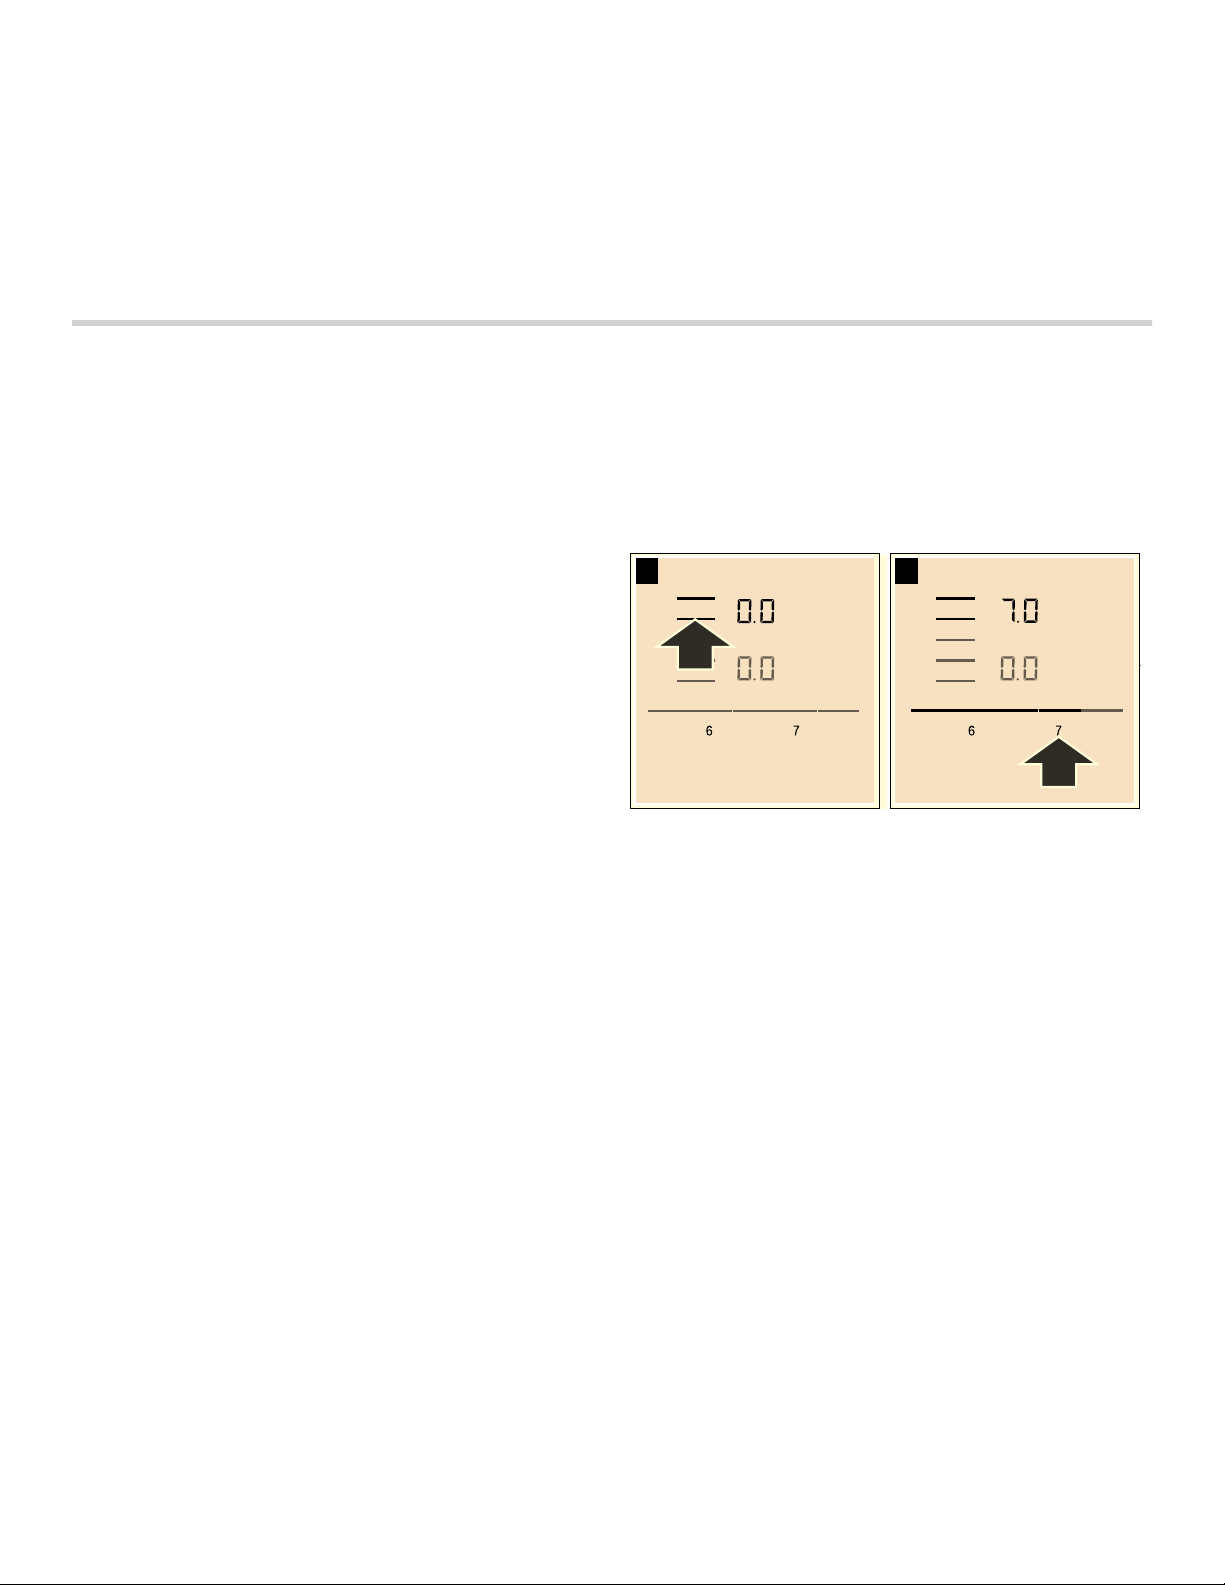
Residual heat indicator
The cooktop has a residual heat indicator for each
cooking zone. This indicates that a cooking zone is still
hot. Do not touch a cooking zone while the residual heat
indicator is lit up.
The following indicators are shown depending on the
amount of residual heat:
▯ Display •: High temperature
▯ Display œ: Low temperature
If you remove the cookware from the cooking zone
during cooking, the residual heat indicator and the
selected heat setting will flash alternately.
When the cooking zone is switched off, the residual heat
indicator will light up. Even after the cooktop has been
switched off, the residual heat indicator will stay lit for as
long as the cooking zone is still warm.
Operation
Main power switch
Use the main switch to turn on the electronic circuitry for
the control panel. The cooktop is now ready to use.
When you first switch on the appliance, you will be
prompted to set up Home Connect. The
D display icon
will light up dimly for a few seconds on the control panel.
To begin setting up the connection, touch the
D display
icon and proceed in accordance with the information
given in the section entitled ~ "Home Connect". To exit
initial set-up, touch any touch key.
To turn the cooktop on, touch the # symbol. An audible
signal will sound. The symbols for the cooking zones and
the functions available at this time will light up. ‹.‹ will
light up next to the cooking zones. The cooktop is ready
to use.
To turn the cooktop off, touch and hold the # symbol
until all indicators go out. The residual heat indicator will
remain lit until the cooking zones have cooled down
sufficiently.
Notes
▯ If the appliance has not been connected to your home
network or the connection has been interrupted,
Home Connect initial set-up will be activated whenever
you switch on the cooktop.
▯ The cooktop switches off automatically if all the
cooking zones have been switched off for a few
seconds.
▯ The settings are stored for 4seconds after the
cooktop has been turned off. If you turn the cooktop
back on during this time, the cooktop will continue
using the stored settings.
Setting a Cooking Zone
Set the desired power level using the ò to ê symbols.
Power level ò = lowest power level
Power level ê = highest power level
Every power level has an intermediate setting. This is
marked in the control panel with the Ø symbol.
Notes
▯ To protect the fragile parts of your appliance from
overheating and electrical overloading, the cooktop
may temporarily reduce the power automatically.
▯ In order to prevent the appliance from producing
excess noise, the cooktop may temporarily reduce the
power automatically.
Selecting a cooking zone and power level
The cooktop must be turned on.
1.
Touch the { symbol for the desired cooking zone.
The
‹.‹ display gets brighter.
2.
Select the desired power level from the settings range.
The power level is set.
Changing the power level
Select the cooking zone and then set the desired power
level in the control panel.
Turning off the cooking zone
Select the cooking zone and set the power level to 0. The
cooking zone is turned off and the residual heat indicator
is displayed.
Notes
▯ If there is no cookware on the induction cooking zone,
the heat setting display blinks. After 30 seconds, the
cooking zone will switch itself off.
▯ If cookware has been placed on the cooking zone
before you turn on the cooktop, it will be detected
within 20 seconds after you have touched the main
switch and the cooking zone will be selected
automatically. Once detected, set the power level
within the next 20 seconds, otherwise the cooking
zone will turn off.
Even if there are several pots and pans on the cooktop
when it is switched on, only one piece of cookware is
detected.
IOH[
MRLQVSOLW
SRZHU
PRYH
IOH[
MRLQVSOLW
SRZH
U
PRYH
Loading ...
Loading ...
Loading ...