Loading ...
Loading ...
Loading ...
49-2000254 Rev. 0 19
CARE AND CLEANING: Oven / Probe / Oven Light
WARNING
SHOCK OR BURN HAZARD:%HIRUHUHSODFLQJRYHQOLJKWEXOEGLVFRQQHFWWKHHOHFWULFDOSRZHUWRWKH
oven at the main fuse or circuit breaker panel. Failure to do so may result in electric shock or burn.
CAUTION
BURN HAZARD: The glass cover and bulb should be removed when cool. Touching hot glass with
bare hands or a damp cloth can cause burns.
'LVFRQQHFWSRZHUDWWKHPDLQIXVHRUFLUFXLWEUHDNHU
panel.
2. Remove oven racks.
3. Slide a flat blade screwdriver or butter knife between
the metal housing and the glass light cover.
NOTE: on some models there is a metal clip visibly
holding the glass. The tool needs inserted between
the metal housing and the clip holding the glass.
4. Support the glass light cover with two fingers to prevent
the cover from falling to the bottom of the oven.
5. Gently twist the screwdriver blade or butter knife to
ORRVHQWKHJODVVOLJKWFRYHU%HFDUHIXOQRWWRFKLS
the oven coating.
6. Remove the glass light cover.
7. Remove the bulb by firmly grasping and sliding the
bulb straight out until the two prongs have cleared
the ceramic holder.
'RQRWWRXFKWKHJODVVRIWKHQHZUHSODFHPHQWEXOE
ZLWK\RXUILQJHUV,WZLOOFDXVHWKHEXOEWRIDLOZKHQLW
lights. Grasp the replacement bulb with a clean towel
or facial tissue with the prongs facing down. Align
the two prongs in the ceramic holder, pressing gently
until the bulb is securely in the ceramic socket.
9. Slide the protective lens into the holder and push
until the clips snap into the housing.
10. Reconnect power.
Oven Light
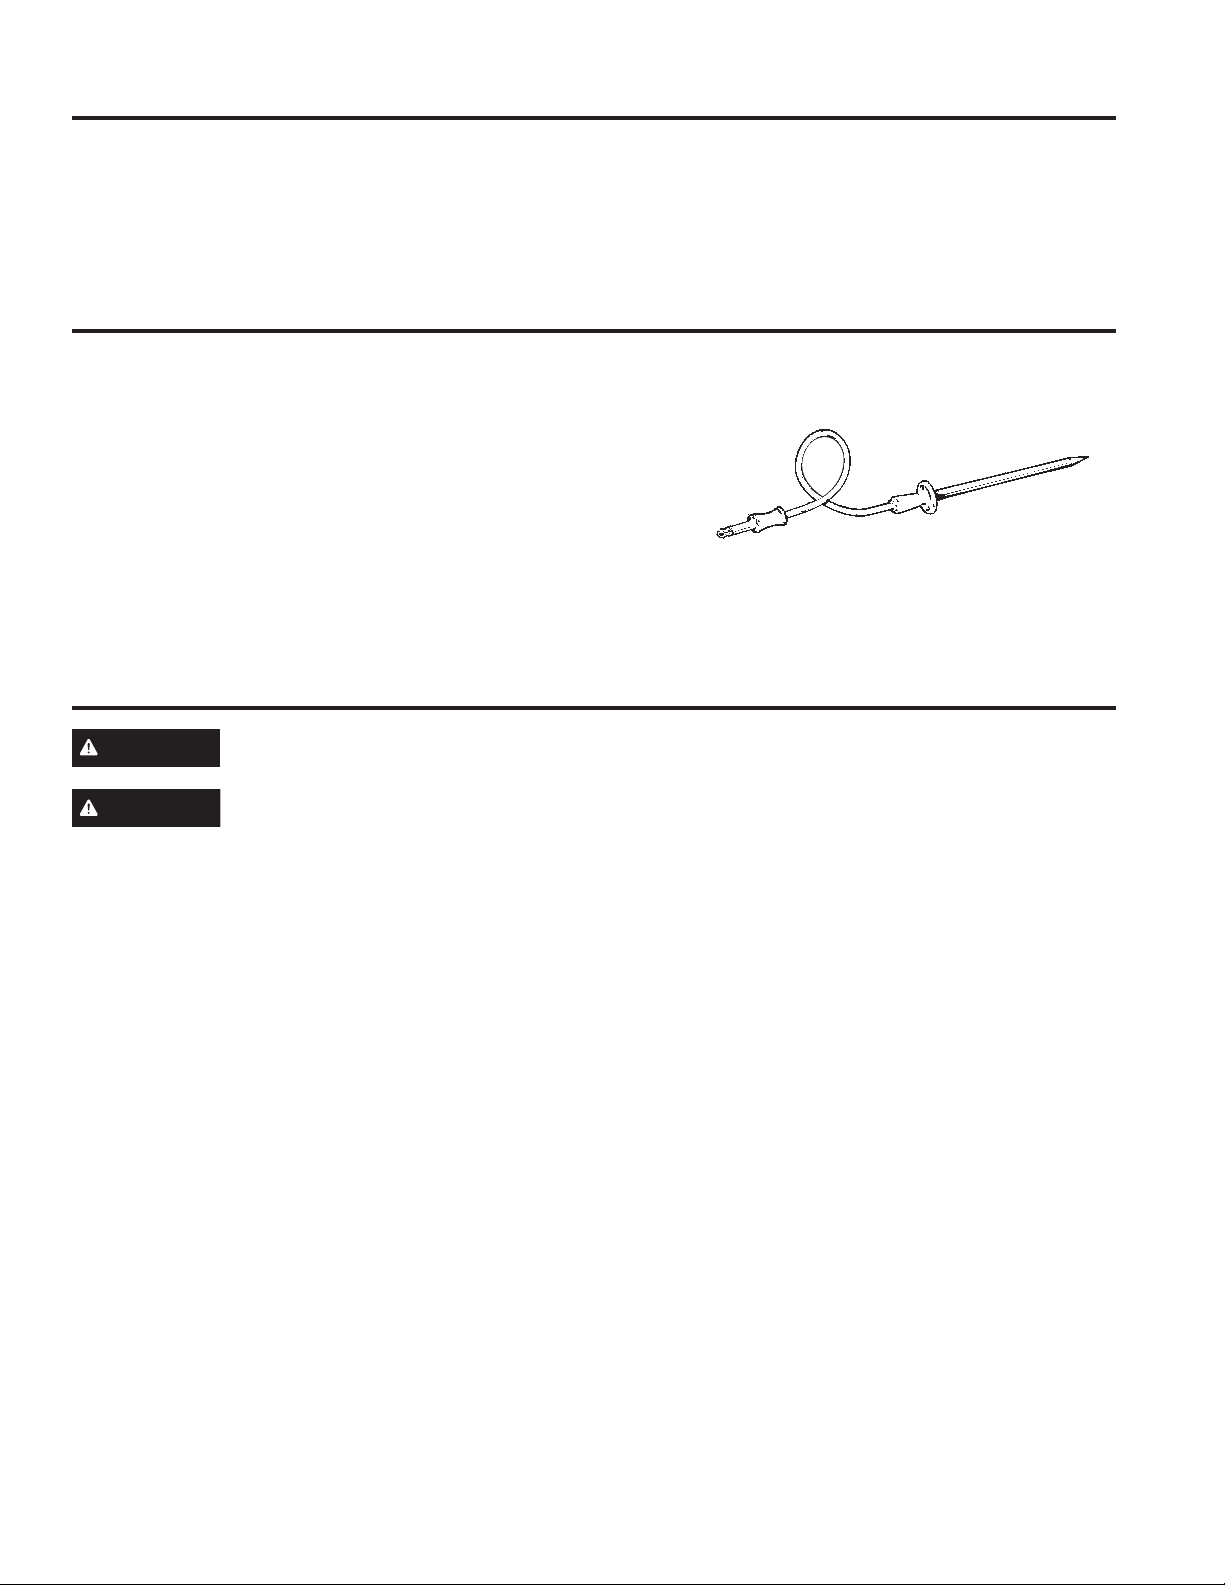
Probe
The temperature probe may be cleaned with soap and
water or a soap-filled scouring pad. Cool the temperature
probe before cleaning. Scour stubborn spots with a
soap-filled scouring pad, rinse and dry.
To order additional temperature probes read the
Assistance and Accessories sections at the beginning of
this manual.
Ŷ 'RQRWLPPHUVHWKHWHPSHUDWXUHSUREHLQZDWHU
Ŷ 'RQRWVWRUHWKHWHPSHUDWXUHSUREHLQWKHRYHQ
Ŷ 'RQRWOHDYHWKHWHPSHUDWXUHSUREHLQVLGHWKHRYHQ
during a self or steam clean cycle.
Oven (Cont.)
Oven Racks
Racks that are enameled, not shiny, can be left in the
cavity during self clean, or can be washed with warm,
soapy water.
Racks may be more difficult to slide, especially after a
self-clean. Put some vegetable oil on a soft cloth or paper
towel and rub onto the left and right edges.
Loading ...
Loading ...
Loading ...