Loading ...
Loading ...
Loading ...
29
Security
loop
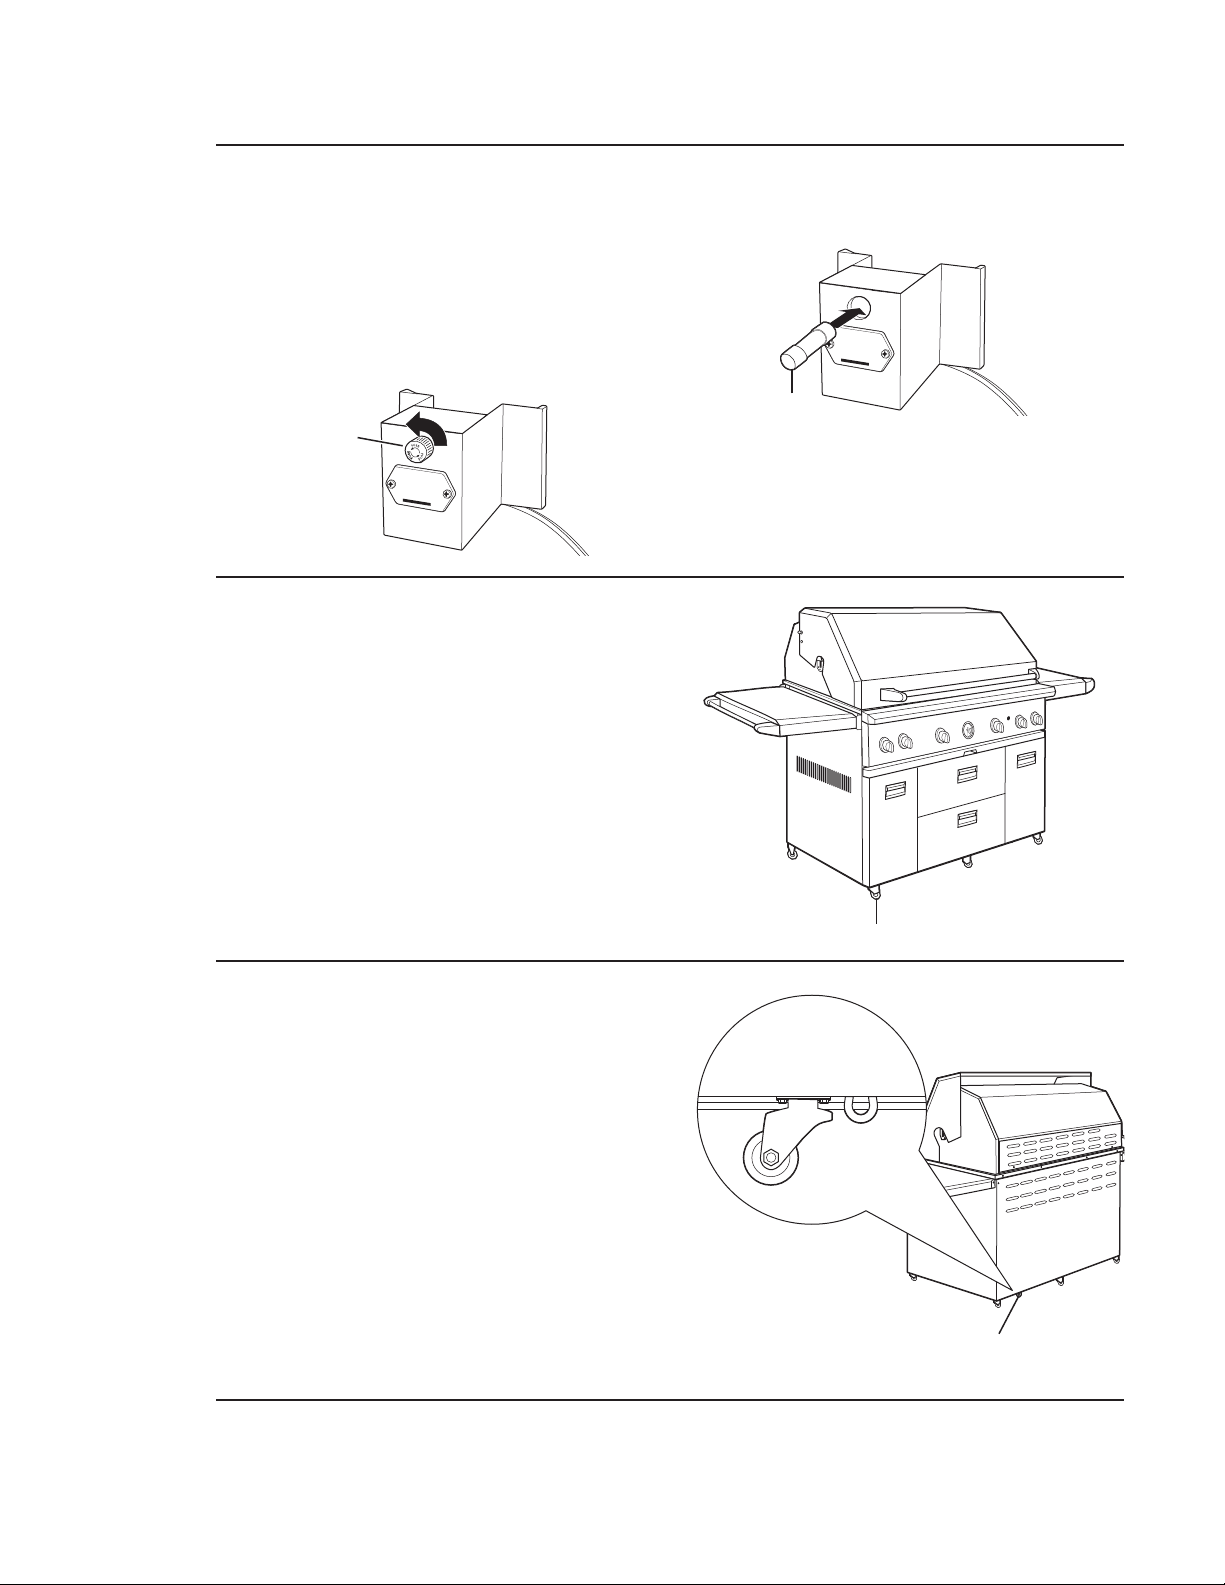
A stainless steel loop is welded to the bottom of
the free-standing grill chassis near the back right
wheel. To secure the grill, put a chain through
the steel loop and padlock through a stationary,
secured eyelet (chain, padlock and eyelet not
provided).
Custom
grill cover
(on some models)
Clean the cover with warm, sudsy water and
rinse.
NOTE: Lower the side shelves (on free-standing
models only) before using the grill cover.
Fuse
replacement
IMPORTANT: Never install grill light bulb(s) rated
higher than 10 watts. This will cause the fuse to
blow.
1. See Steps 1–3 of the Battery Replacement
section to access the fuse in the battery/fuse
mounting assembly.
2. Unscrew the fuse cover and remove the
blown fuse.
3. Replace with a new 2-amp glass fuse and
replace the cover.
Unscrew fuse
cover
Loop for securing free-standing grill
with a chain (located on grill chassis
bottom near the back right wheel)
The lock mechanism for the wheels is on the left
front wheel on all models. Always set the lock
mechanism on the free-standing grill before
using.
If the wheels develop a squeak after exposure
to the elements, lubricate the axle at the center
of the wheel with a silicone spray or other
general-purpose lubricant.
Wheel with lock mechanism
Wheels
(free-standing
grill only)
Glass fuse
Loading ...
Loading ...
Loading ...